So here’s an interesting mystery / conundrum / process I recently went through in trying to create a new workflow.
For reasons or not wanting to subscribe to software, I’m still using the CS5 versions of Adobe Apps for Surfing The Deathline. The original documents are heavily constructed in Photoshop, then all the text, sound effects etc are done in InDesign, which makes them rather non-portable to other solutions.
It had been so long since I’d done a serious update of the books, that I’d forgotten parts of my workflow, and so had started some things from Scratch.
Surfing The Deathline uses .png format images for its pages. Although they take up a lot more space than .jpg versions, they have an advantage of being colour-accurate. A major problem of .jpg is that for images in black & white, a single pixel of colour will shift the white and black values away from their correct tones. So, where you get two pages butting up against each other at the spine, the greys might not match.
InDesign CS5 has no direct png output option, so the workflow is:
- PageExporterUtility script to output the pages as individual .pdf files
- Convert the .pdfs to .pngs
- rename the .pngs and move them to the appropriate EPUB document’s image directory.
I had created an Automator action, which took in the .pdf files, and converted them to .png, and saved them to disk. It took about 3-5 minutes to do all 236 pages.
But there was a problem with he output…

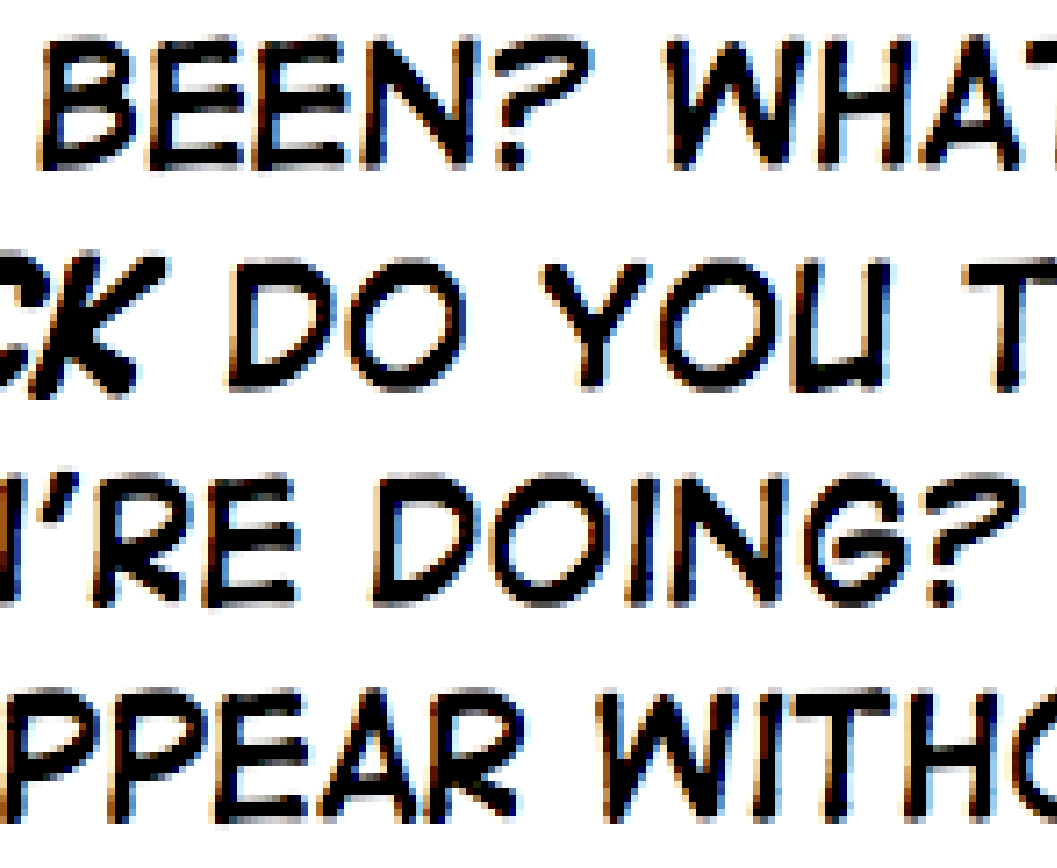
Certain pages, seemed to have red & blue fringing on their text. Going through the .pdf files, it bcame apparent that it was linked to the pages which had a specific masterpage controlling their appearance. Looking at that masterpage, the thing that suggested itself as problematic, was the page number – it was frontmost in the layering stack. So, I deleted and recreated the page number object in the masterpage, applied it to the pages, and reran the .pdf to .png workflow.
Problem solved. Almost.

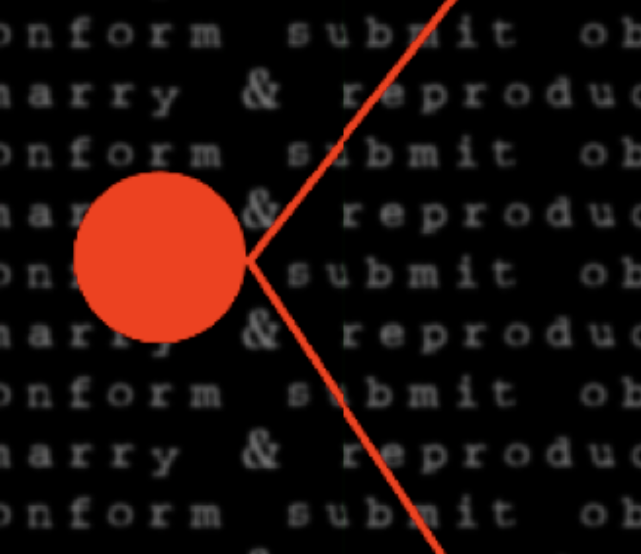
My large sound effects were still showing red/blue colour fringing. After a couple of days research, it became apparent that this was caused by the system applying sub-pixel antialiasing to the .pdf file during the render.
After experimenting with commandline options for disabling it, I found out there was actually a checkbox for it in the System Preferences app. Unfortunately switching it off makes the system’s display look worse, so what I needed was a way to toggle it off, run the image processing steps, then switch it back on.
After some experimenting, and asking on forums, I was able to get an Applescript that did the job, and add it to my Automator action:

What this does is:
- run an Applescript to open System Preferences, test if the checkbox is ticked, untick it if it is, close System Preferences, then,
- run all the pdf files through the Render PDF Pages as Images function to create png files, then,
- move the converted versions to a new location. Then,
- open System Preferences, test the antialiasing setting, and switch it back on, then close System Preferences.
It was fantastic – I had a wonderful system that, once I’d output the .pdfs from InDesign, could after selecting all of them, render them all to .png in a single right-click.
But there was a problem…
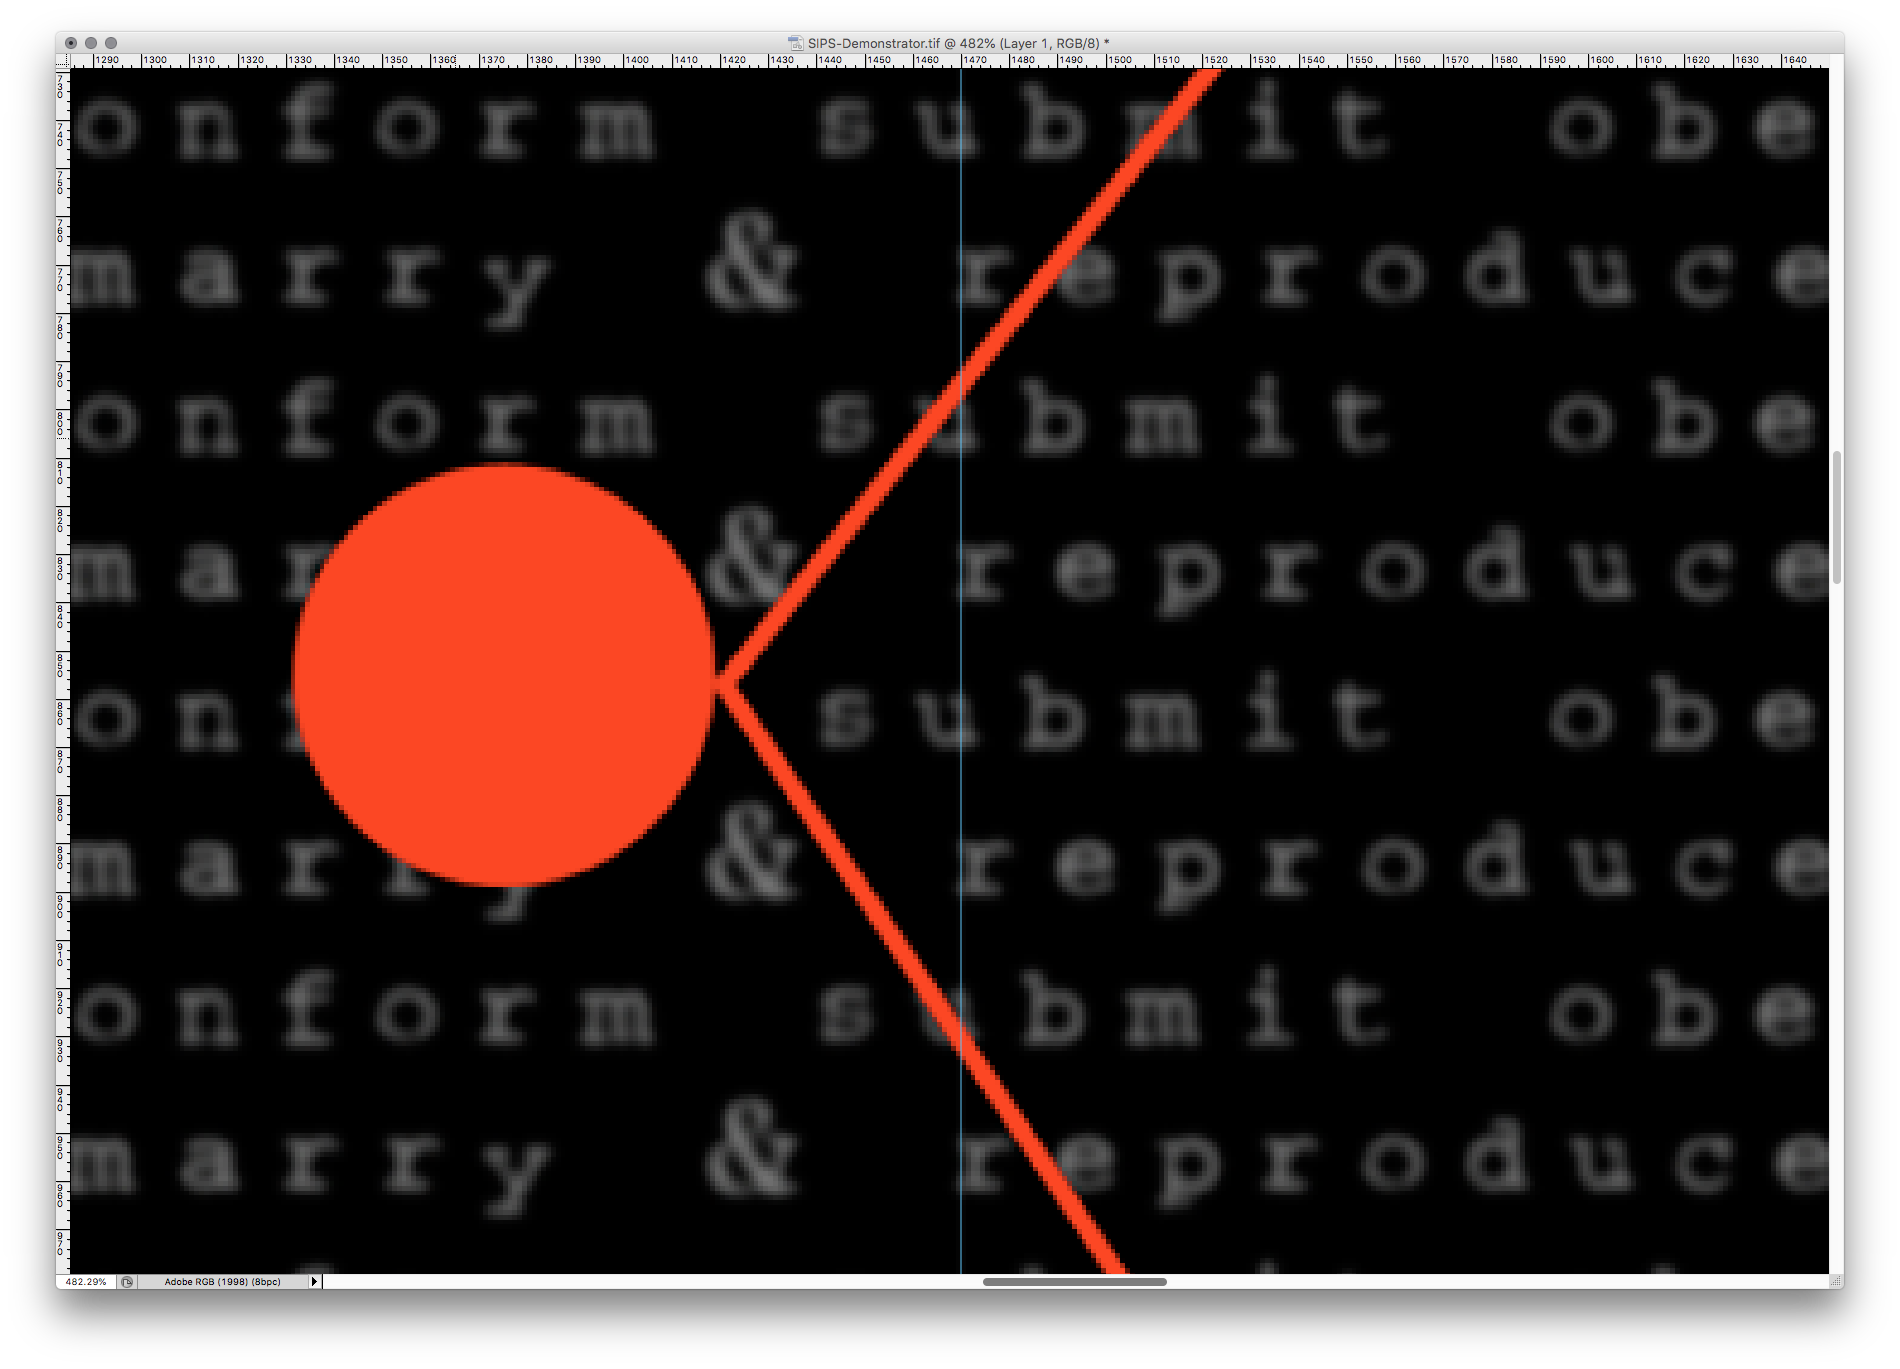
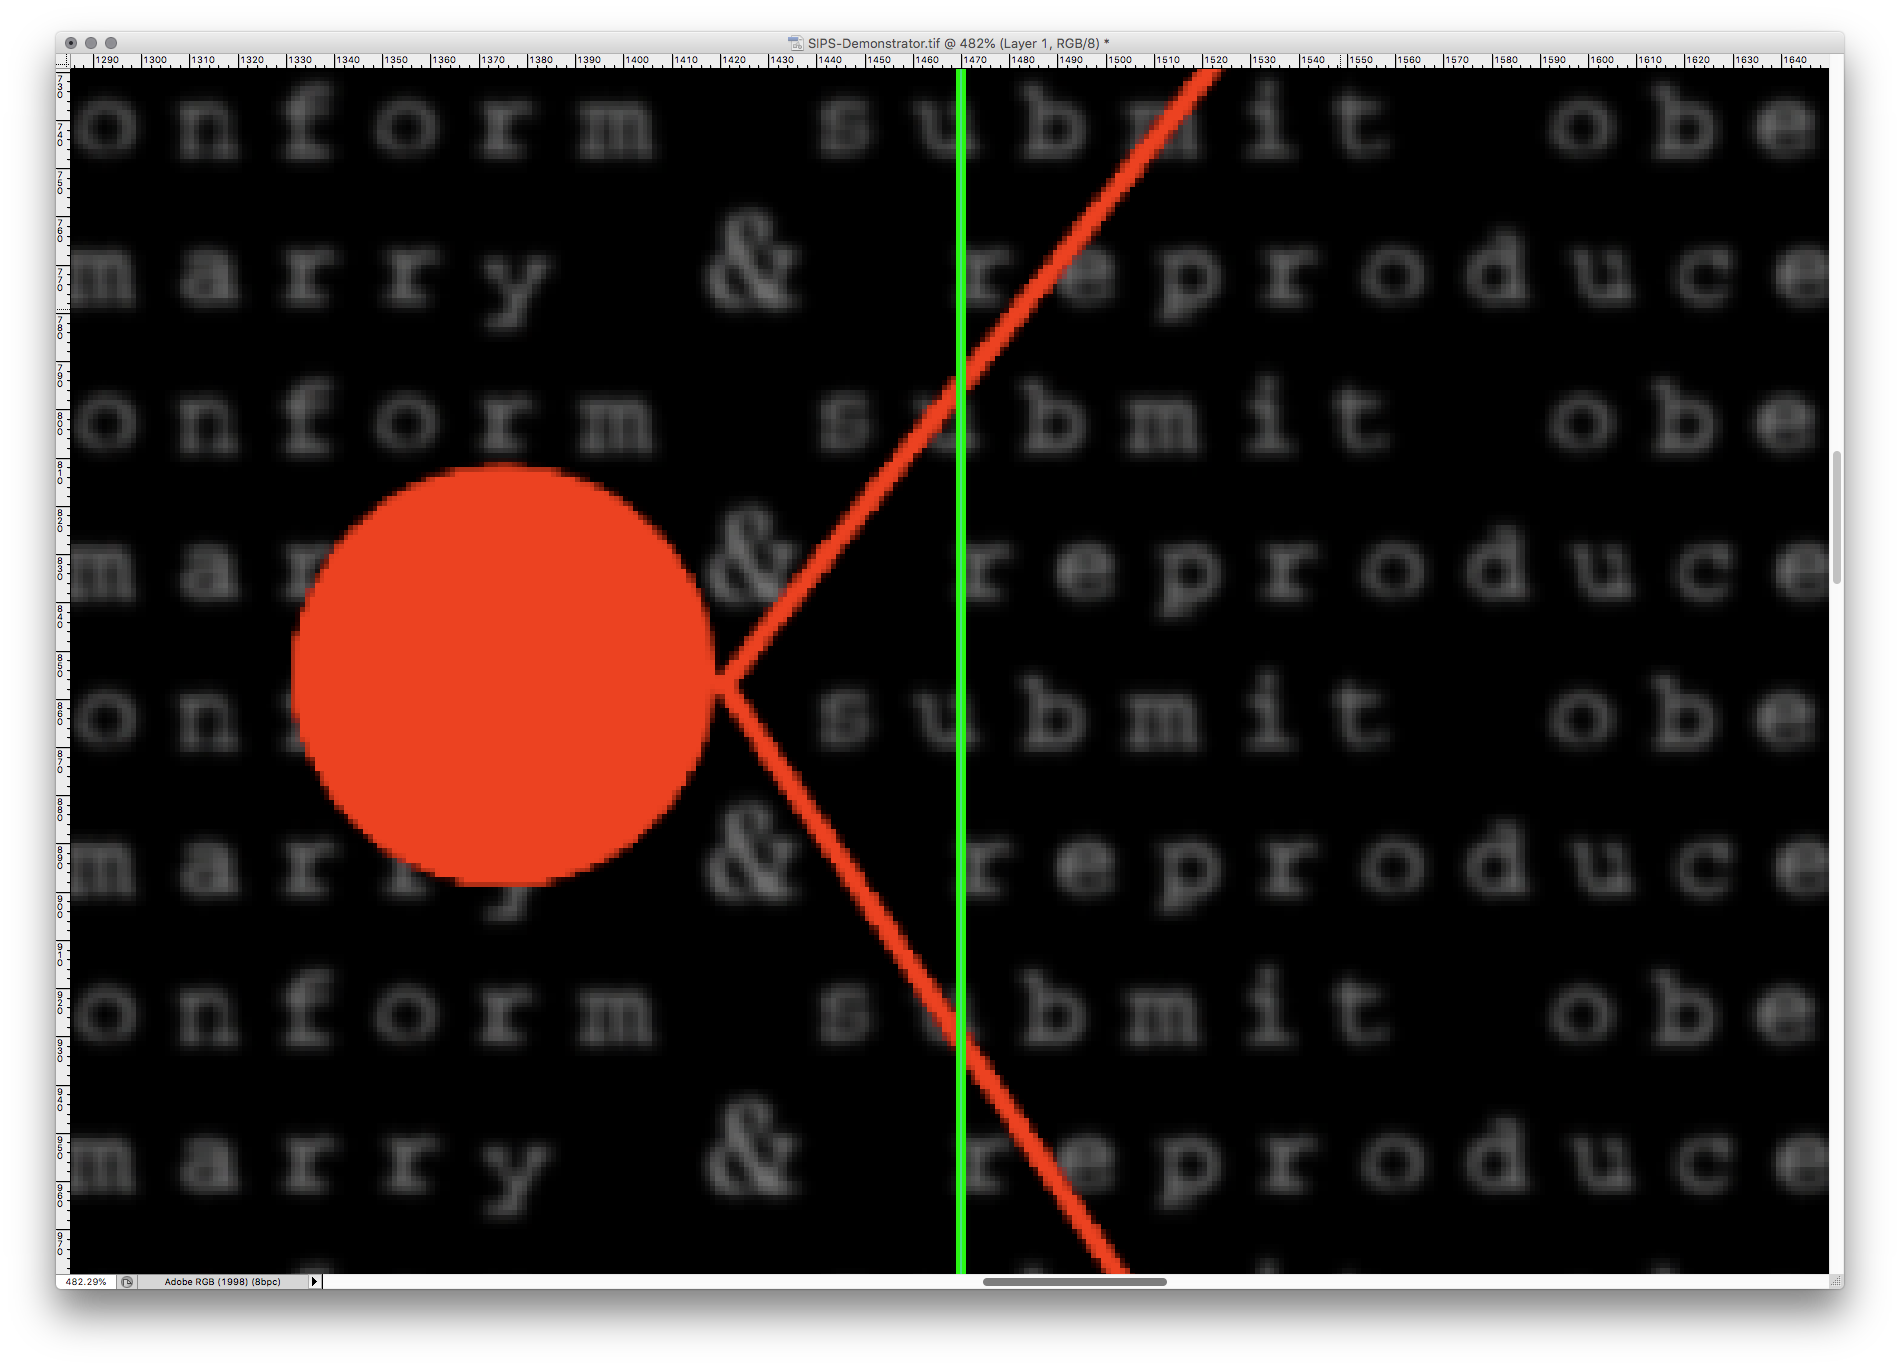
Images which crossed the spine of the EPUB book weren’t aligning correctly. Clearly, something was wrong with the way the Automator renderer was converting .pdf into .png. It didn’t matter what scale I rendered it at – even at the full native 300dpi, the problem remained.
When I compared it against doing the same process manually in Photoshop, it also became apparent that the math behind Automator’s conversion was out – files were always cropped 1-2 pixels smaller from Automator, than they were from Photoshop.
Then I started researching if there was an alternative commandline image processor in macOS – something I could call from an Applescript, to replace Render PDF Pages as Images. Thankfully, there was – SIPS, Scriptable Image Processing System.
After a bunch more research, I managed to sort out the appropriate commands, and gave SIPS a go on my pdf files. The results were the same. I tried it manually with Preview, the results were the same, again. It appears SIPS is the core image processor all these built-in macOS tools use, and it’s SIPS that has the bad math function for rendering PDF files as images.
Sips also produced pretty garbage image quality, compared to Photoshop.
So now I was looking for an alternative to SIPS, and I managed to find one – ImageMagick, a cross-platform commandline image processor. It uses Ghostscript, an opensource alternative to Postscript to render the .pdf, so everything about it will be separate from the SIPS processes. After a couple of days trying to figure out how to install it (hey, opensource projects, try making your basic documentation an educational resource for people who haven’t used your tools previously), I was able to make it work…
It delivered fantastic results, but took 30 seconds per image to process the .pdf files. In contrast, Photoshop, which was so slow I was looking for an alternative, takes 8 seconds.
You might question why I don’t use Affinity Photo, which can tear through the entire 236 pages in around 8 seconds total (gotta love that multithreaded action). Well, unfortunately, Affinity Photo’s pdf renderer can’t handle the edge effects of my InDesign speech bubbles.
So I’m back to where I began, using a ancient versions of Photoshop and InDesign, and needing to take a 35 minute break so Photoshop’s Image Processor script can do its thing, every time I want to run a set of updates from InDesign to EPUB.
Update 23 April 2021:
In experiments with image sizes for Photoshop’s scaling when it renders the PDF file to TIFF, I’ve hit upon a target size that seems to be in some sort of mathematical sweet spot for Photoshop, because the processing time has gone down to about 1 second per image, from ~8 seconds.