One of the issues with the EPUB workflow, is that EPUB documents are .zip compressed. This makes proofing & previewing while you’re working problematic, as some reading apps can’t deal with uncompressed documents. With Apple’s deprecation of EPUB authoring and proofing support:
…proofing on an iPad became a pain point that made the work simply not fun to do.
I’ve been thinking about a solution to this on and off for a while now, and a solution hit me that has obviously been percolating up for a while.
Use iFrames.
iFrame-based layout in browser.
I don’t know why I didn’t think of this sooner, but the solution is at once clever, and so straightforward it makes me feel stupid for having not seen it earlier.
What you do, is set up the entire document of facing pages using an iFrame for each page, and then set the iFrame sources to the xhtml files inside your EPUB development directory.
html, body {
 margin: 0;
 padding: 0;
}

body {
 background-color: gray;
 transform: scale(0.5); /* set the zoom degree to view */
 transform-origin: 50% 0; /* centres the zoom in the middle of the browser */
}

iframe { /* the width and height of the EPUB's declared viewport */
 border: 0;
 width: 1200px;
 height: 800px;
 margin: 0;
 padding: 0;
}

#the_container {
 width: 2400px; /* double your EPUB's viewport width */
 min-width: 2400px;
 margin-right: auto;
 margin-left: auto;
}

#the_container div {
 margin-top: 10px;
 margin-bottom: 10px;
}

.spread {
 width: 100%;
 display: flex;
}

.rightonly {
 flex-direction: row-reverse;
}

.doublepage, .leftonly {
 flex-direction: row;
}
The nifty thing is the transform scale and origin in the body tag’s CSS, so you can scale the whole thing down if the spread won’t fit in your display’s available space, or if you want a more document-wide overview.
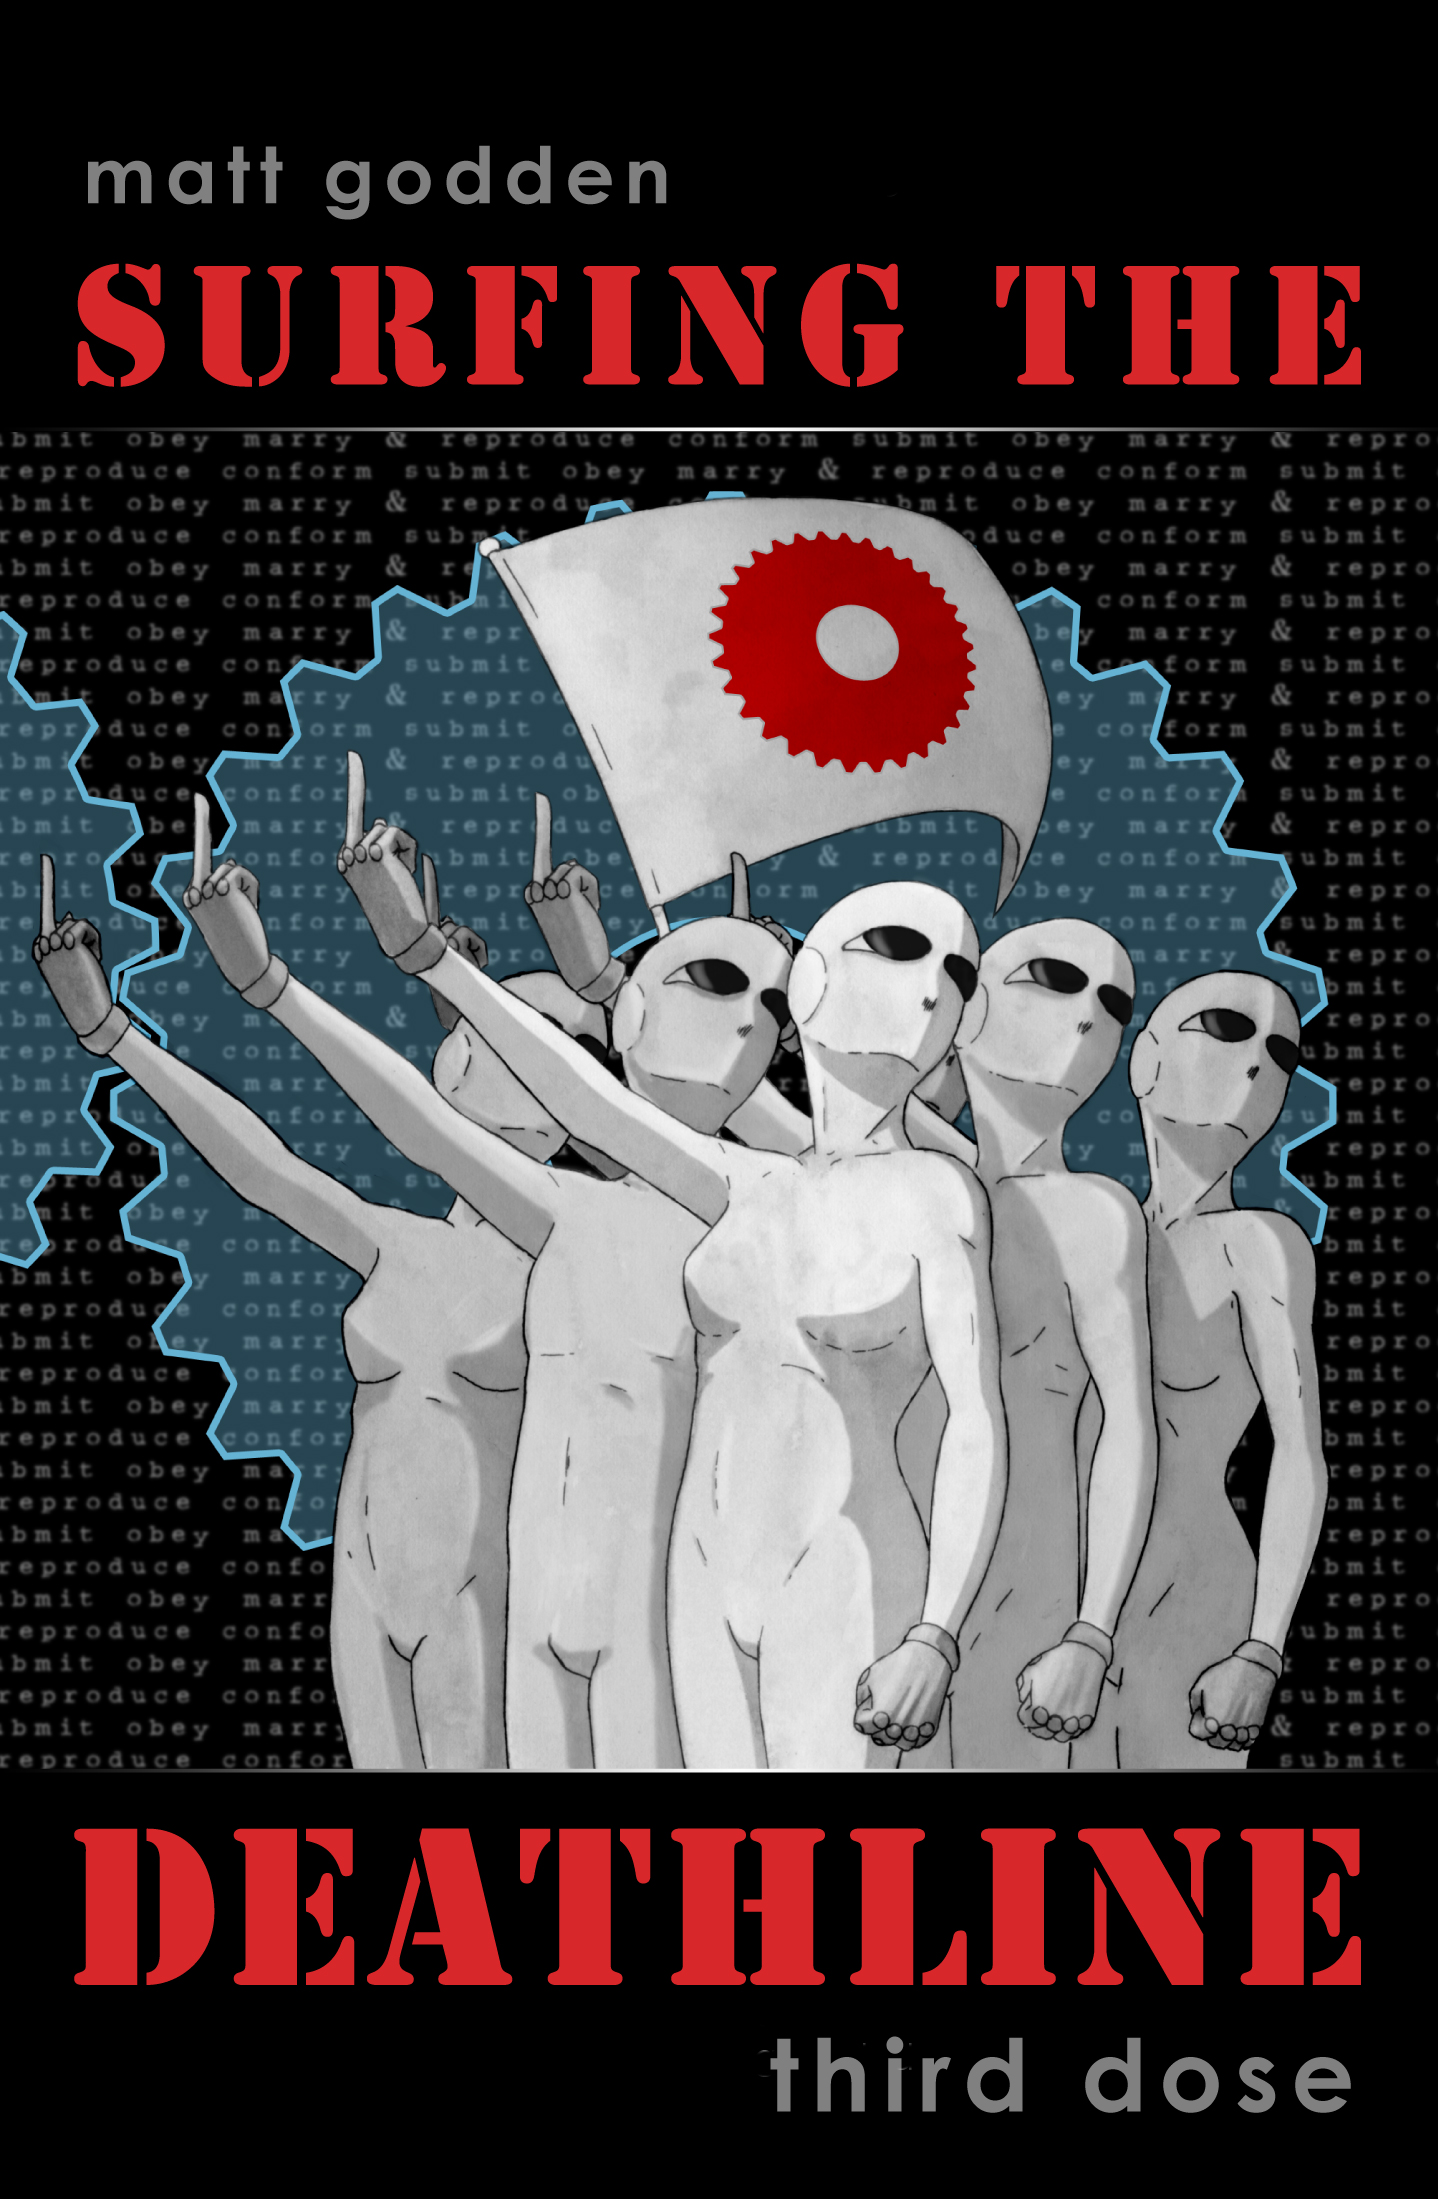
Over the past few months, the past year really, I’ve been rebuilding the production process for Surfing The Deathline.
The project is built in obsolete versions of Adobe Photoshop, and InDesign – versions that won’t run on a modern operating system. On the assumption that vintage hardware will be unable to run for ever, I made the long term plan to build a dedicated virtual machine with the necessary applications, and fonts, to be able to continue to fix the work, should errata be discovered.
And boy, were errata discovered:
You can see the tag for the speech bubble doesn’t match the background colour of the bubble itself. They were supposed to be indistinguishable, and what I eventually realised was that I had switched the text box to an RGB-based black, while the tag end was still a CMYK black. The important point being that while they look the same at 100% opacity, as you apply transparency effects, the CMYK version takes on a grey tinge.
This error went live in an update of the books.
So back to the virtual machine; setting that up, learning to configure and run virtual machine software, acquiring an old version of MacOS 10.6 Snow Leopard Server, reinstalling old Adobe Creative Suite 5, migrating fonts – each step required re-learning old technology. Dealing then with the vagaries of migrated fonts; how some fonts that had been in my system for years wouldn’t work when re-added to a fresh system, and so necessitated finding replacement versions effectively meant manually checking, and adjusting every piece of text in the work.
Eventually it was all done, and I was able to start re-building Surfing The Deathline in the new environment. Along the way, I started to find issues – typos, and style items incorrectly applied. Some of them dated back to the first print publication in 2006, or the first pdf preview in 2004. So there was literally a couple of months of going through the book, page by page, massaging fixes, running output sets, proofreading, noting fixes, fixing, running output, proofreading, etc.
The biggest limiter was my inability to do more than one proofing run per day – the changes were so small and obscure that after reading the book once, I simply couldn’t see the next set of problems – fresh eyes were necessary.
And so, for weeks on end, I’ve been largely nocturnal, barely leaving the house. Groceries arrive, I cook, I read news, I work, I have occasional weekends off. This is me in work mode.
But the work has been done. For something I declared finished in 2021, now in 2024 it seems genuinely finished.
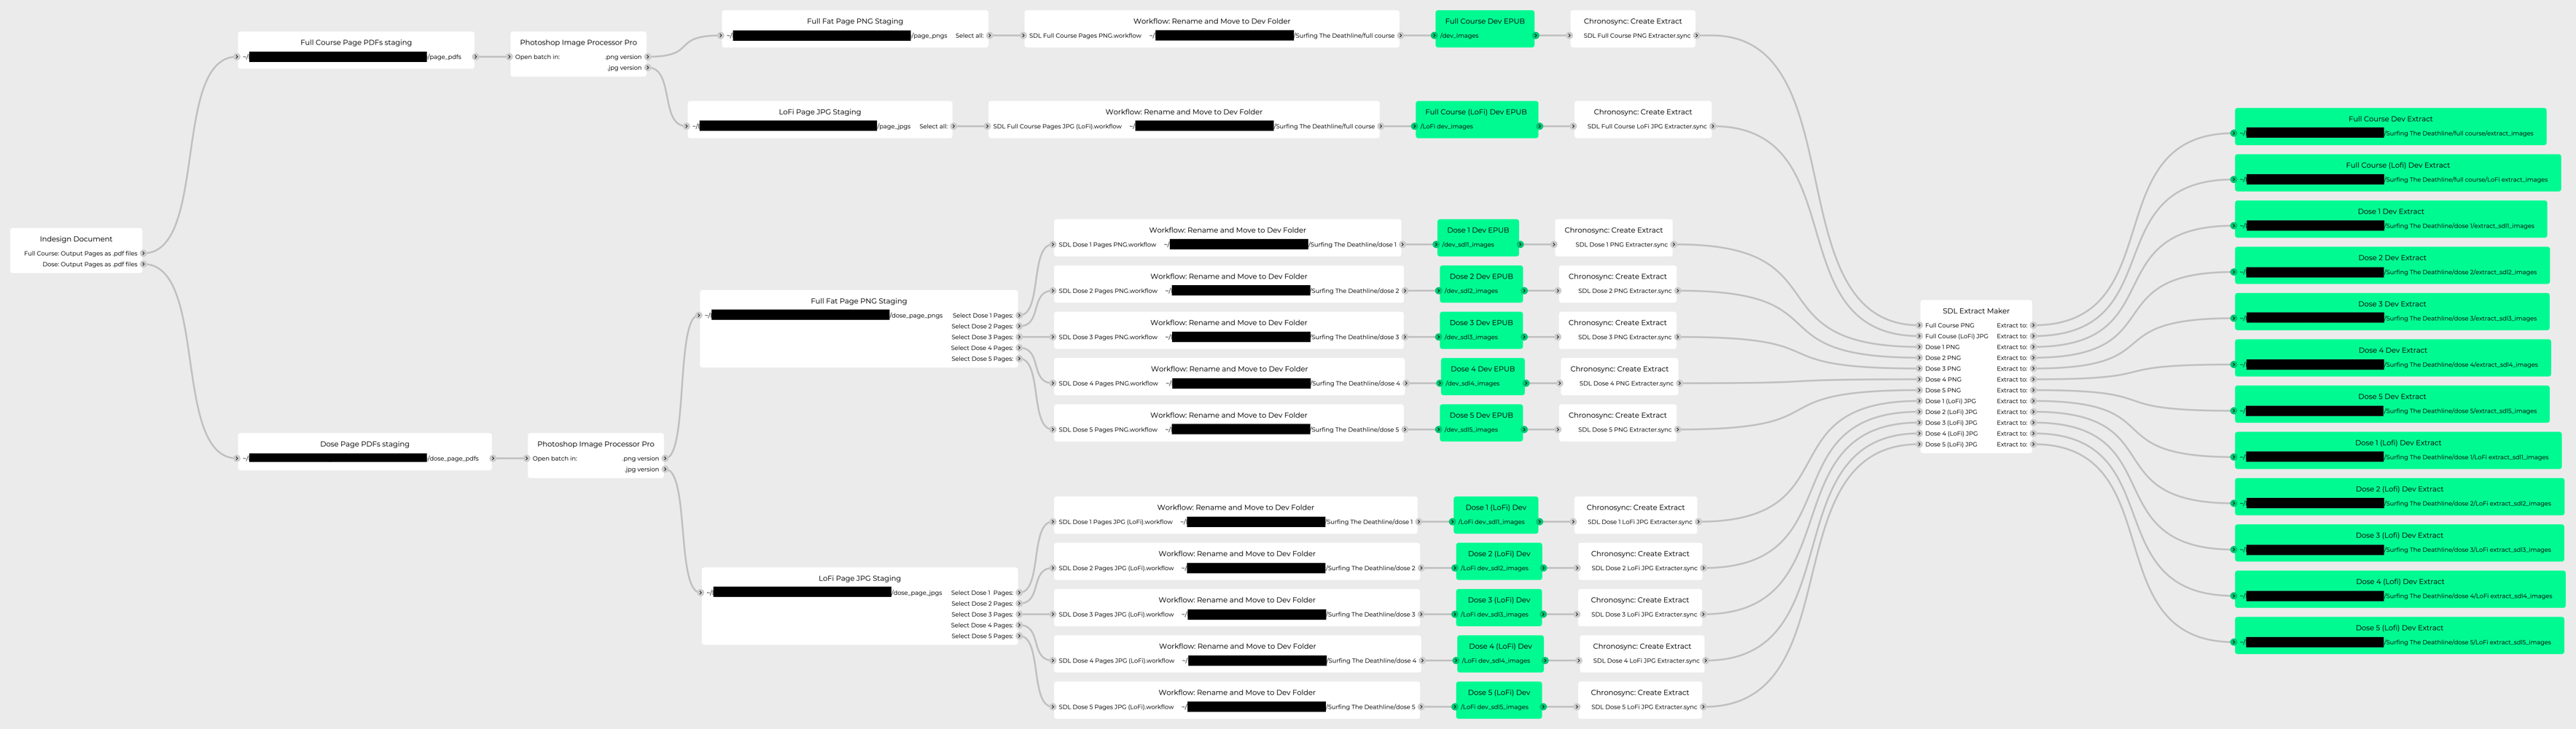
I realised recently that in the changeover to my new workstation, and the change to new operating system versions, my entire workflow for producing a Surfing The Deathline page art errata fix was broken.
Worse still, I couldn’t fit the entire thing in my head at once, so there was nothing for it, but to start mapping the whole thing out.
The process:
Adobe Indesign CS5.
Output all pages to individual .pdf files
Adobe Photoshop CS5.
Convert each page to .png, and .jpg files
Automator Workflow.
Rename files and copy them to the appropriate development folders
Chronosync Workflow.
Copy a subset of files to be used in the extract versions to the appropriate extract development folders.
A thought that occurs is to put the entire process into the Virtual Machine I’m using to run the Adobe apps, so that they’re sealed off against change.
No point in re-writing the post here – but over at my publishing site I’ve illuminated all the reasons for ditching Apple Books as a publishing channel, and concentrating on the indy route:
So here’s an interesting mystery / conundrum / process I recently went through in trying to create a new workflow.
For reasons or not wanting to subscribe to software, I’m still using the CS5 versions of Adobe Apps for Surfing The Deathline. The original documents are heavily constructed in Photoshop, then all the text, sound effects etc are done in InDesign, which makes them rather non-portable to other solutions.
It had been so long since I’d done a serious update of the books, that I’d forgotten parts of my workflow, and so had started some things from Scratch.
Surfing The Deathline uses .png format images for its pages. Although they take up a lot more space than .jpg versions, they have an advantage of being colour-accurate. A major problem of .jpg is that for images in black & white, a single pixel of colour will shift the white and black values away from their correct tones. So, where you get two pages butting up against each other at the spine, the greys might not match.
InDesign CS5 has no direct png output option, so the workflow is:
PageExporterUtility script to output the pages as individual .pdf files
Convert the .pdfs to .pngs
rename the .pngs and move them to the appropriate EPUB document’s image directory.
I had created an Automator action, which took in the .pdf files, and converted them to .png, and saved them to disk. It took about 3-5 minutes to do all 236 pages.
But there was a problem with he output…
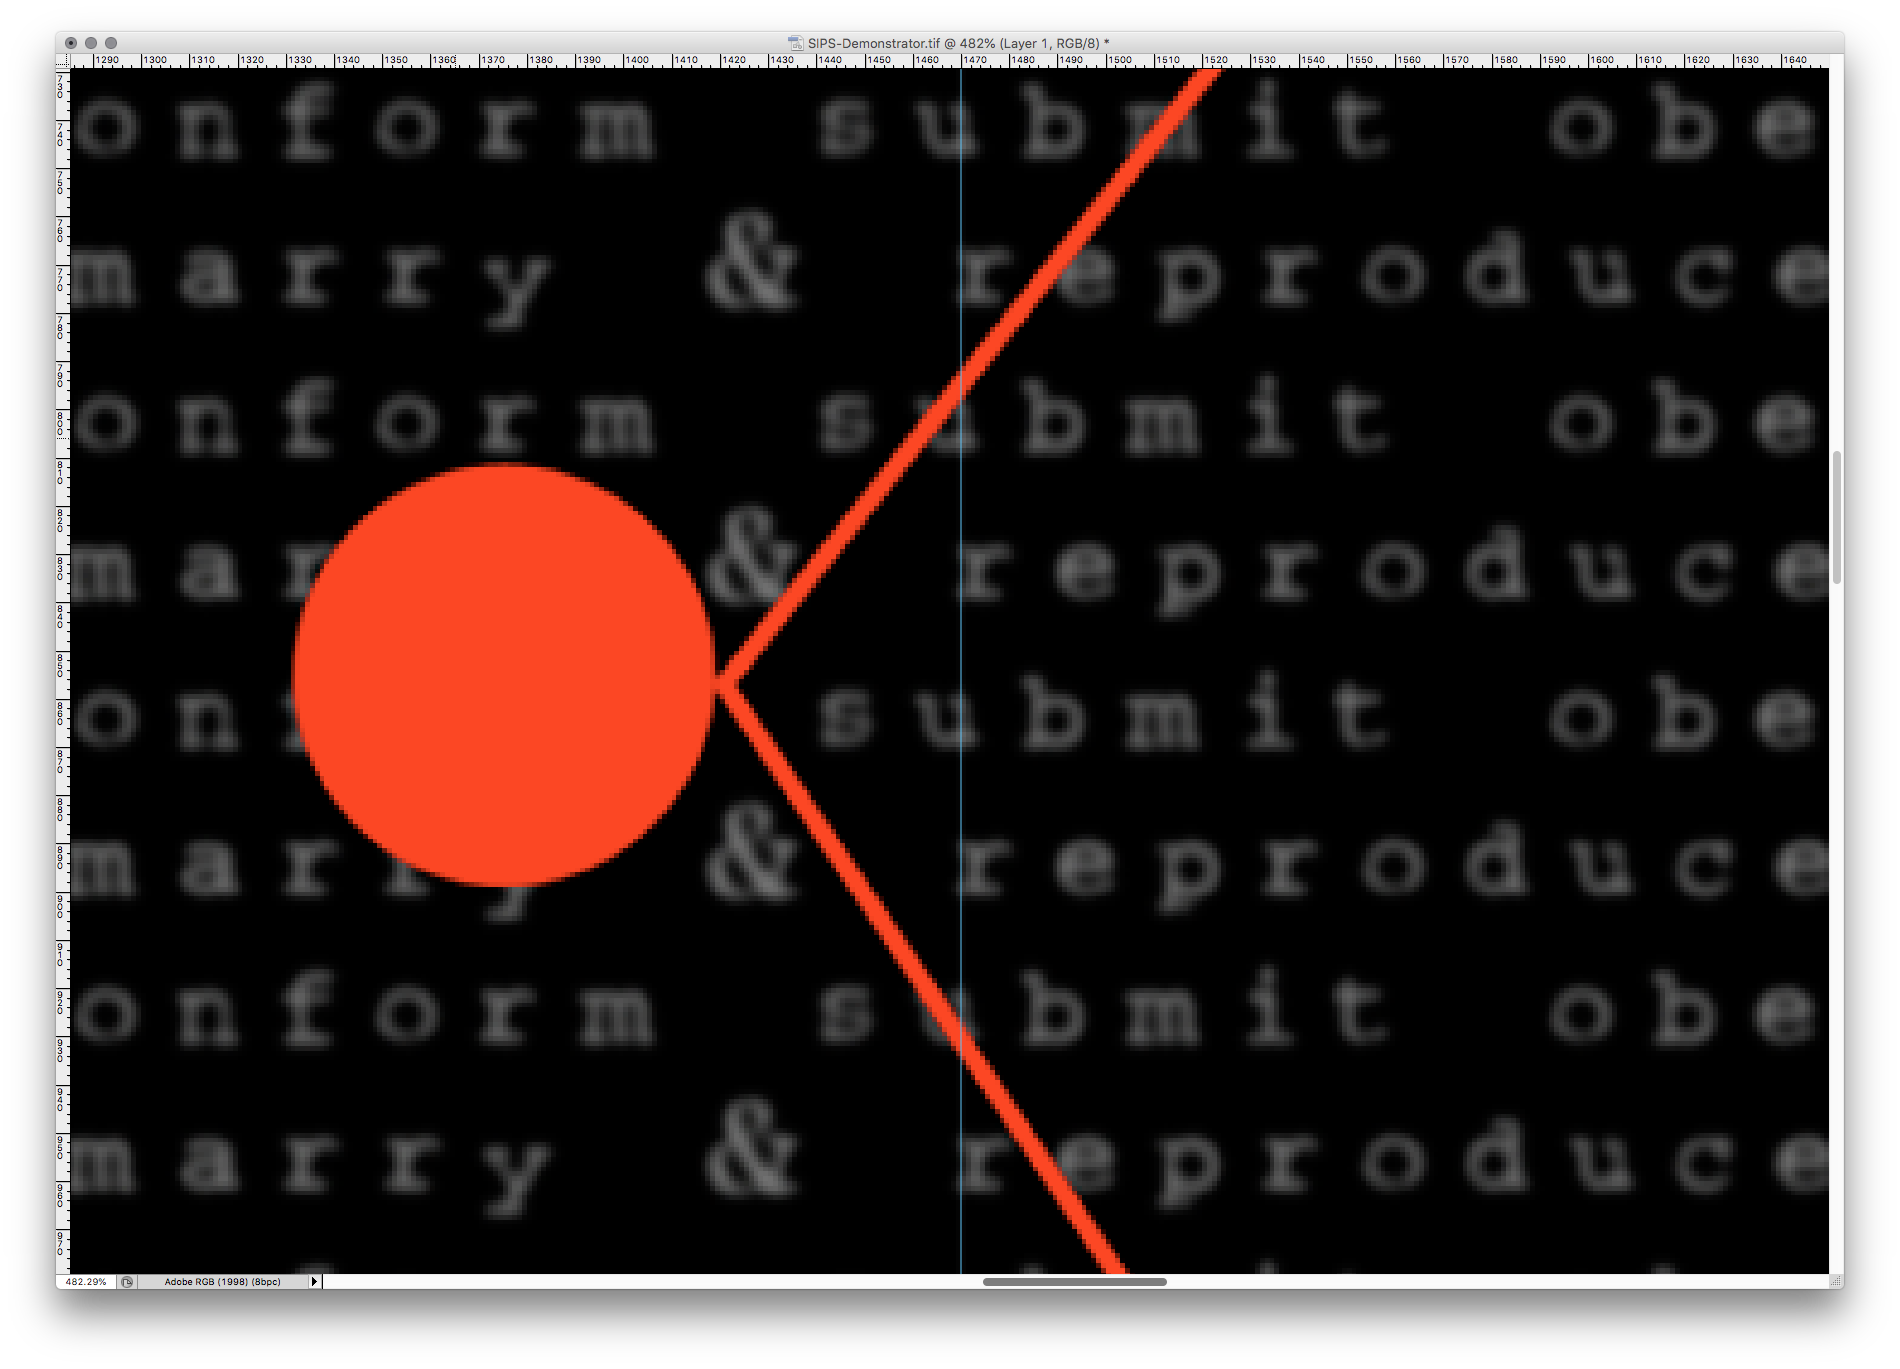
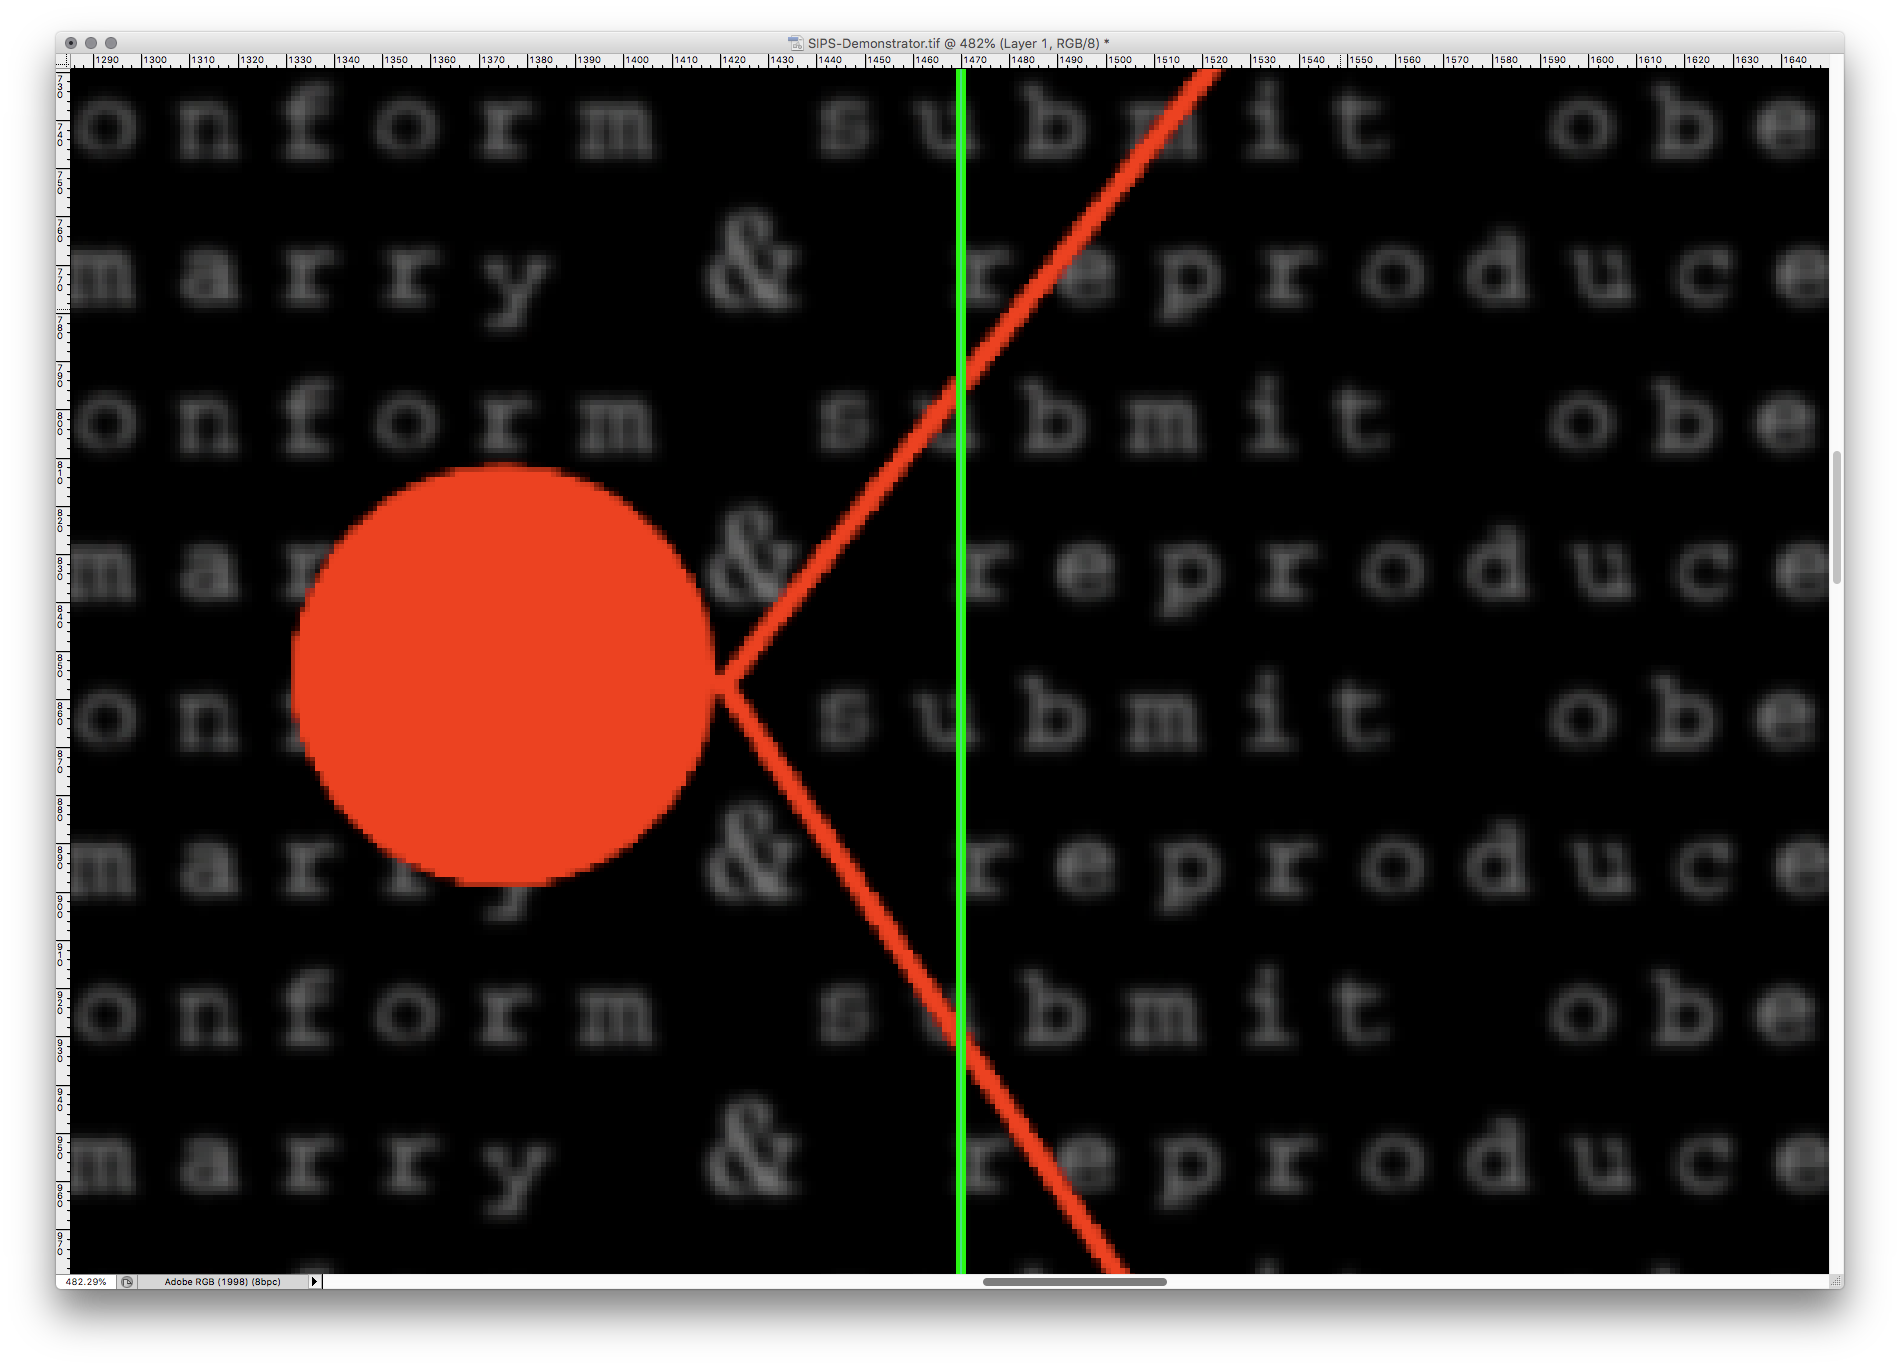
Good
Bad. Click it & see.
Certain pages, seemed to have red & blue fringing on their text. Going through the .pdf files, it bcame apparent that it was linked to the pages which had a specific masterpage controlling their appearance. Looking at that masterpage, the thing that suggested itself as problematic, was the page number – it was frontmost in the layering stack. So, I deleted and recreated the page number object in the masterpage, applied it to the pages, and reran the .pdf to .png workflow.
Problem solved. Almost.
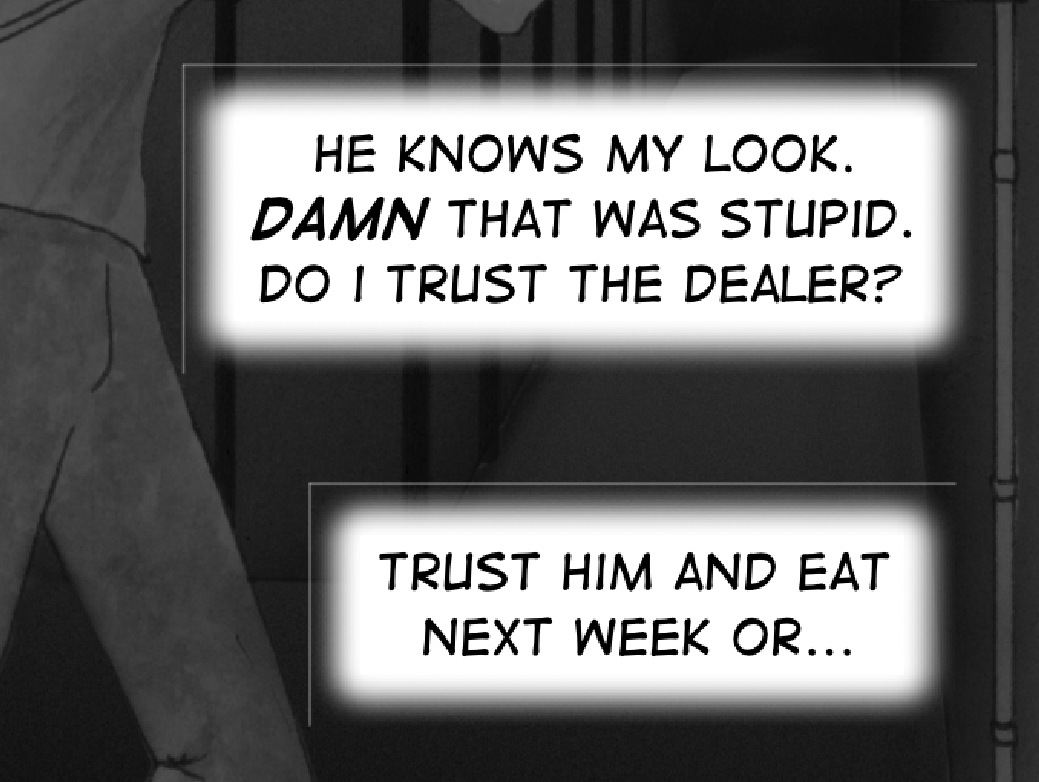
My large sound effects were still showing red/blue colour fringing. After a couple of days research, it became apparent that this was caused by the system applying sub-pixel antialiasing to the .pdf file during the render.
After experimenting with commandline options for disabling it, I found out there was actually a checkbox for it in the System Preferences app. Unfortunately switching it off makes the system’s display look worse, so what I needed was a way to toggle it off, run the image processing steps, then switch it back on.
After some experimenting, and asking on forums, I was able to get an Applescript that did the job, and add it to my Automator action:
What this does is:
run an Applescript to open System Preferences, test if the checkbox is ticked, untick it if it is, close System Preferences, then,
run all the pdf files through the Render PDF Pages as Images function to create png files, then,
move the converted versions to a new location. Then,
open System Preferences, test the antialiasing setting, and switch it back on, then close System Preferences.
It was fantastic – I had a wonderful system that, once I’d output the .pdfs from InDesign, could after selecting all of them, render them all to .png in a single right-click.
But there was a problem…
Images which crossed the spine of the EPUB book weren’t aligning correctly. Clearly, something was wrong with the way the Automator renderer was converting .pdf into .png. It didn’t matter what scale I rendered it at – even at the full native 300dpi, the problem remained.
When I compared it against doing the same process manually in Photoshop, it also became apparent that the math behind Automator’s conversion was out – files were always cropped 1-2 pixels smaller from Automator, than they were from Photoshop.
Then I started researching if there was an alternative commandline image processor in macOS – something I could call from an Applescript, to replace Render PDF Pages as Images. Thankfully, there was – SIPS, Scriptable Image Processing System.
After a bunch more research, I managed to sort out the appropriate commands, and gave SIPS a go on my pdf files. The results were the same. I tried it manually with Preview, the results were the same, again. It appears SIPS is the core image processor all these built-in macOS tools use, and it’s SIPS that has the bad math function for rendering PDF files as images.
Sips also produced pretty garbage image quality, compared to Photoshop.
Photoshop
SIPS
So now I was looking for an alternative to SIPS, and I managed to find one – ImageMagick, a cross-platform commandline image processor. It uses Ghostscript, an opensource alternative to Postscript to render the .pdf, so everything about it will be separate from the SIPS processes. After a couple of days trying to figure out how to install it (hey, opensource projects, try making your basic documentation an educational resource for people who haven’t used your tools previously), I was able to make it work…
It delivered fantastic results, but took 30 seconds per image to process the .pdf files. In contrast, Photoshop, which was so slow I was looking for an alternative, takes 8 seconds.
You might question why I don’t use Affinity Photo, which can tear through the entire 236 pages in around 8 seconds total (gotta love that multithreaded action). Well, unfortunately, Affinity Photo’s pdf renderer can’t handle the edge effects of my InDesign speech bubbles.
So I’m back to where I began, using a ancient versions of Photoshop and InDesign, and needing to take a 35 minute break so Photoshop’s Image Processor script can do its thing, every time I want to run a set of updates from InDesign to EPUB.
Update 23 April 2021:
In experiments with image sizes for Photoshop’s scaling when it renders the PDF file to TIFF, I’ve hit upon a target size that seems to be in some sort of mathematical sweet spot for Photoshop, because the processing time has gone down to about 1 second per image, from ~8 seconds.
Something that’s been of interest to me lately, is why so few of the local comics people I know publish on Apple’s iBooks store. It seems obvious to me why you would, but I can also see the reasons why you wouldn’t – it’s a single platform (Mac and iOS) reading solution, and requires that you have an American taxation registration. There’s also only one graphical tool for producing books for it, InDesign Creative Cloud, which is a $20-$30 monthly subscription cost (or $240/year). Note, Apple offers the iBooks Author application, but it doesn’t do paginated reading, or allow images to be zoomed larger than full screen.
But, if you were to look at iBooks, here’s a list of the reasons to compare against whatever solution you’re using currently:
Revenue Cut: The basic revenue split is 70% you, 30% to Apple. Any other comics reading / buying app that offers in-app purchasing means the app vendor is paying you out of their 70% cut of the cover price.
First Party Application: iBooks is already on the device, and customers can buy books within the application.
Price Control: Apple can never override your price to discount your book and lower the market’s expectation of the value of your work.
Product Control: You do all the authoring, Apple doesn’t change your files, resize your images etc. What you create and test, is what the reader gets.
Preview Control: You can author the preview separately to choose what it contains, and Apple adds a page with a “buy full version” button to the end.
Free Books Cost You Nothing: Offer your books for free, you don’t pay any fees at all. If you’re only offering free books, you don’t even need to fill in the financials and tax information.
Quick Approval: Apple claim that 90% of books get reviewed within 1 day. In practice I’ve found it takes about 7-10 days from submission to being on sale.
Copy Protection: If you want to use DRM, Apple’s solution is unobtrusive and effective. If you choose to go DRM-Free, your file is still watermarked to the buyer, so you can get an idea of where that torrented version originated.
Analytics: live sales and revenue data broken down by territory and exportable to spreadsheets.
Good Tech Support: I’ve only had positive experiences with Apple’s book developer support staff. They have an Australian freecall phone number, and the staff take ownership of issues.
No Multiyear Contract: You can pull your book from the store or suspend sales at any time. People who’ve already bought it will still be able to download it, but it won’t be available to anyone else.
No Exclusivity Requirements: you can put your book in any other store (the iBooks Author application, which isn’t really good for comics, only produces files for the iBooks store).
How do you ensure the iBooks library image is readable, when the typography of your cover is too small in icon view?
Icon Cover
The answer to that is actually really simple, but has a quirk that can trip up a publisher, because the behaviour of files downloaded from the iBooks / iTunes store differs from how they work when loaded directly through iTunes or iBooks (formerly Book Proofer).
Solution first, then quirk afterwards.
By default, iBooks uses the file listed as the cover image in your package.opf file to generate the icon:
That image is the one you create optimised to be seen as a tiny icon in your iBooks library, which in icon view has no text labels (the origin of this problem).
The image optimised for full screen viewing and placed within your cover html page can then be listed separately:
When you load this EPUB into iBooks, the image tagged as having the “cover-image” property will be used to create the icon.
When submitting your files via iTunes Producer, you have a cover image imagewell, and Apple then uses that to create the image of your book in the iTunes & iBooks stores, as well as the iTunes Preview website. It also uses that image to create the icon you see in the icon view of your iBooks library.
So, if you try to use your “big art” version of the cover to be the hero image of your book within iTunes / iBooks / iTunes Preview, when someone downloads your book, that’s the version of the cover image that’ll be used for the icon view in the Library. Importantly, that image will override the image you’ve hard-coded into your EPUB to be the cover image.
So, the solution in the end, is to design your icon view art so that it looks OK when presented as the hero image of your book in iTunes / iBooks / iTunes Preview, and remember that the “Preview” tag will obscure the top right corner when a preview is downloaded – hence my putting the author name on the left in the examples above.
If this article was of use, a donationwould help support my projects.
So, based on discussions with a number of local comics people, especially in the wake of the recent ComiXology Amazon buyout, and the brouhaha over the removal of purchase options from ComiXology’s app, I decided to put together a primer on how to build EPUB comic books, like the ones I’m doing, for folks who are interested in getting onto the iBooks platform.
Now, I’ve never used ComiXology, so my opinions / comparisons are somewhat secondhand, but here’s the way iBooks works.
You, the creator do all the work authoring the files – Apple doesn’t alter, fix, edit or optimise them.
You, the creator set the price – Apple doesn’t discount, give away or in any other way mess with your retail price.
You, the creator get 70% of the cover price.
You, the creator can build the preview version of your book, and the iBooks reader app will automatically display a “buy & download the full version” link on a blank last page added.
You, the creator upload your own choice of example screenshots.
iBooks / iTunes store tech support staff are brilliant – super helpful, super keen, and keep you in the loop if there’s a problem that needs to be fixed at Apple’s end.
As far as I know, you can pull your book at any time, and it will go off sale (no contracts granting Apple x-number of years of sales), though those who’ve bought it already will continue to be able to download it.
You get to choose if your book has DRM or not. Personally, I do put DRM on my files, because it ensures the reading experience is the one I created (given I use a lot of WebKit specific design and scripting) – locking the reader to iBooks on a Mac or iPad. Non-DRMed files are still watermarked to the buyer’s iTunes store account.
With comics, you’re producing what’s called a “fixed layout EPUB”, which in the iBooks reader app means your page art is edge to edge, and the controls are displayed differently. The authoring tools necessary are a text editor, and any image editing apps you already use.
A Fixed Layout EPUB is basically a website. Each page of your book is a separate webpage, with content entered using HTML, and CSS to define how everything looks. You define the size of the viewport to be the size of your page, and then you can use positioning values to place things exactly where you want them.
It’s web design, without the ambiguities of working with multiple browser engines / window sizes etc. Better yet, becuase it’s a walled garden of WebKit, you can use lots of WebKit specific CSS that hasn’t been ratified as part of CSS3 yet.
The Merchant Process
In order to sell books on iBooks you have to do the following:
Obtain a US Tax ID.
One option is to get an ITIN – this is long and expensive, requiring sending a passport to the US consulate for ID verification, plus document fees.
The second option is quick and cheap – call the IRS in America and get an EIN, as documented here. This takes about 2 weeks for everything to work its way through so that your EIN is recognised by Apple’s systems.
NOTE: income earned via the iTunes / iBooks store is taxed in America at (from memory) a 30% rate, which you can then claim back from the Australian Tax Office as a credit under international treaties against double-taxation.
Sign up for an iTunes Merchant account to sell on the iBooks store.
Free accounts can offer only free books, but don’t require you giving Apple banking & US Tax information.
Paid accounts require you to give Apple your bank details (so they can pay you your residuals), and the aforementioned US Tax information, buy you don’t have to pay for the account itself
(Depreciated – this program has now closed, and book authoring doesn’t require a dev account) Sign Up for an Apple Developer account so you can download tools and access the developer support forums. The type of account you need is the Safari Developer Program – it’s free, and gives you write access to all the forums which are to do with iBooks, and WebKit. You can read all the other forums. Needless to say, these are all NDA covered.
Upload your file, excerpt, screenshots and metadata (pricing, territories etc) using iTunes Producer. iTP will preflight your files, identify any problems, like code bugs, and tell you what they are so you can fix them.
Initial approval usually takes about 10 working days, and updates take around the same amount of time.
The Authoring Process
My first recommendation is to read the lessons on R. Scott John’s blog, starting with:
That should give you all the information you need to get the basic thing up and running. Some additional tips:
iBooks on the Mac allows you to direct load your EPUB working files to the iPad for preview and debug.
iBooks Author doesn’t currently do paginated books, with zoomable art.
Any questions, hit me up in the comments. Oh and one final thing – if this is of use, go buy a copy of The Metaning on iTunes. Researching & collecting all this information together took most of my time over a couple of weeks, and there’s a lot of garbage information out there, or information that’s only available via paid sources – the “buy my ebook on how to make ebooks” type thing. Getting a few book sales would be a nice payback.
If this article was of use, a donationwould help support my projects.