


human : artist
![]()
Pinned and chronological feed of posts. Check The State of The Art for the big picture.
I have a new book released today!
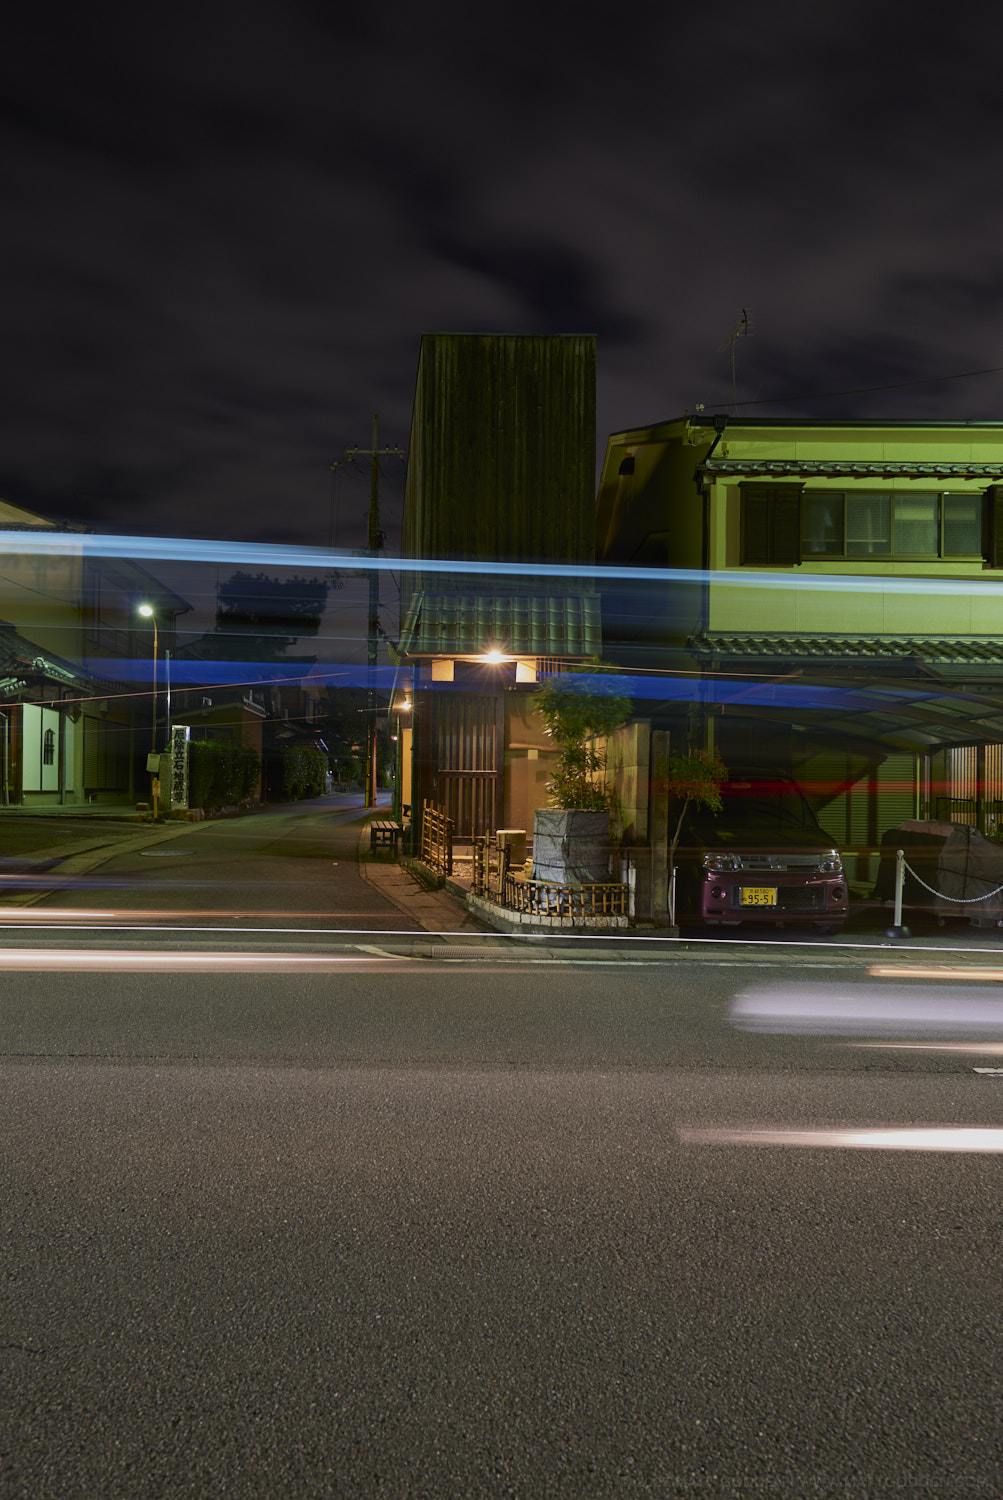
This was done as a quickie, while I was stalled on Day And Night, and reminded me of how well I’ve centred on a working production process to make tings like this. Total turnaround, given the images were already done, was about three days.

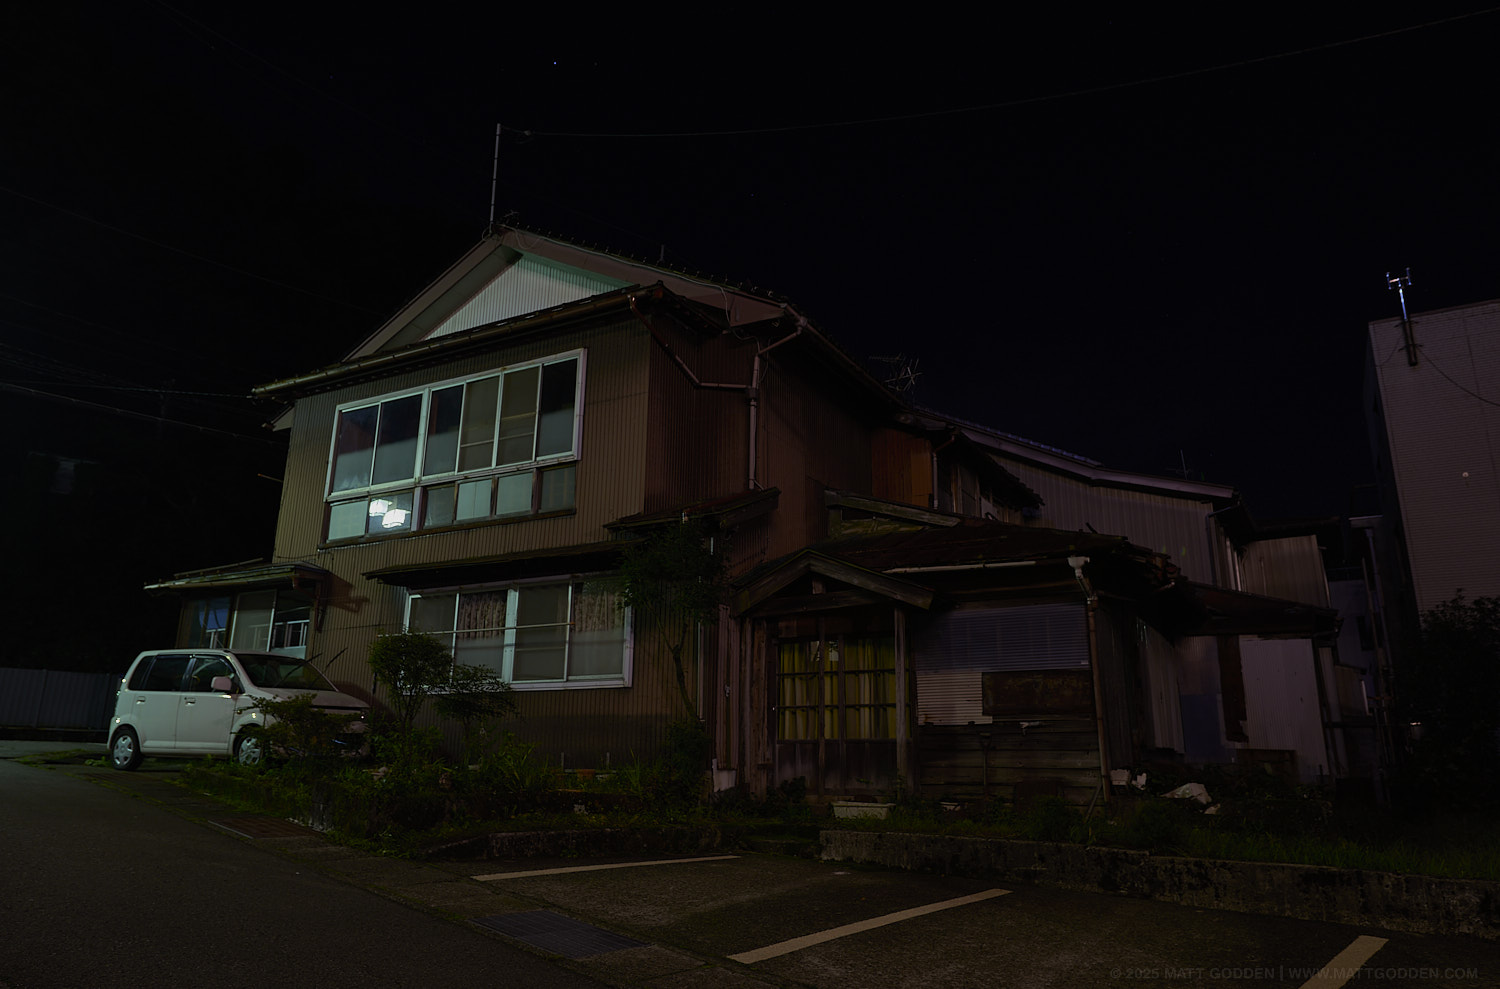
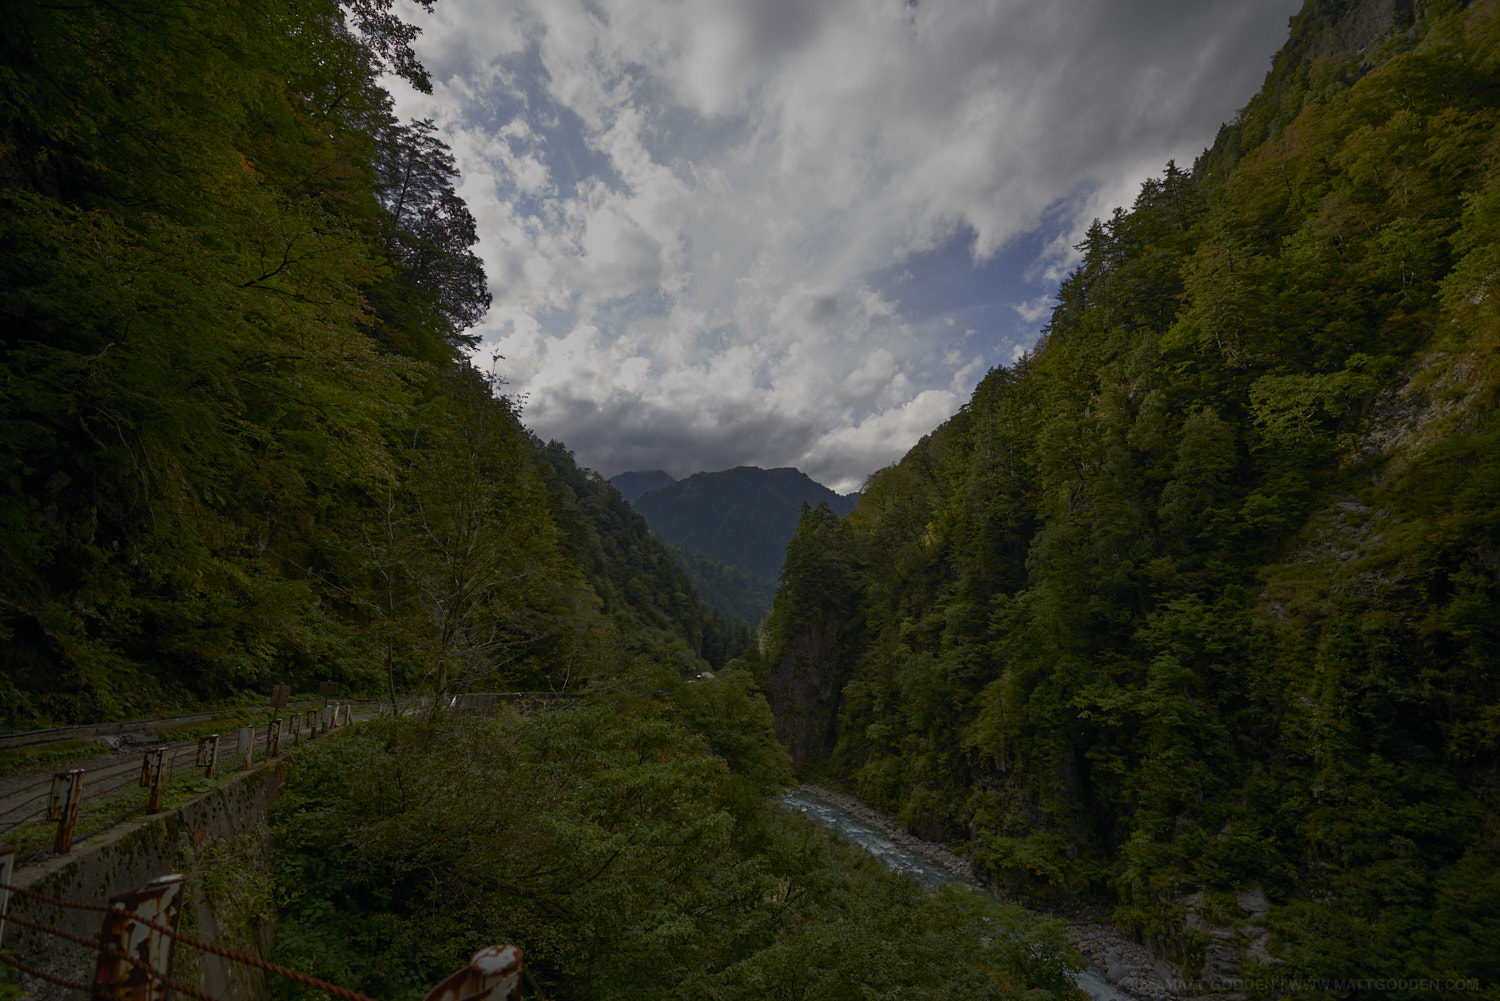
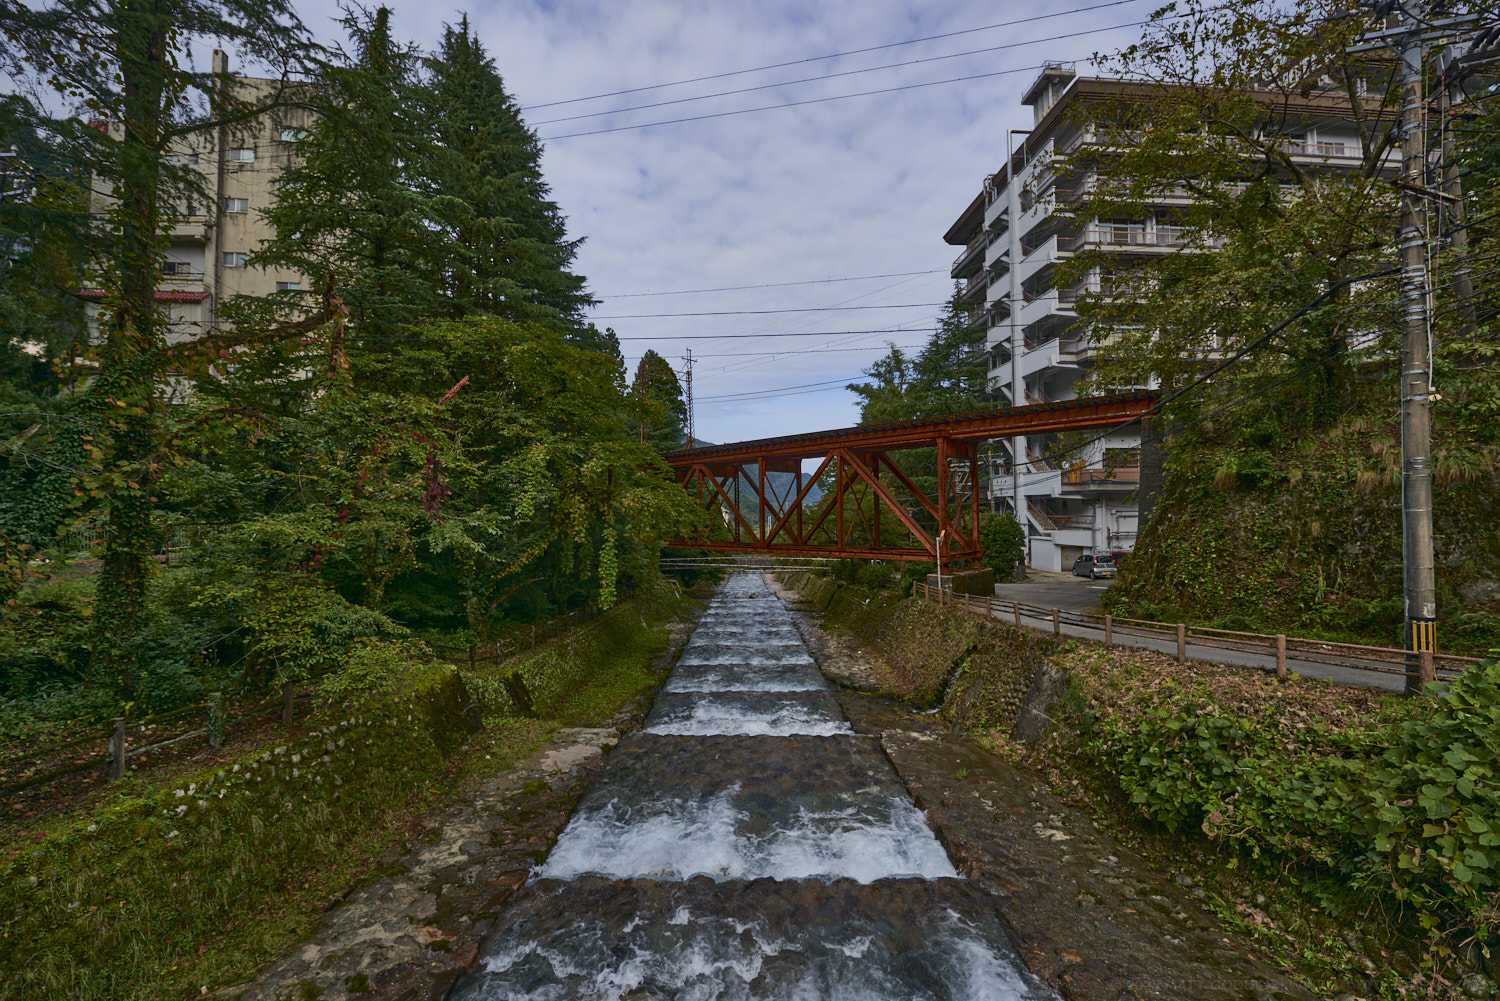
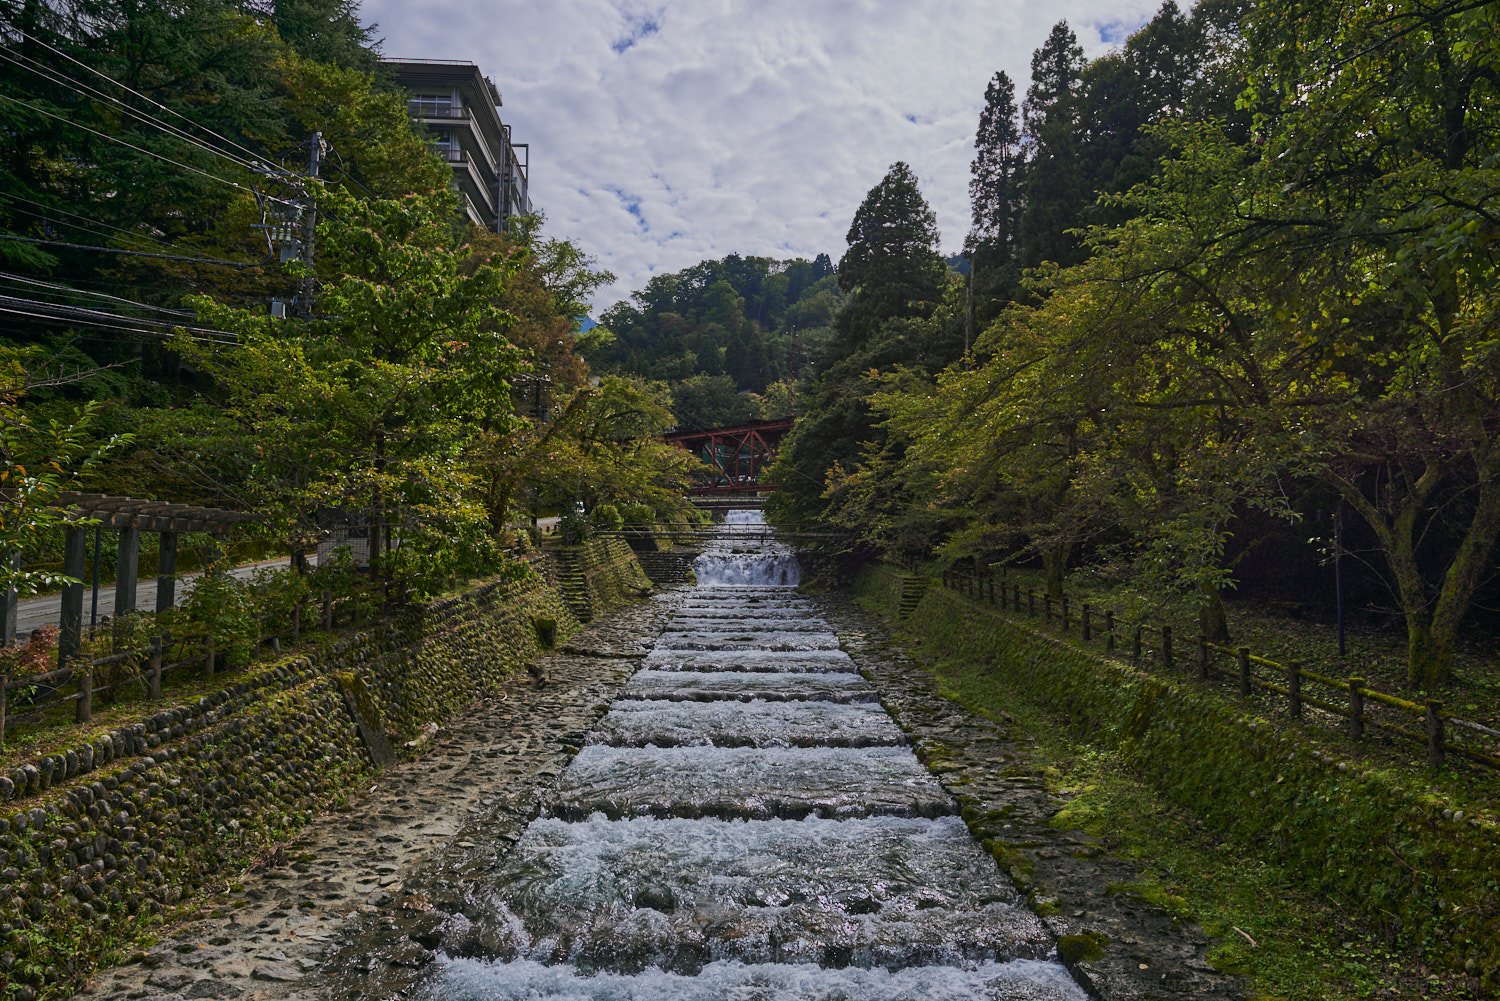
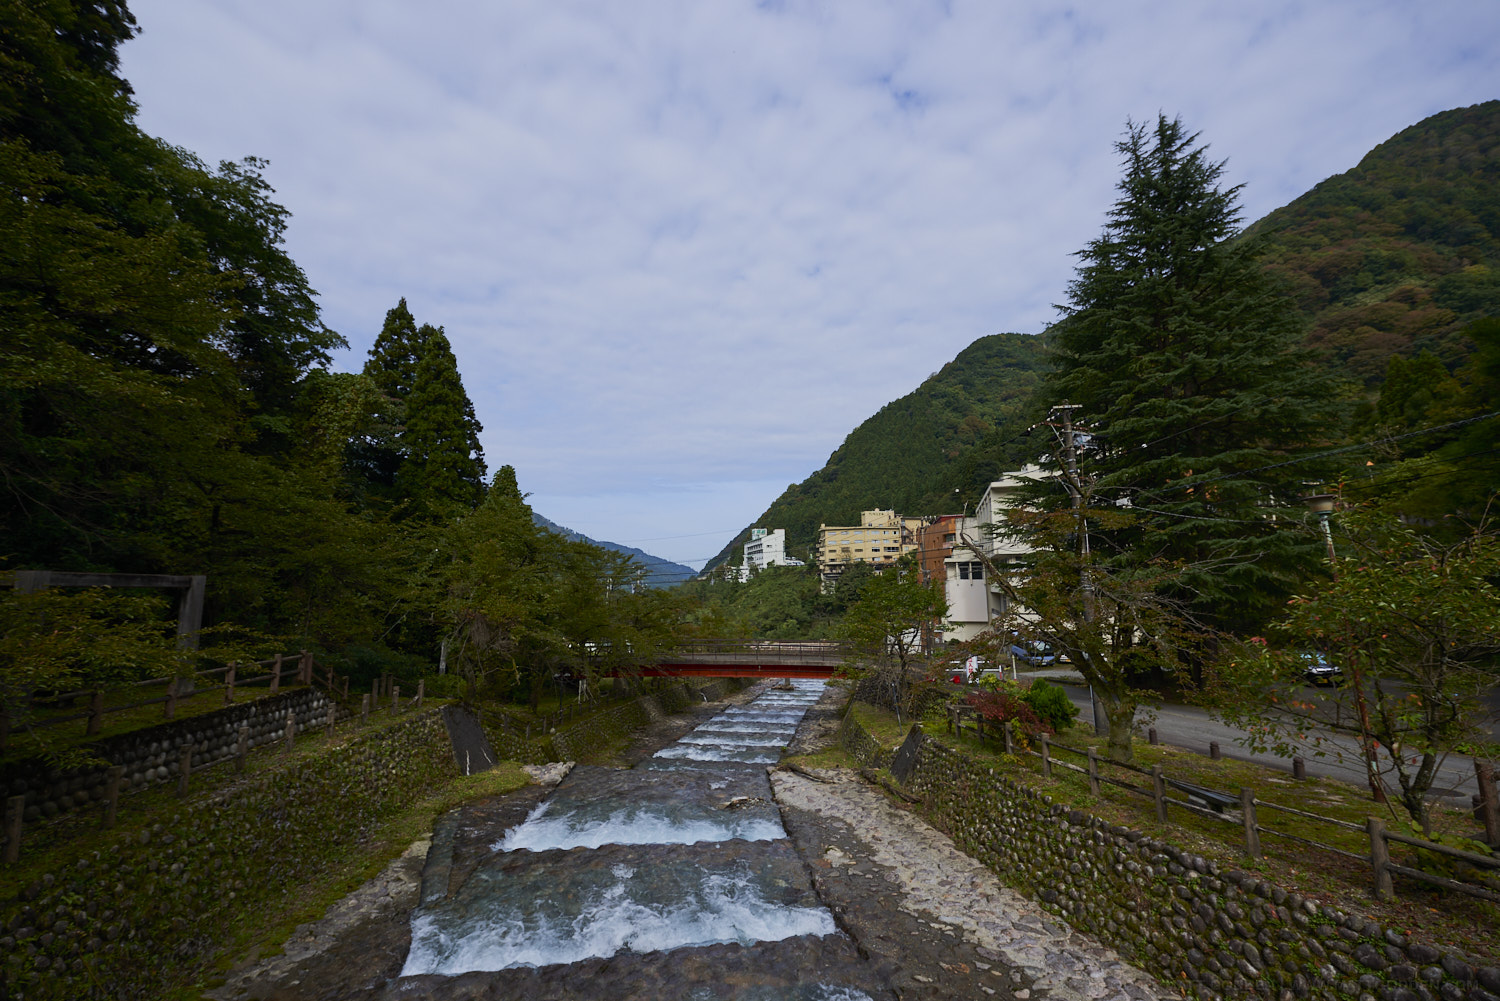
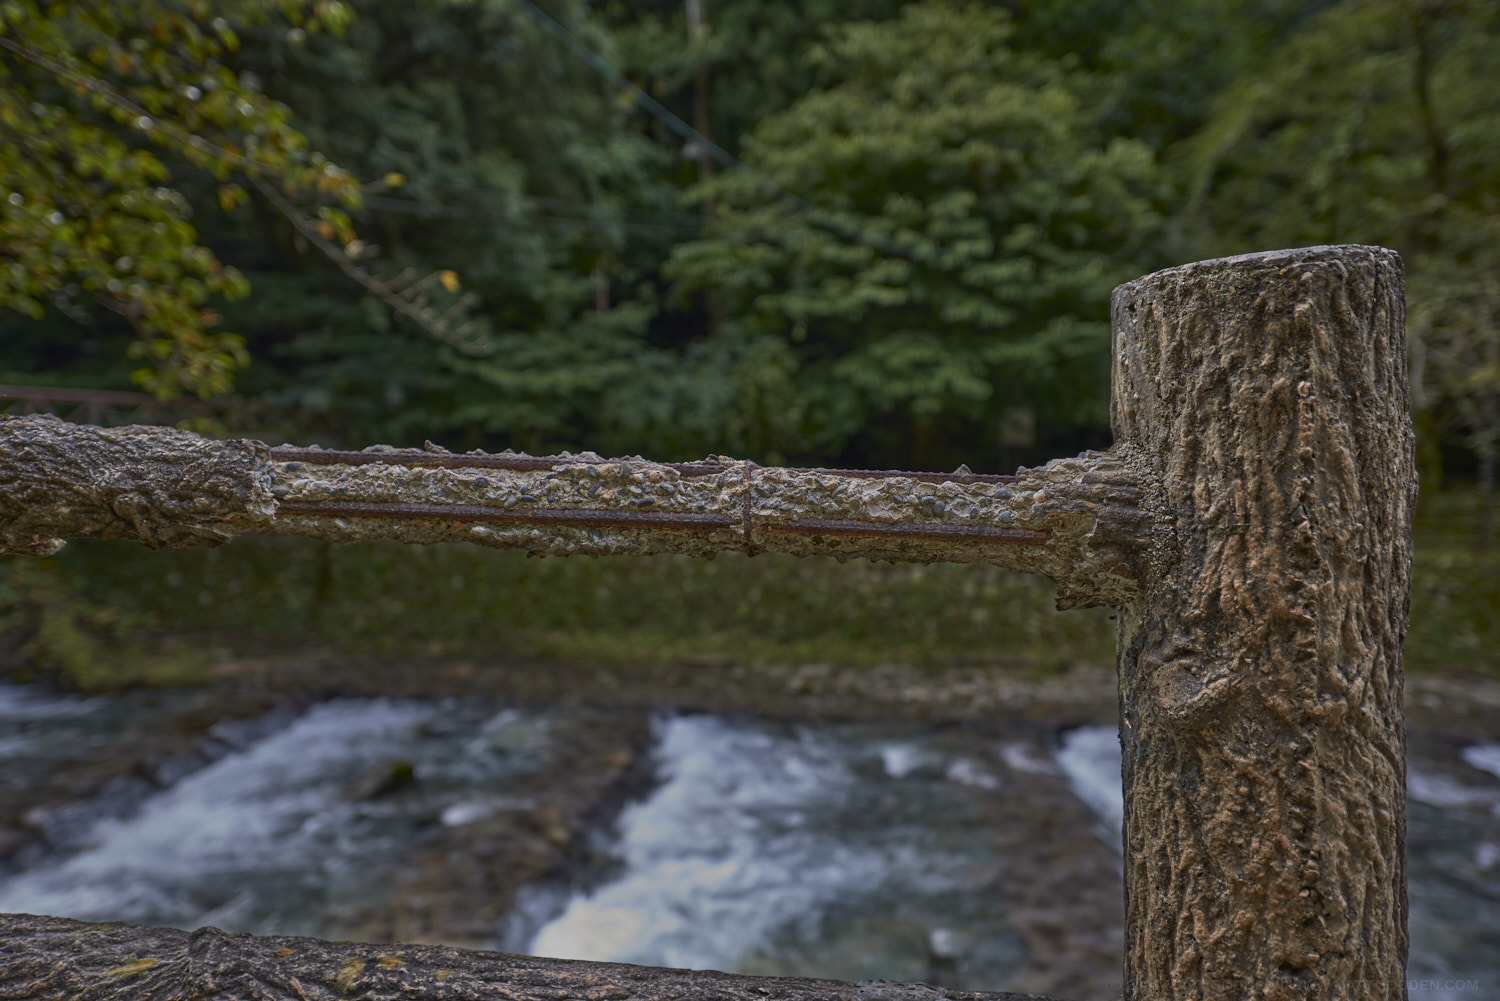
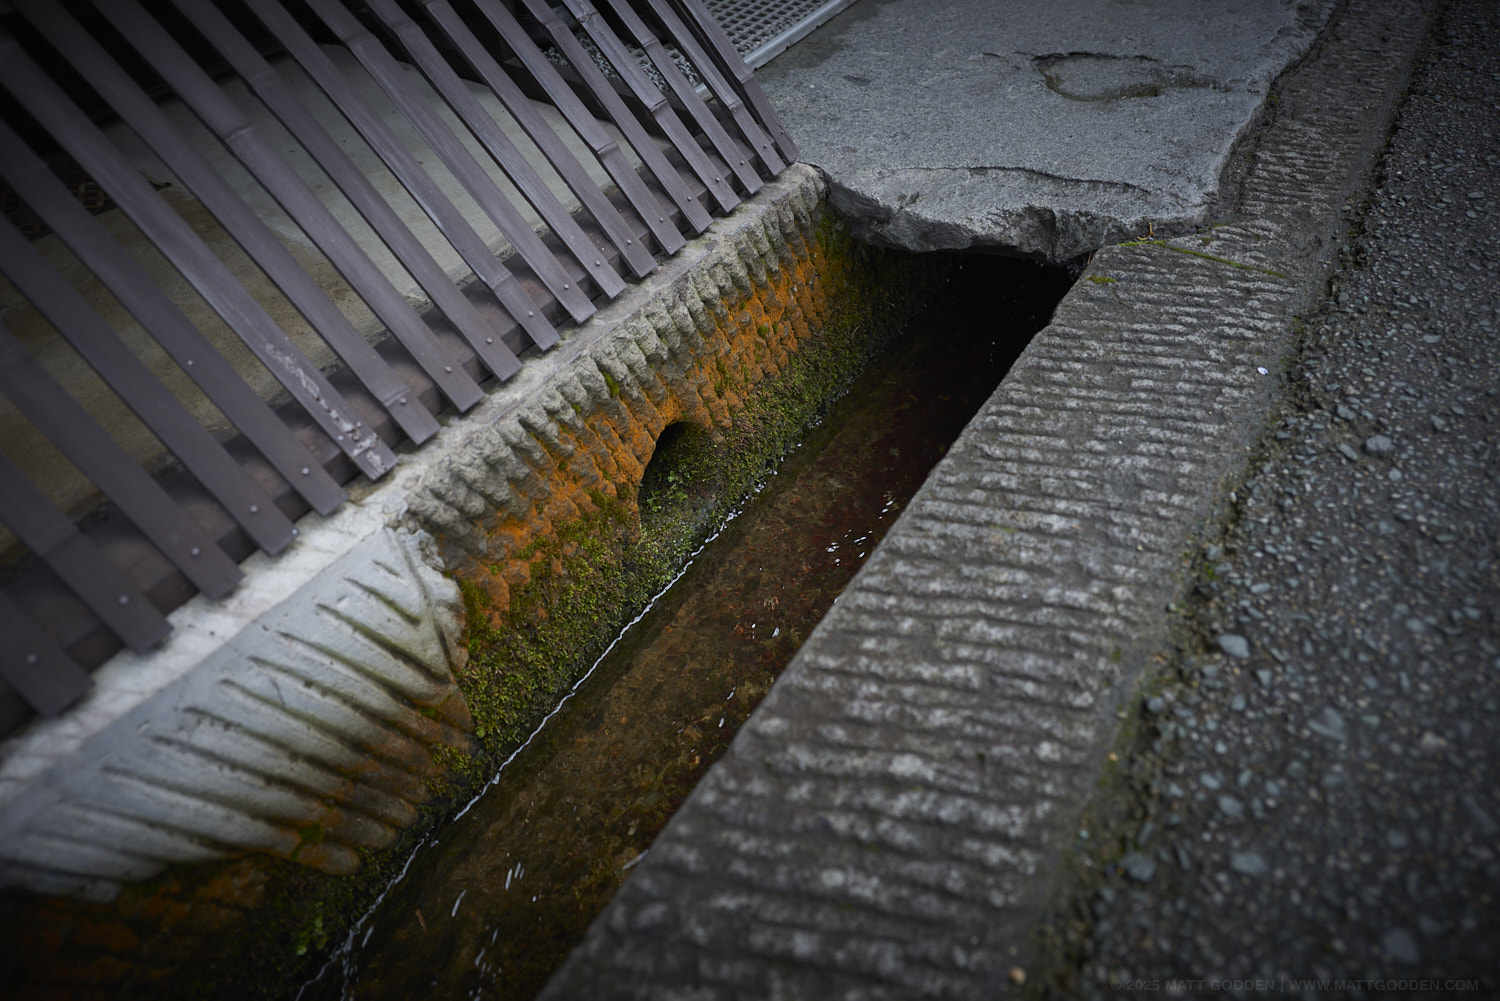
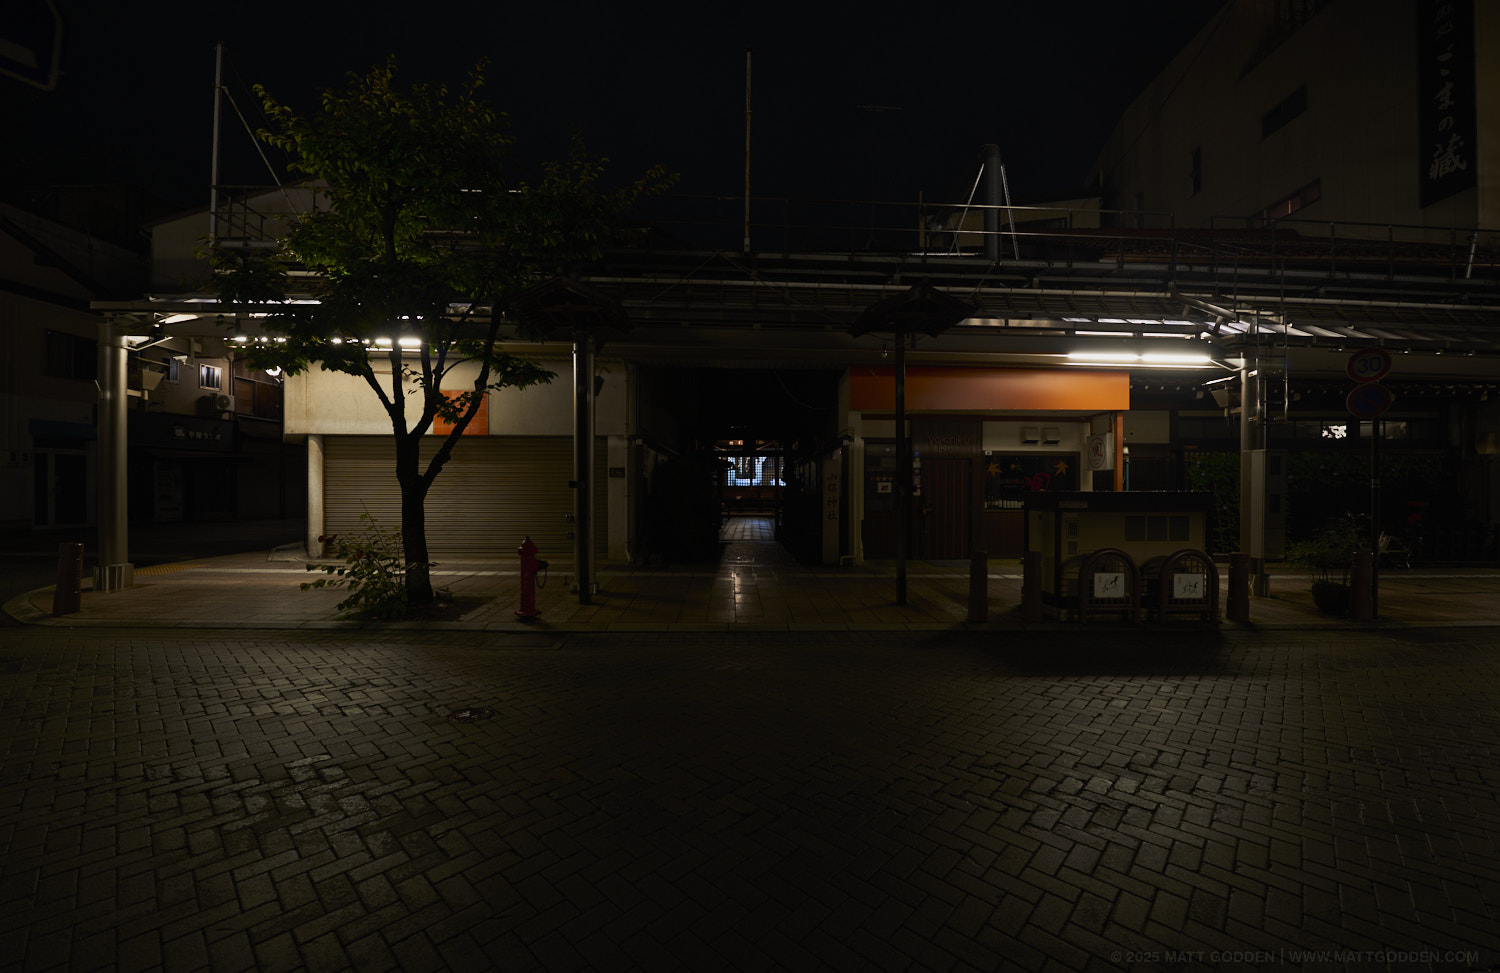
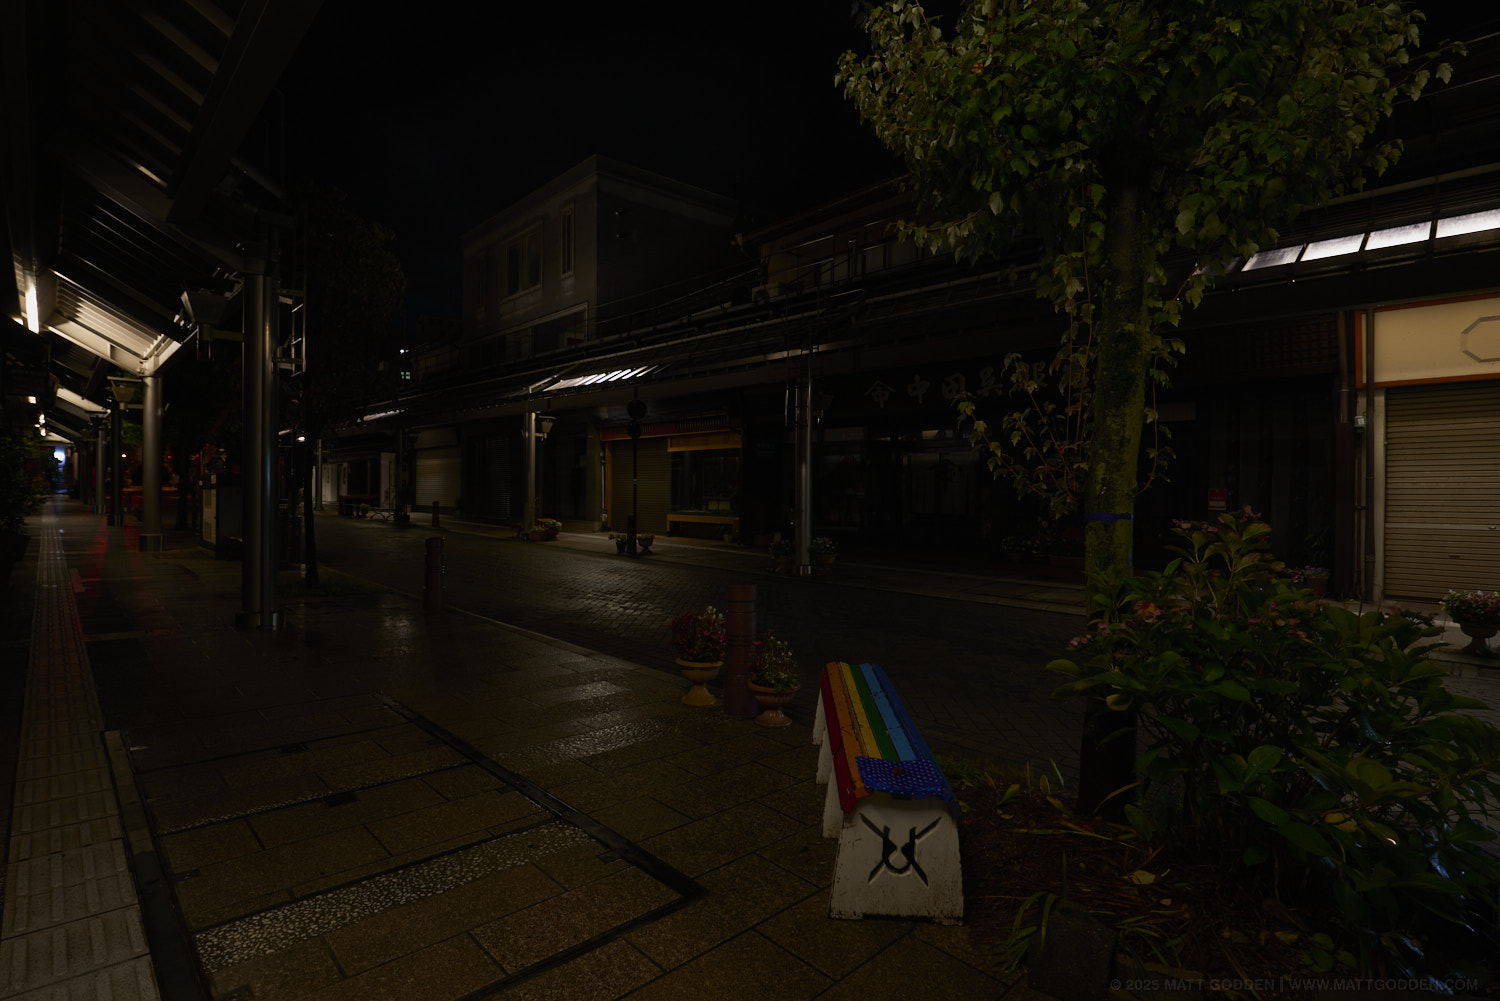
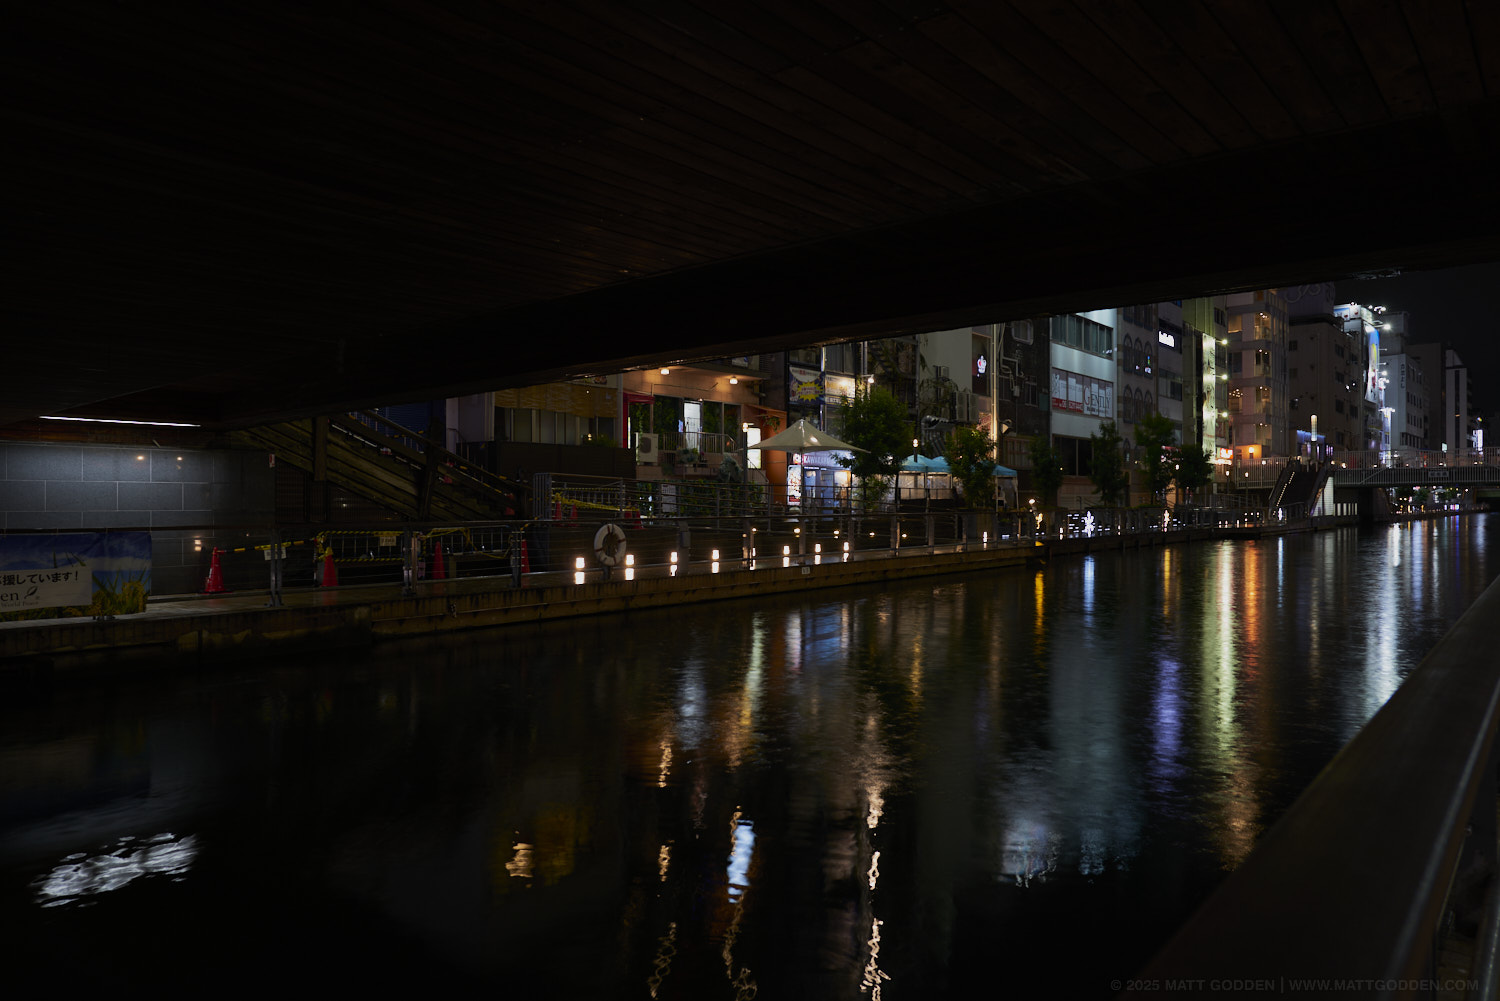
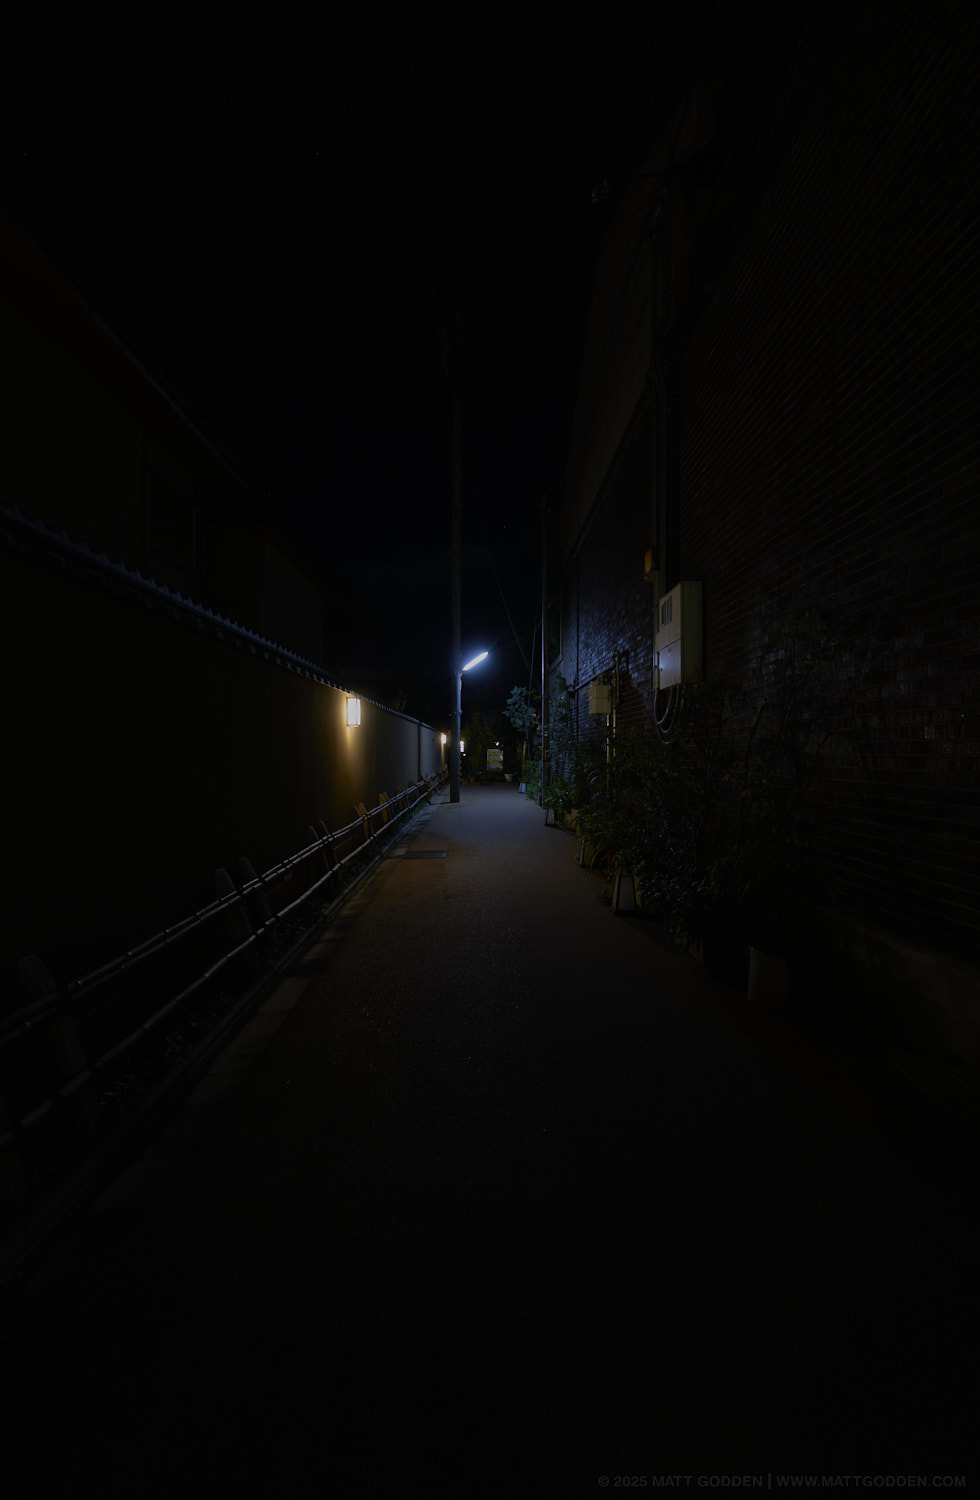
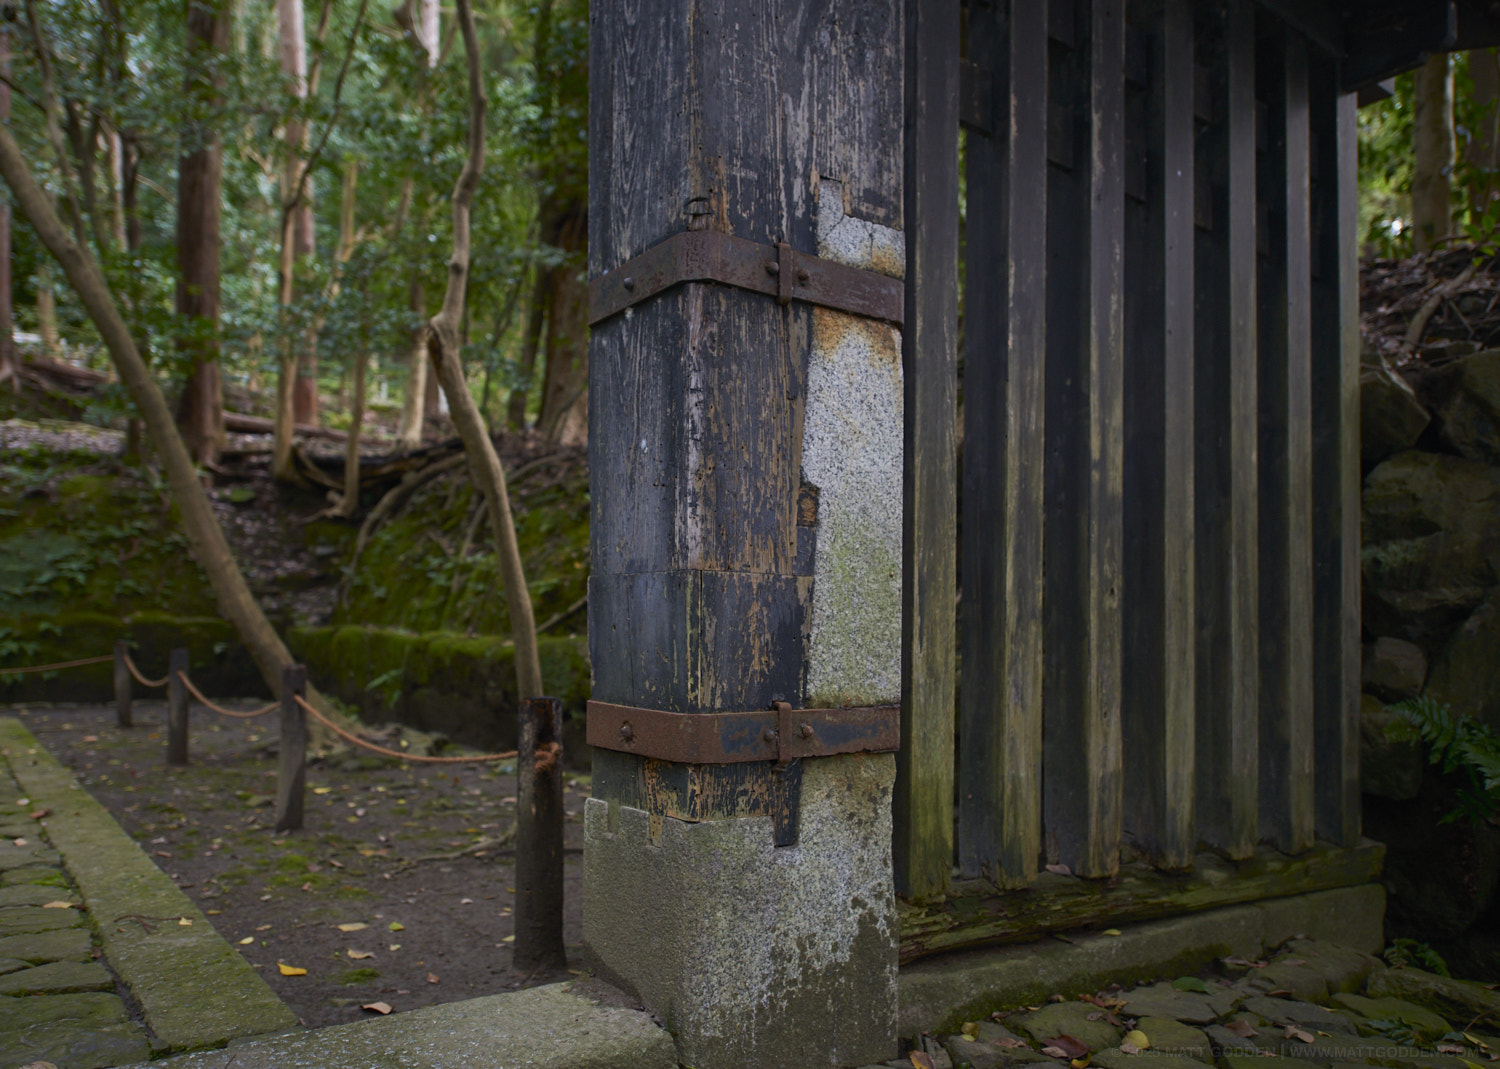
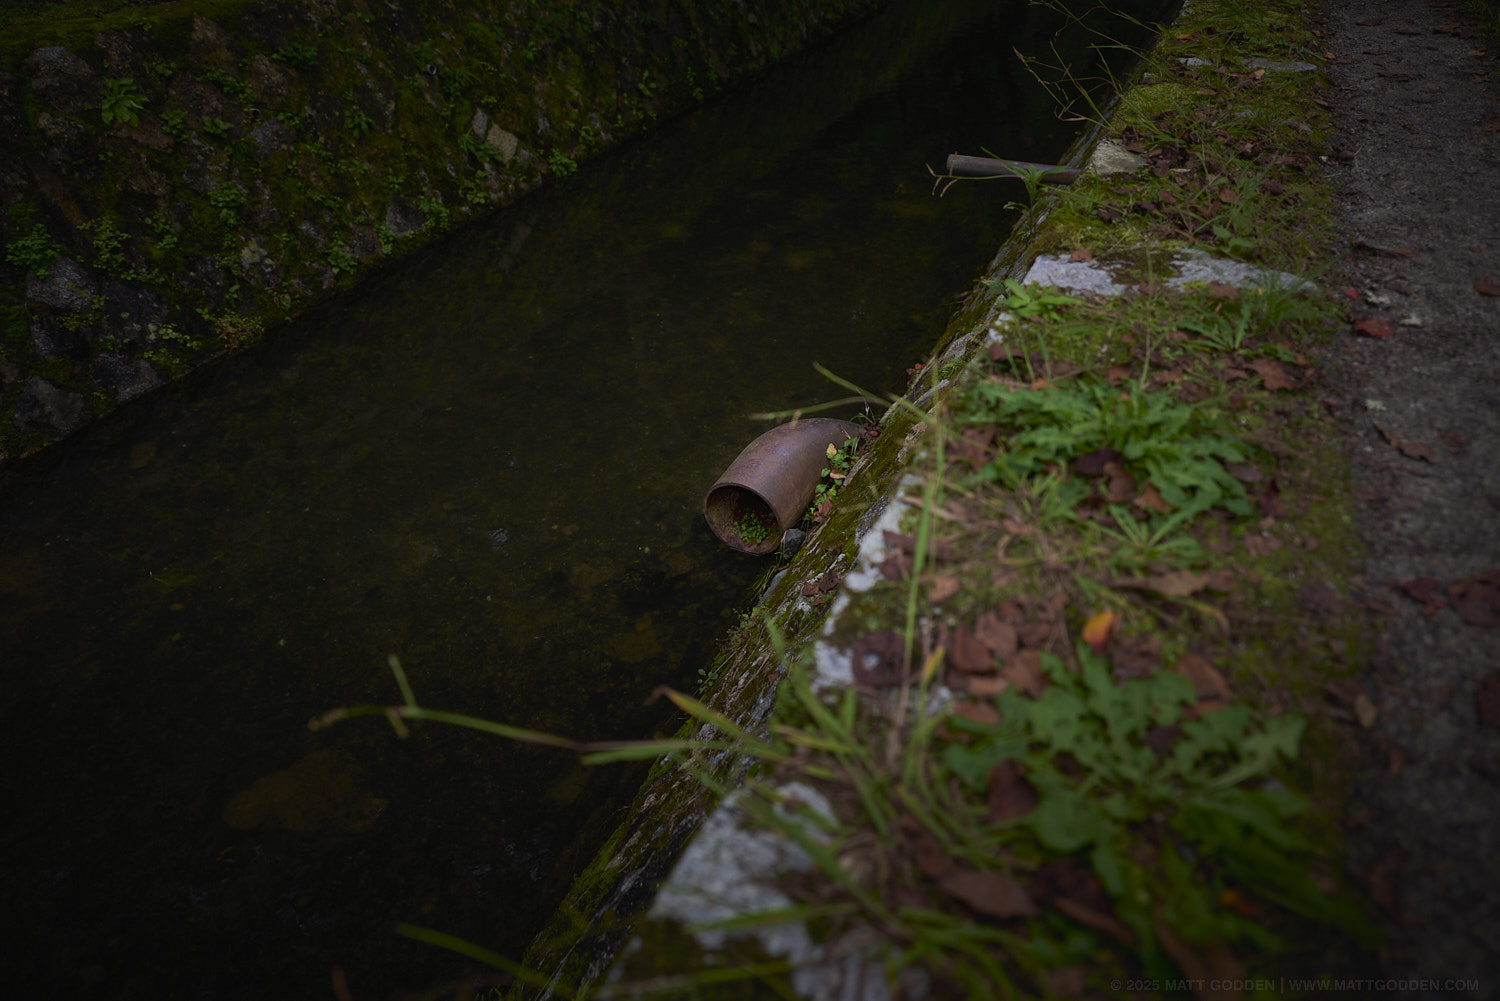
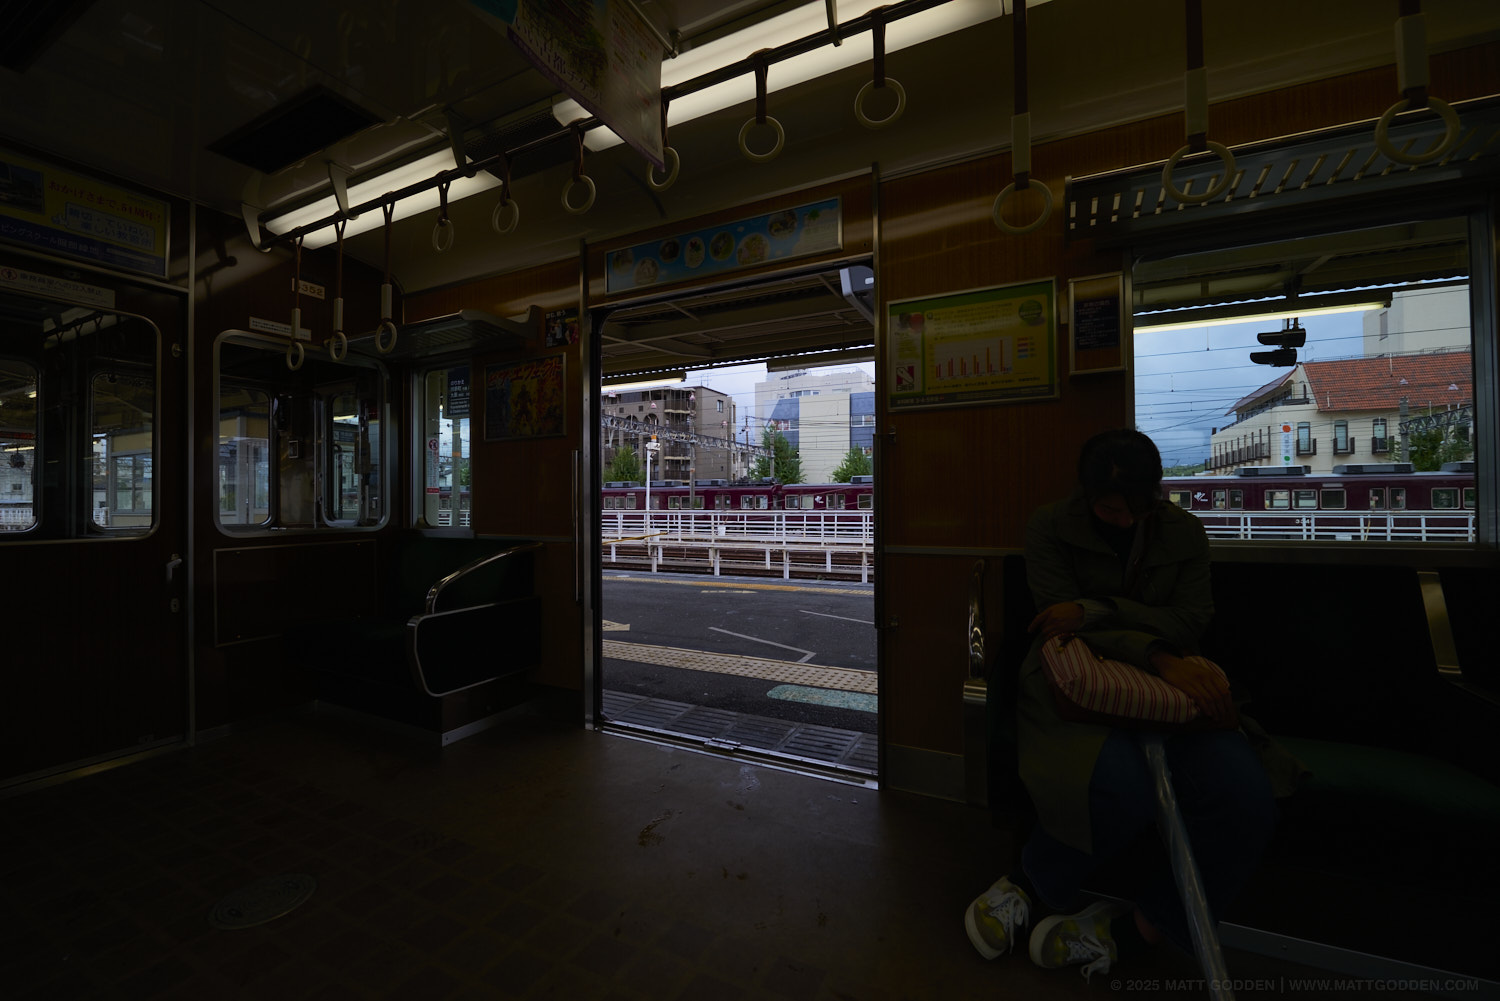
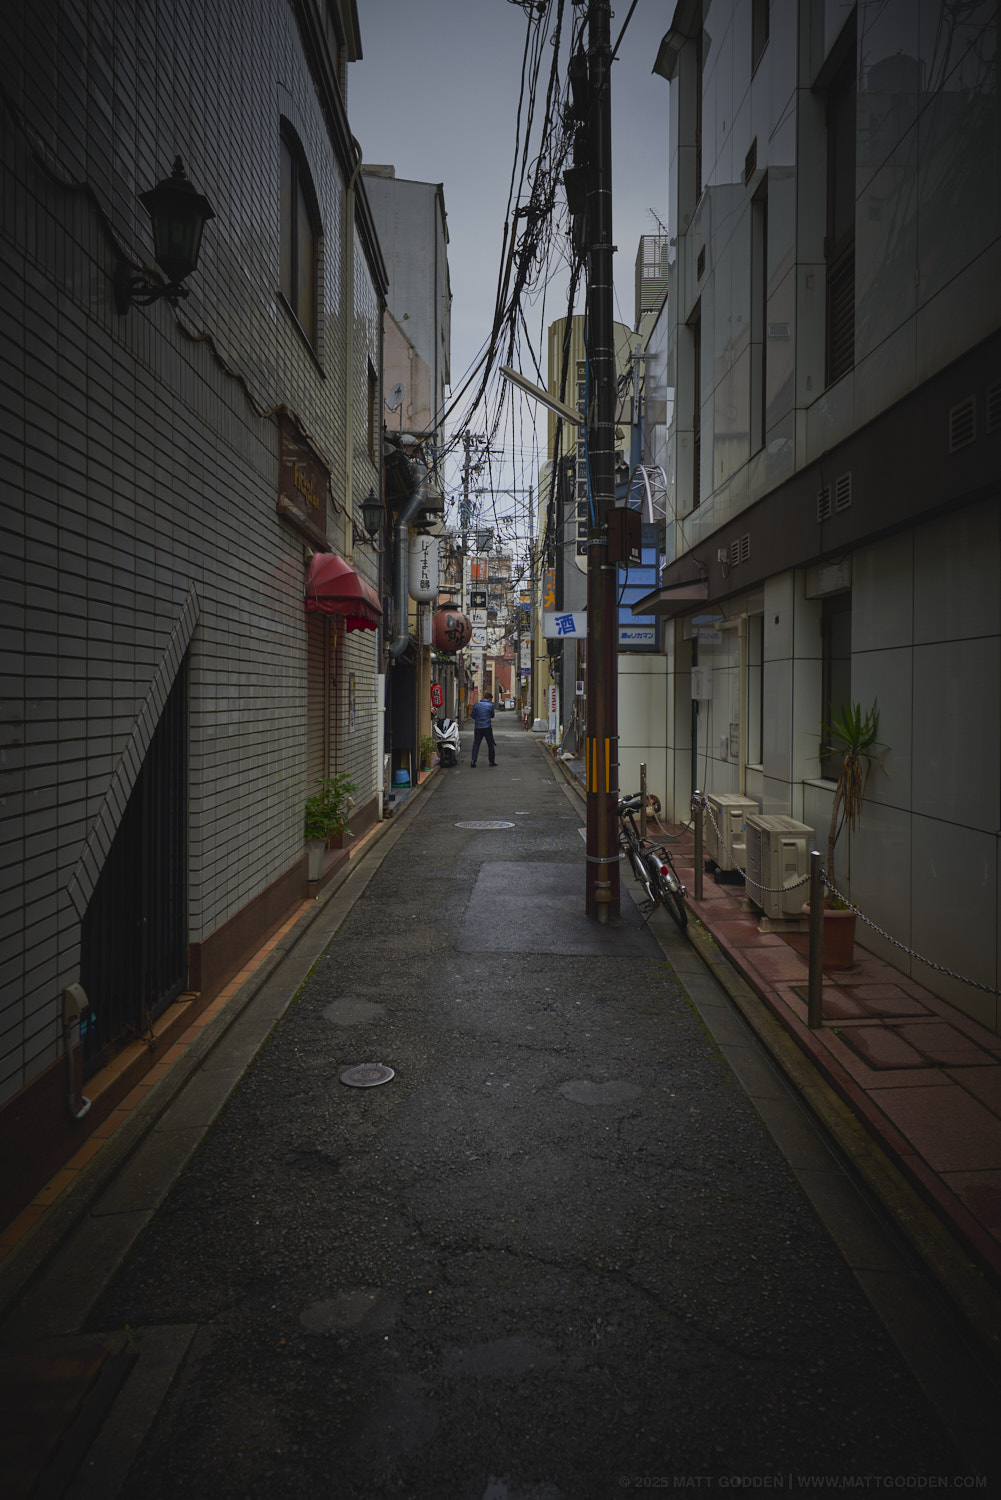
A book of images from a photo shoot at Mosman Bay in 2013. Late afternoon, with long shadows; the conditions isolate the small toadfish who swim amidst more than a century of building rubble left over from the construction of the seawall, during the reclamation of mudflats to produce a parkland. The images from this shoot are paired as colour, and high contrast black & white variants.
This 30 page book is published in DRM-Free Fixed-Layout EPUB format.
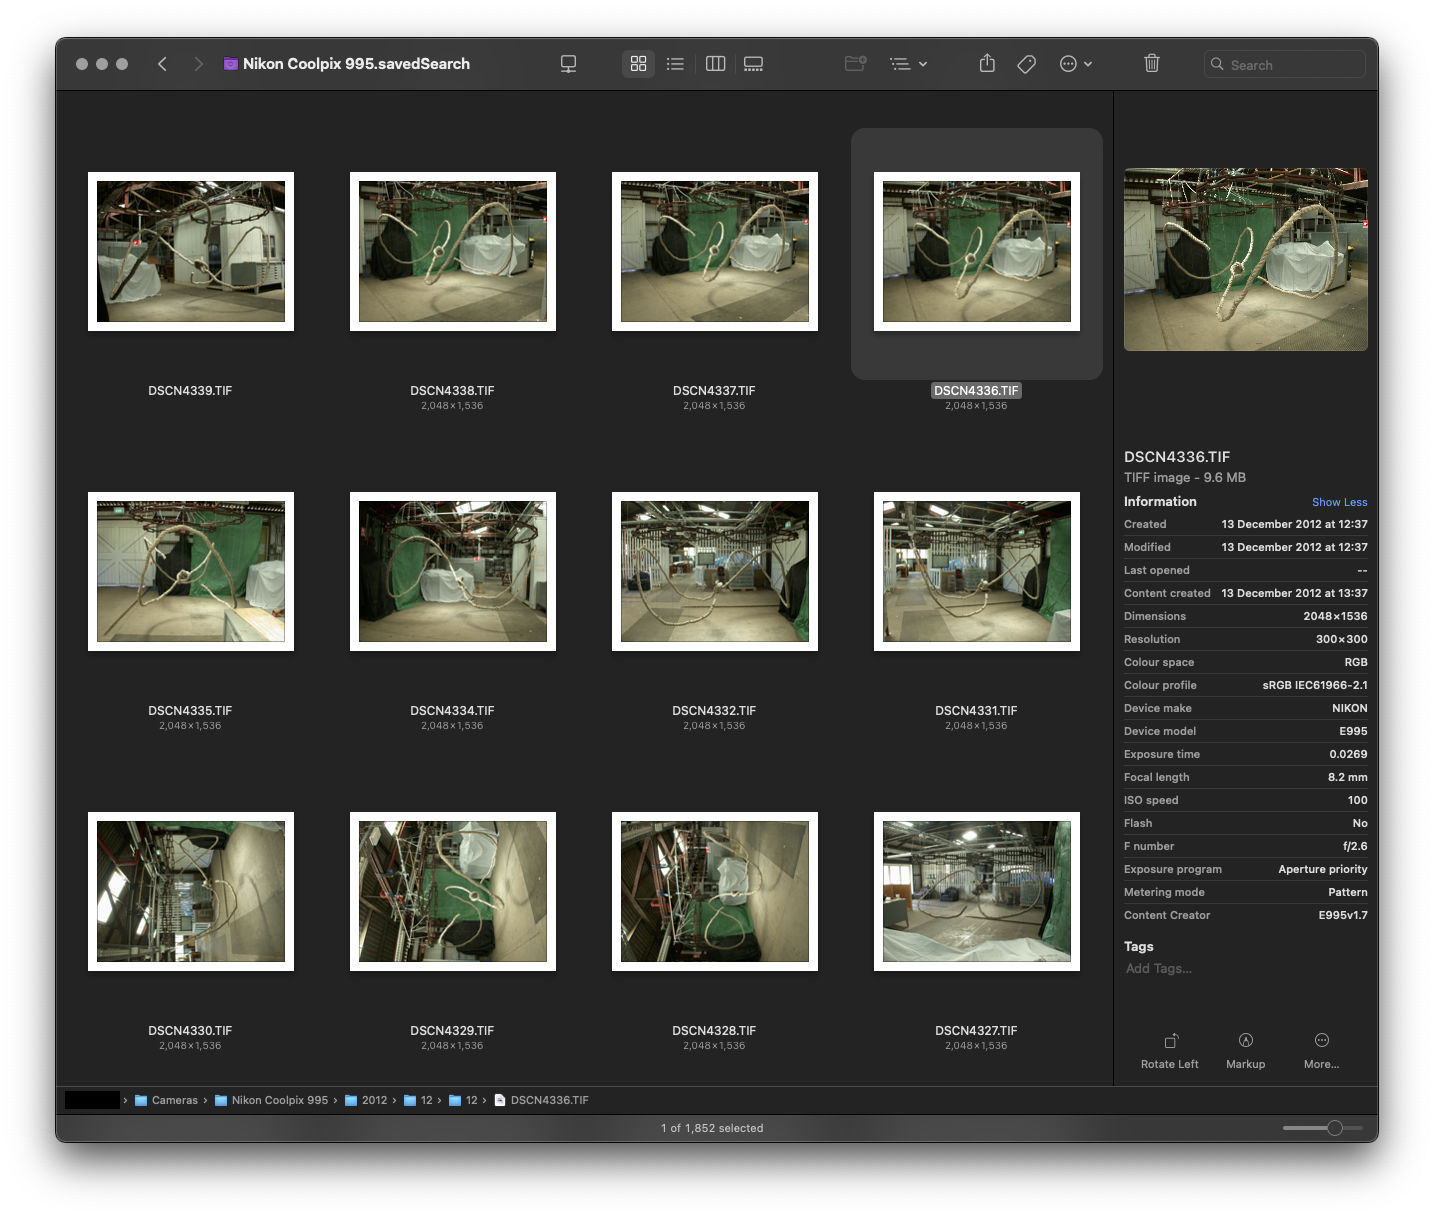
I recently encountered an interesting glitch with my Finder-based Zero DAM setup. I was looking for photos I knew I had taken, but they weren’t showing up in the timeframe I knew they should be appearing, for the camera I knew they had been captured upon. Eventually I managed to find a couple of the images from the day’s shooting, but it was only two out of ninety-two images. So what was up with the others?
In terms of their EXIF data, and their Finder properties, there was no discernible difference between the images Spotlight could find, versus those which seemed invisible to Spotlight-based Finder searching.
More perplexing, turning off spotlight indexing for the drive made the images reappear in searches based upon the date the images were photographed. Turning indexing back on, made the images disappear from the search results within a minute.
So, something about Spotlight’s indexing process was excluding the images from any sort of spotlight-based search. I tried pretty much every method for deleting the spotlight index for the drive, without success; as soon as the index was re-enabled, the images disappeared.
Then, I started to think about one issue macOS has – Extended File Attributes. These can cause all sorts of problems, so I installed Xattred from Eclectic Light and compared the files which Spotlight could find, with those it could not.
Sure enough, a culprit was found:
com.apple.metadata:kMDItemSupportFileType
…with the properties:
<?xml version="1.0" encoding="UTF-8"?>
<!DOCTYPE plist PUBLIC "-//Apple//DTD PLIST 1.0//EN" "http://www.apple.com/DTDs/PropertyList-1.0.dtd">
<plist version="1.0">
<array>
 <string>iPhotoPreservedOriginal</string>
</array>
</plist>
Deleting this attribute from the file made it instantly show up in Spotlight searches.
The question; how to do this for any file on my photo drive, when I couldn’t use spotlight to find or identify them. After a bit of searching online I came across the answer using terminal:
xattr -rd com.apple.metadata:kMDItemSupportFileType (drag the target location here)
Something on the order of a thousand photos which were effectively missing in my Zero DAM system instantly reappeared as I applied this procedure to camera directories (it’s recursive, so will apply to the contents of any subfolder) where I had identified “missing” images.
Problem solved.
Edit: Hello Eclectic Light readers ;)
Written for the character Homolka, as played by Tim Curry in the film.
City of Zinj, city of Zinj.
Wealth without limit! And I will posses it!
This monkey has seen,
this Ape knows the way.
This man with the glove gave it the means to say.
The eye who is watching, the eye who sees all.
My plan is unfolding, for I too hear the call.
Of madness in jungles, of legends and tales,
The treasure is waiting, my plans MUST prevail!
I’ll join in their party, advise as I can.
Wearing the disguise of a philanthropist man.
All those who had mocked me,
And all disbelief.
Paying bribes to that warlord, a secondrate thief!
But this talking monkey, this primate, this ape.
My ticket to riches, it can only be fate,
that this Company scion, his fiancé as well,
and the monkey researcher are all drawn to this hell.
This terror, this darkness, to sanity’s fringe!
Where my destiny leads,
all of my dreams hinge.
On finding my fortune, In the City of Zinj.
One of the issues with the EPUB workflow, is that EPUB documents are .zip compressed. This makes proofing & previewing while you’re working problematic, as some reading apps can’t deal with uncompressed documents. With Apple’s deprecation of EPUB authoring and proofing support:
…proofing on an iPad became a pain point that made the work simply not fun to do.
I’ve been thinking about a solution to this on and off for a while now, and a solution hit me that has obviously been percolating up for a while.
I don’t know why I didn’t think of this sooner, but the solution is at once clever, and so straightforward it makes me feel stupid for having not seen it earlier.
What you do, is set up the entire document of facing pages using an iFrame for each page, and then set the iFrame sources to the xhtml files inside your EPUB development directory.
Thus the HTML:
<!DOCTYPE html>
<html>
<head>
 <title>The Title</title>
 <link rel="stylesheet" href="styles.css">
</head>
<body>
 <div id="the_container">
  <div class="spread rightonly">
   <iframe src="path-to-your-dev.epub/OEBPS/cover.xhtml"></iframe>
  </div>
  <div class="spread doublepage">
   <iframe src="path-to-your-dev.epub/OEBPS/inside_front-cover.xhtml"></iframe>
   <iframe src="path-to-your-dev.epub/OEBPS/page_001.xhtml"></iframe>
  </div>

  ...

  <div class="spread doublepage">
   <iframe src="path-to-your-dev.epub/OEBPS/page_120.xhtml"></iframe>
   <iframe src="path-to-your-dev.epub/OEBPS/inside_back-cover.xhtml"></iframe>
  </div>
  <div class="spread leftonly">
   <iframe src="path-to-your-dev.epub/OEBPS/back-cover.xhtml"></iframe>
  </div>
 </div>
</body>
</html>
And then the CSS:
html, body {
 margin: 0;
 padding: 0;
}

body {
 background-color: gray;
 transform: scale(0.5); /* set the zoom degree to view */
 transform-origin: 50% 0; /* centres the zoom in the middle of the browser */
}

iframe { /* the width and height of the EPUB's declared viewport */
 border: 0;
 width: 1200px;
 height: 800px;
 margin: 0;
 padding: 0;
}

#the_container {
 width: 2400px; /* double your EPUB's viewport width */
 min-width: 2400px;
 margin-right: auto;
 margin-left: auto;
}

#the_container div {
 margin-top: 10px;
 margin-bottom: 10px;
}

.spread {
 width: 100%;
 display: flex;
}

.rightonly {
 flex-direction: row-reverse;
}

.doublepage, .leftonly {
 flex-direction: row;
}
The nifty thing is the transform scale and origin in the body tag’s CSS, so you can scale the whole thing down if the spread won’t fit in your display’s available space, or if you want a more document-wide overview.
Enjoy.
If this article was of use, a donation or buying something would help support my projects.
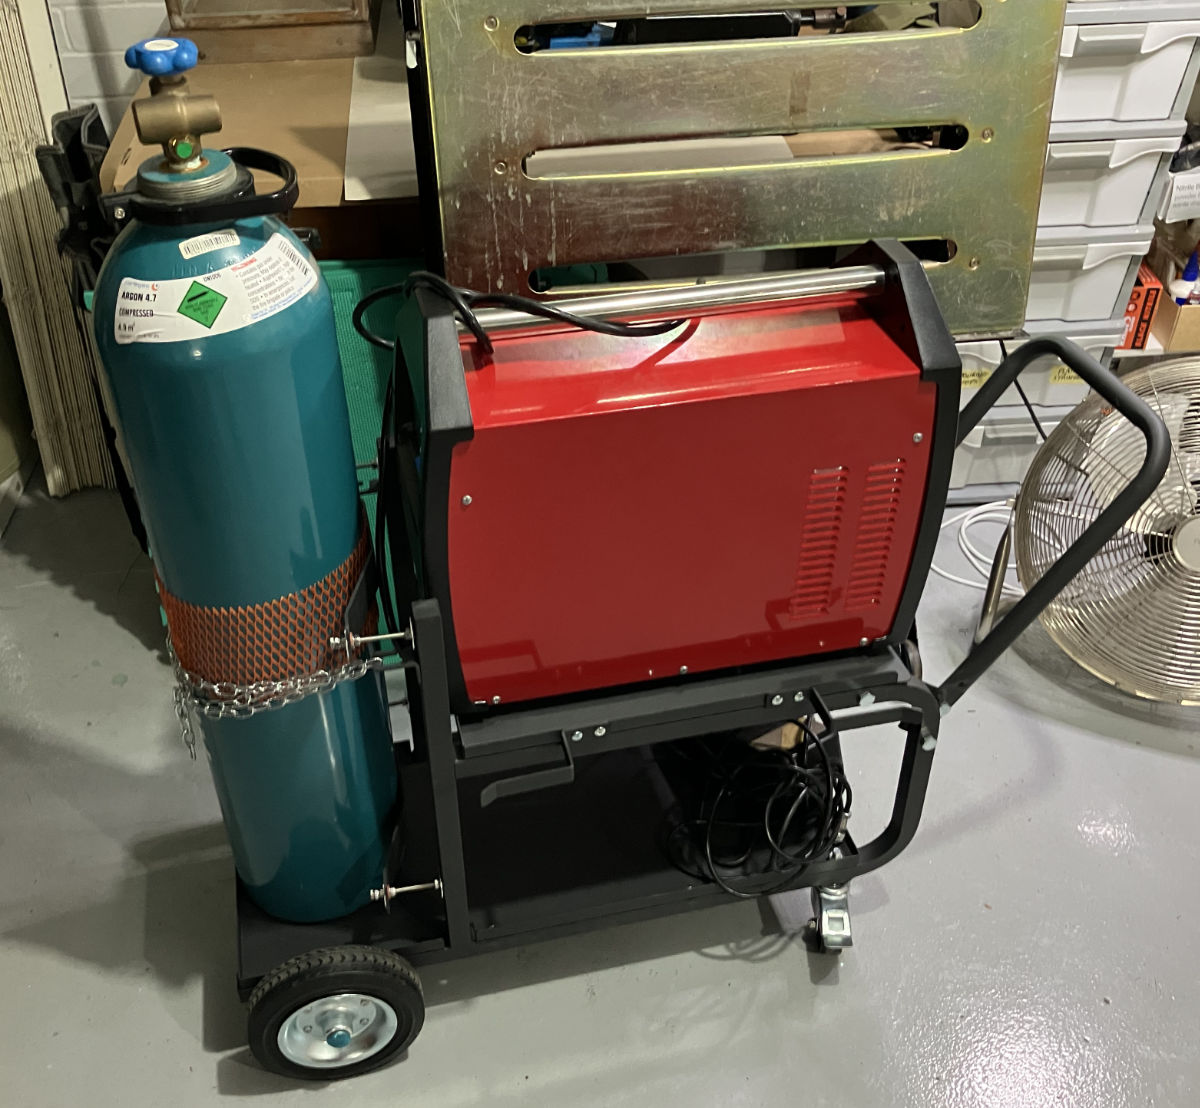
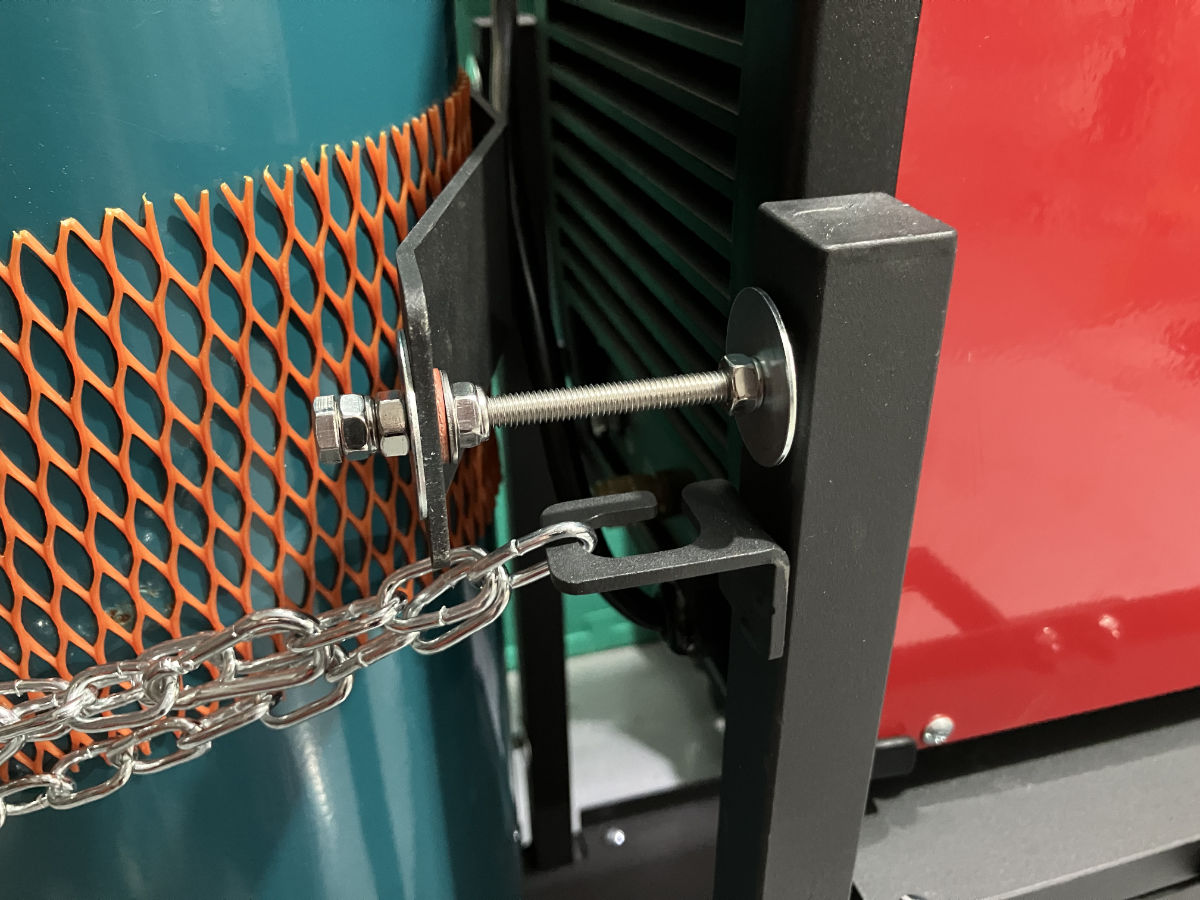
I welcomed a new piece of kit into my metal fabrication setup this week – a Michigan heavy duty welding trolley. This one, specifically.
I have some very specific concerns with my gear, which this trolley had to address. For starters, my welder is very heavy; 20+ KG, as it’s both a welder and a plasma cutter. I bought the combined machine as I was space constrained, and couldn’t fit separate machines for each task. A good idea, but it has this downside – the one machine is heavy, and deep. It’s so deep, that it doesn’t fit on the shelf of most welding trolleys.
Secondly, the welder’s shield gas input is dead-centre on the machine. This means when it’s pushed as far back as possible, so it fits on the trolley’s shelf, there isn’t room for the gas fitting and hose between the machine, and the gas bottle.
The alternatives are to extend the shelf, or, to push the gas bottle back. I went with the latter, given there’s room for a bigger bottle than mine.
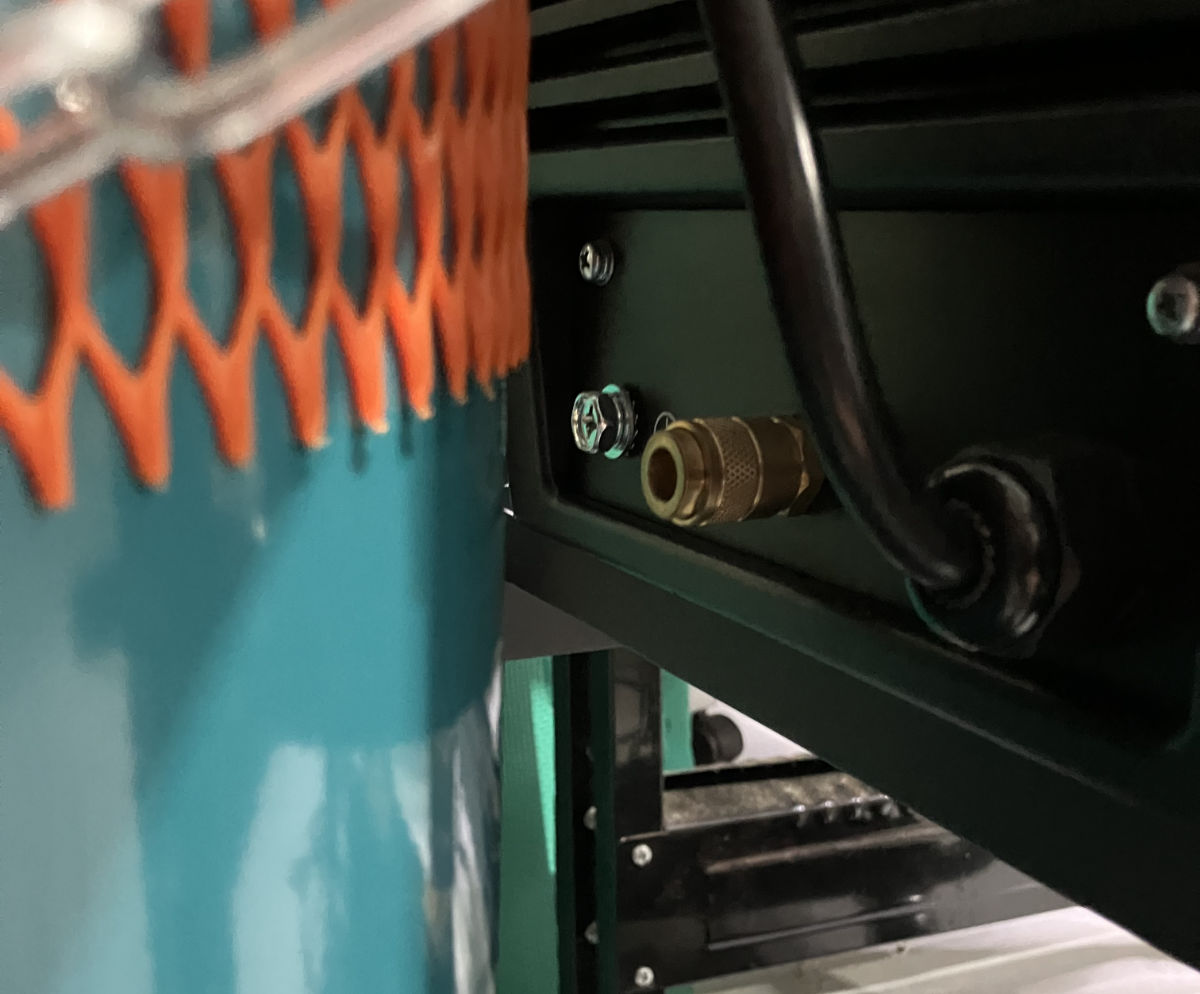
The solution, potentially temporary, depending on how it holds up, was to make standoffs to move the cradle (which secures the bottle) back. Thankfully the cradle parts are bolted on to the frame, so it was just a matter of using longer bolts, with nylock nuts and washers, to cantilever the cradle parts out. The added bonus is the threading means it’s very adjustable to the size of the cylinder.
Finder in macOS has a behaviour that when you switch to it from another application, and there are no other Finder windows open in your current space, it should automatically open a new window to the user’s chosen default location.
Unfortunately, this behaviour isn’t reliable – it will do it once, but then not do it the next time. The problem being that if it fails to spawn the new Finder window when you switch to Finder, pressing the dock icon a second time will transport you to a different space that does have an open finder window.
Thankfully, Keyboard Maestro is here to save the day. To be clear, what really saved the day, was the Keyboard Maestro user forums, whose helpful denizens supplied the solution to this. Here’s the workflow, with documenting commentary included within.
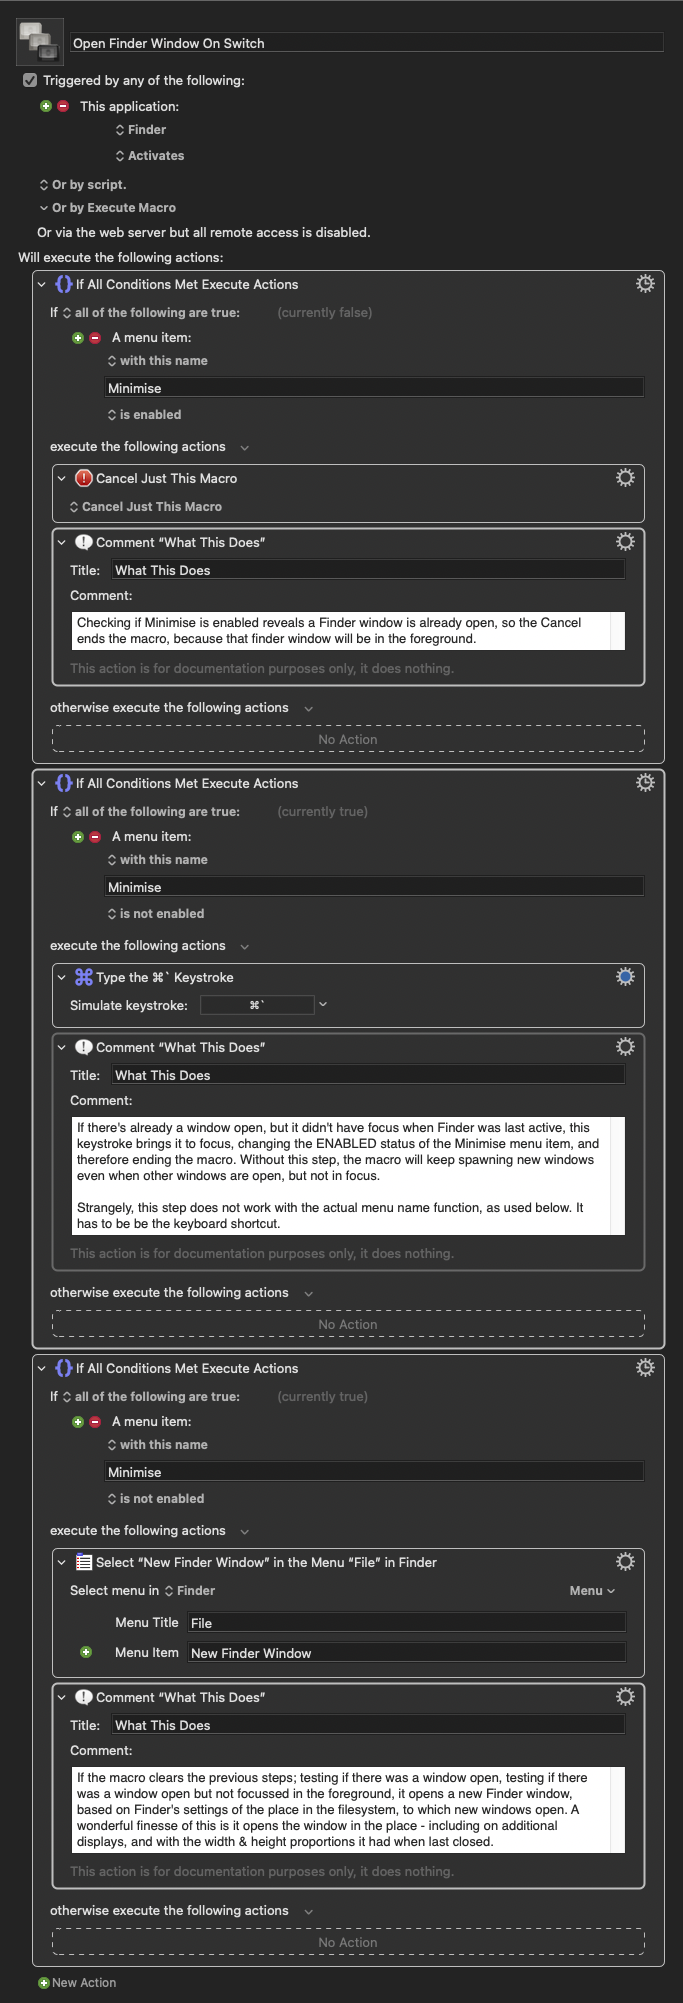
This macro activates when switching to Finder from either the Dock, or by clicking on the desktop, and ensures you always have a file browser window ready to go when you switch to Finder.
Edit December 2025: You may want to be careful with this. I’ve noticed a correlation between having this macro enabled, and Finder’s preferences becoming periodically corrupted, such that the sidebar items will randomly disappear. I’ve disabled it for now, to see if the problem resurfaces.
From now on, I’m only selling books direct.
I should have done this earlier, but procrastination won out. What turned things around now, was Apple’s insistence on the requirement that I sell via EU-specific stores to reach EU customers, and those stores were about to require me to publish my home address and phone number.
Also the whole “Apple takes 30% of the cover price” thing, and the “Apple publisher tools have become garbage” thing.
So, we out.
During 2018, I was seriously thinking of purchasing a small commercial property. Unfortunately, I wasn’t able to make the purchase, but the exercise in considering the property was a fruitful creative endeavour.
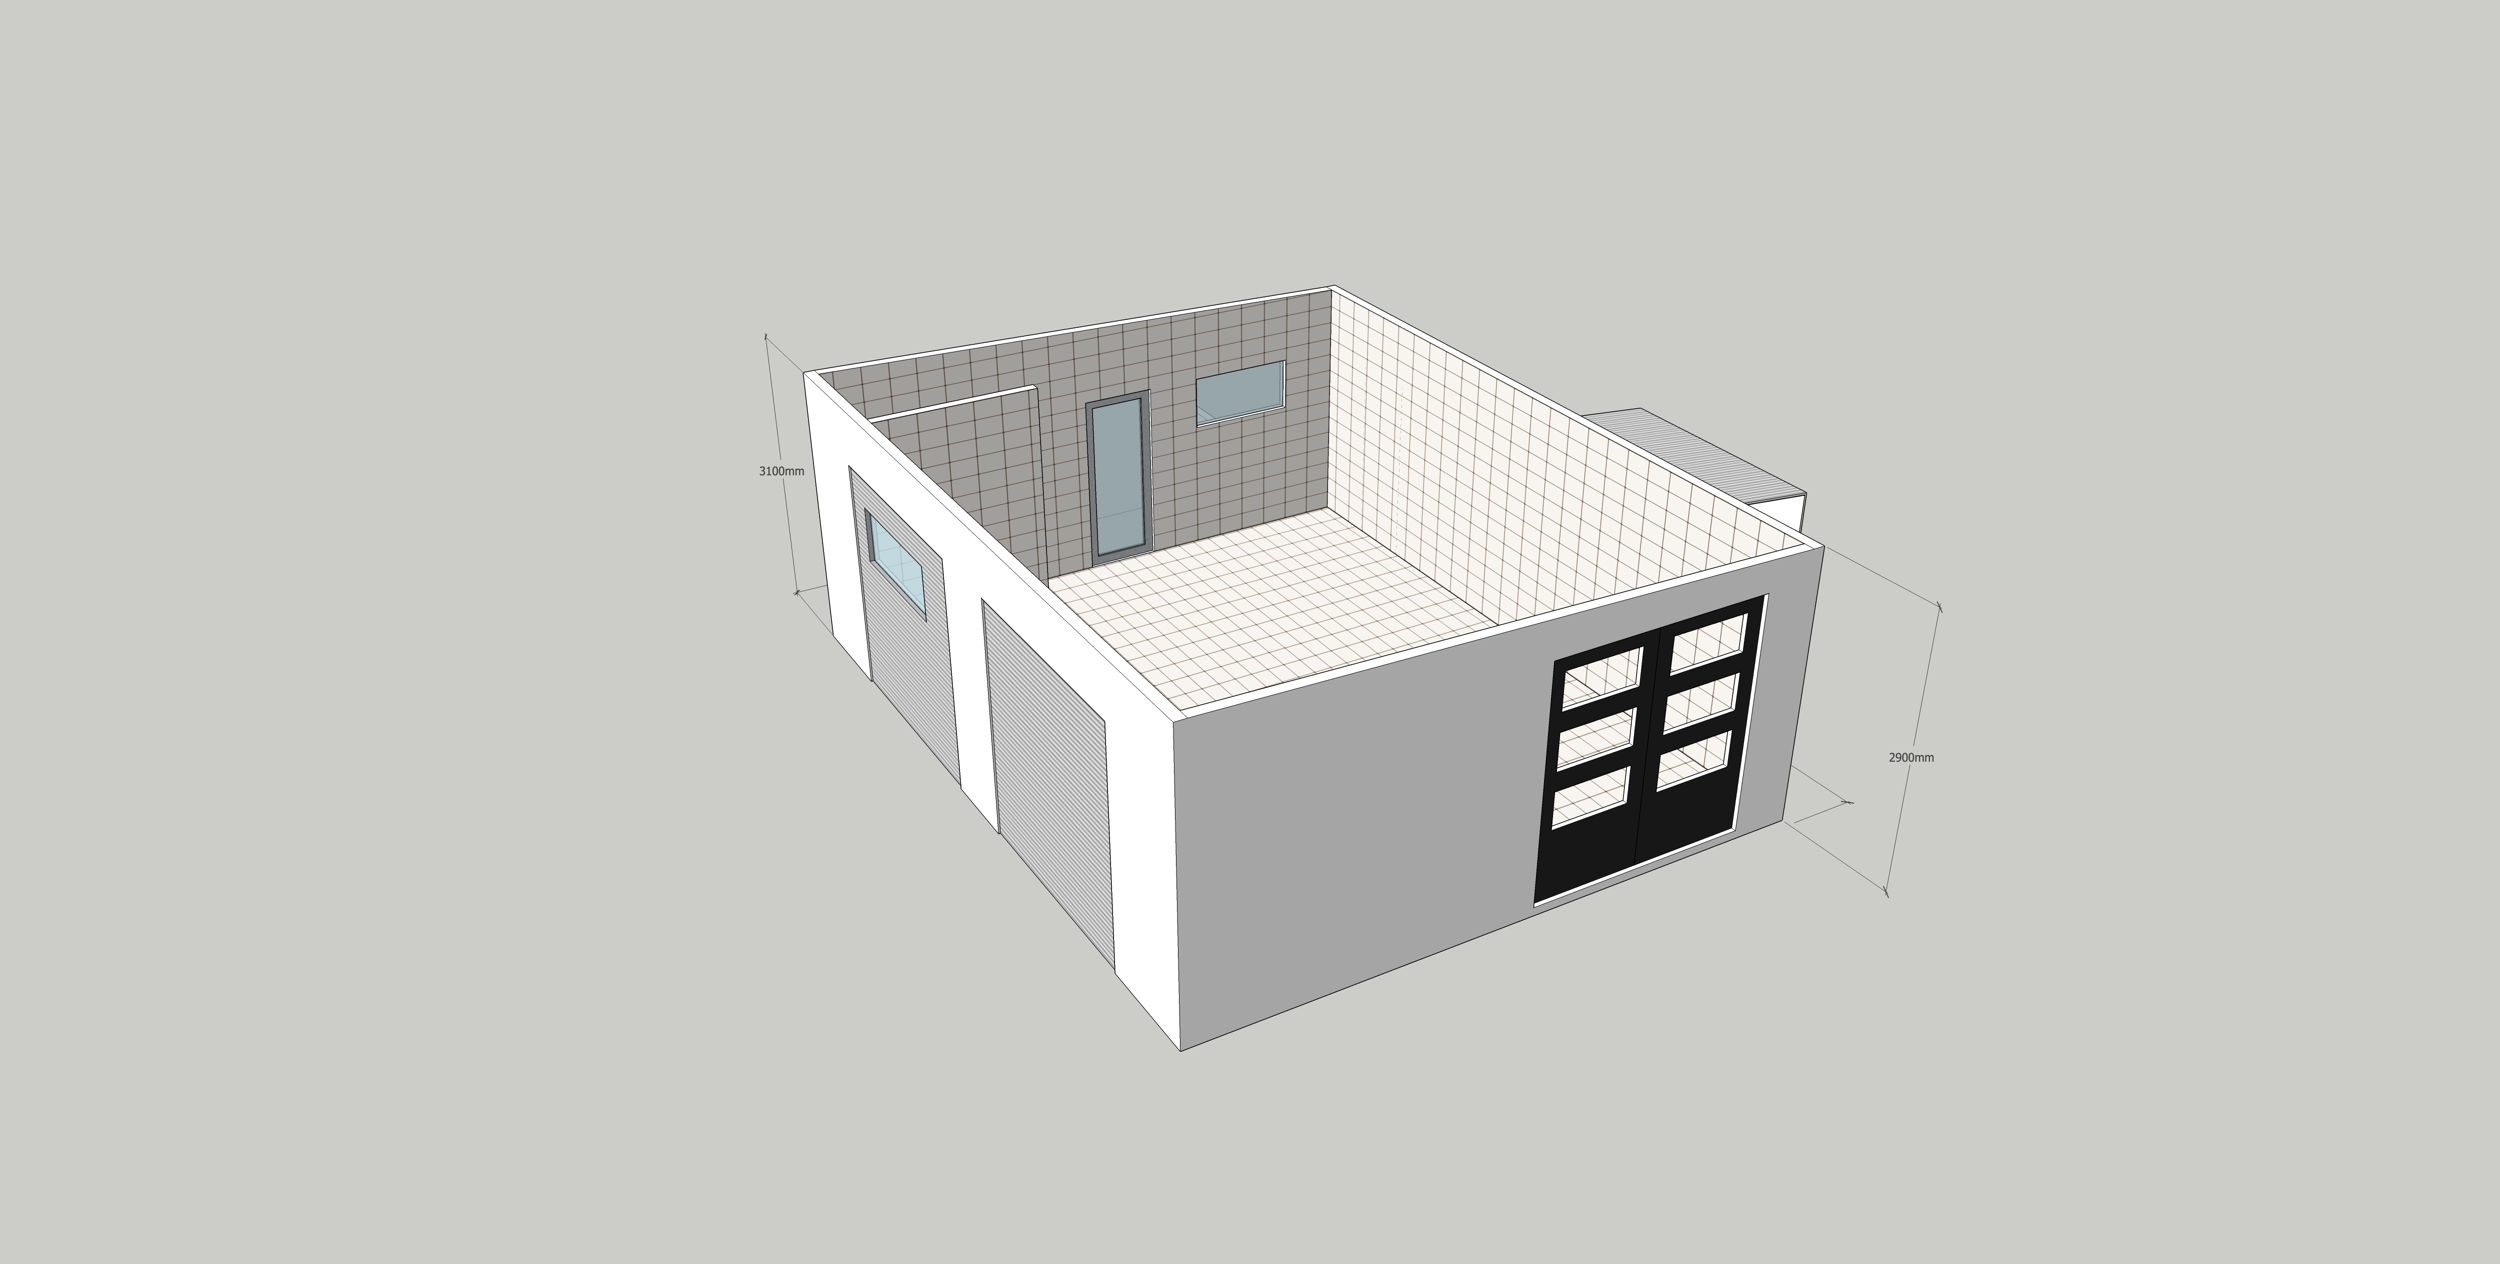
The building itself was a small commercial kitchen of roughly 52 square metres, 8 x 6.5m in size. The long wall on one side originally held two garage doors, which had been blocked up, there was a double door on the short wall on one end, and a single door, and toilet at the other end. All the walls and floor were tiled.
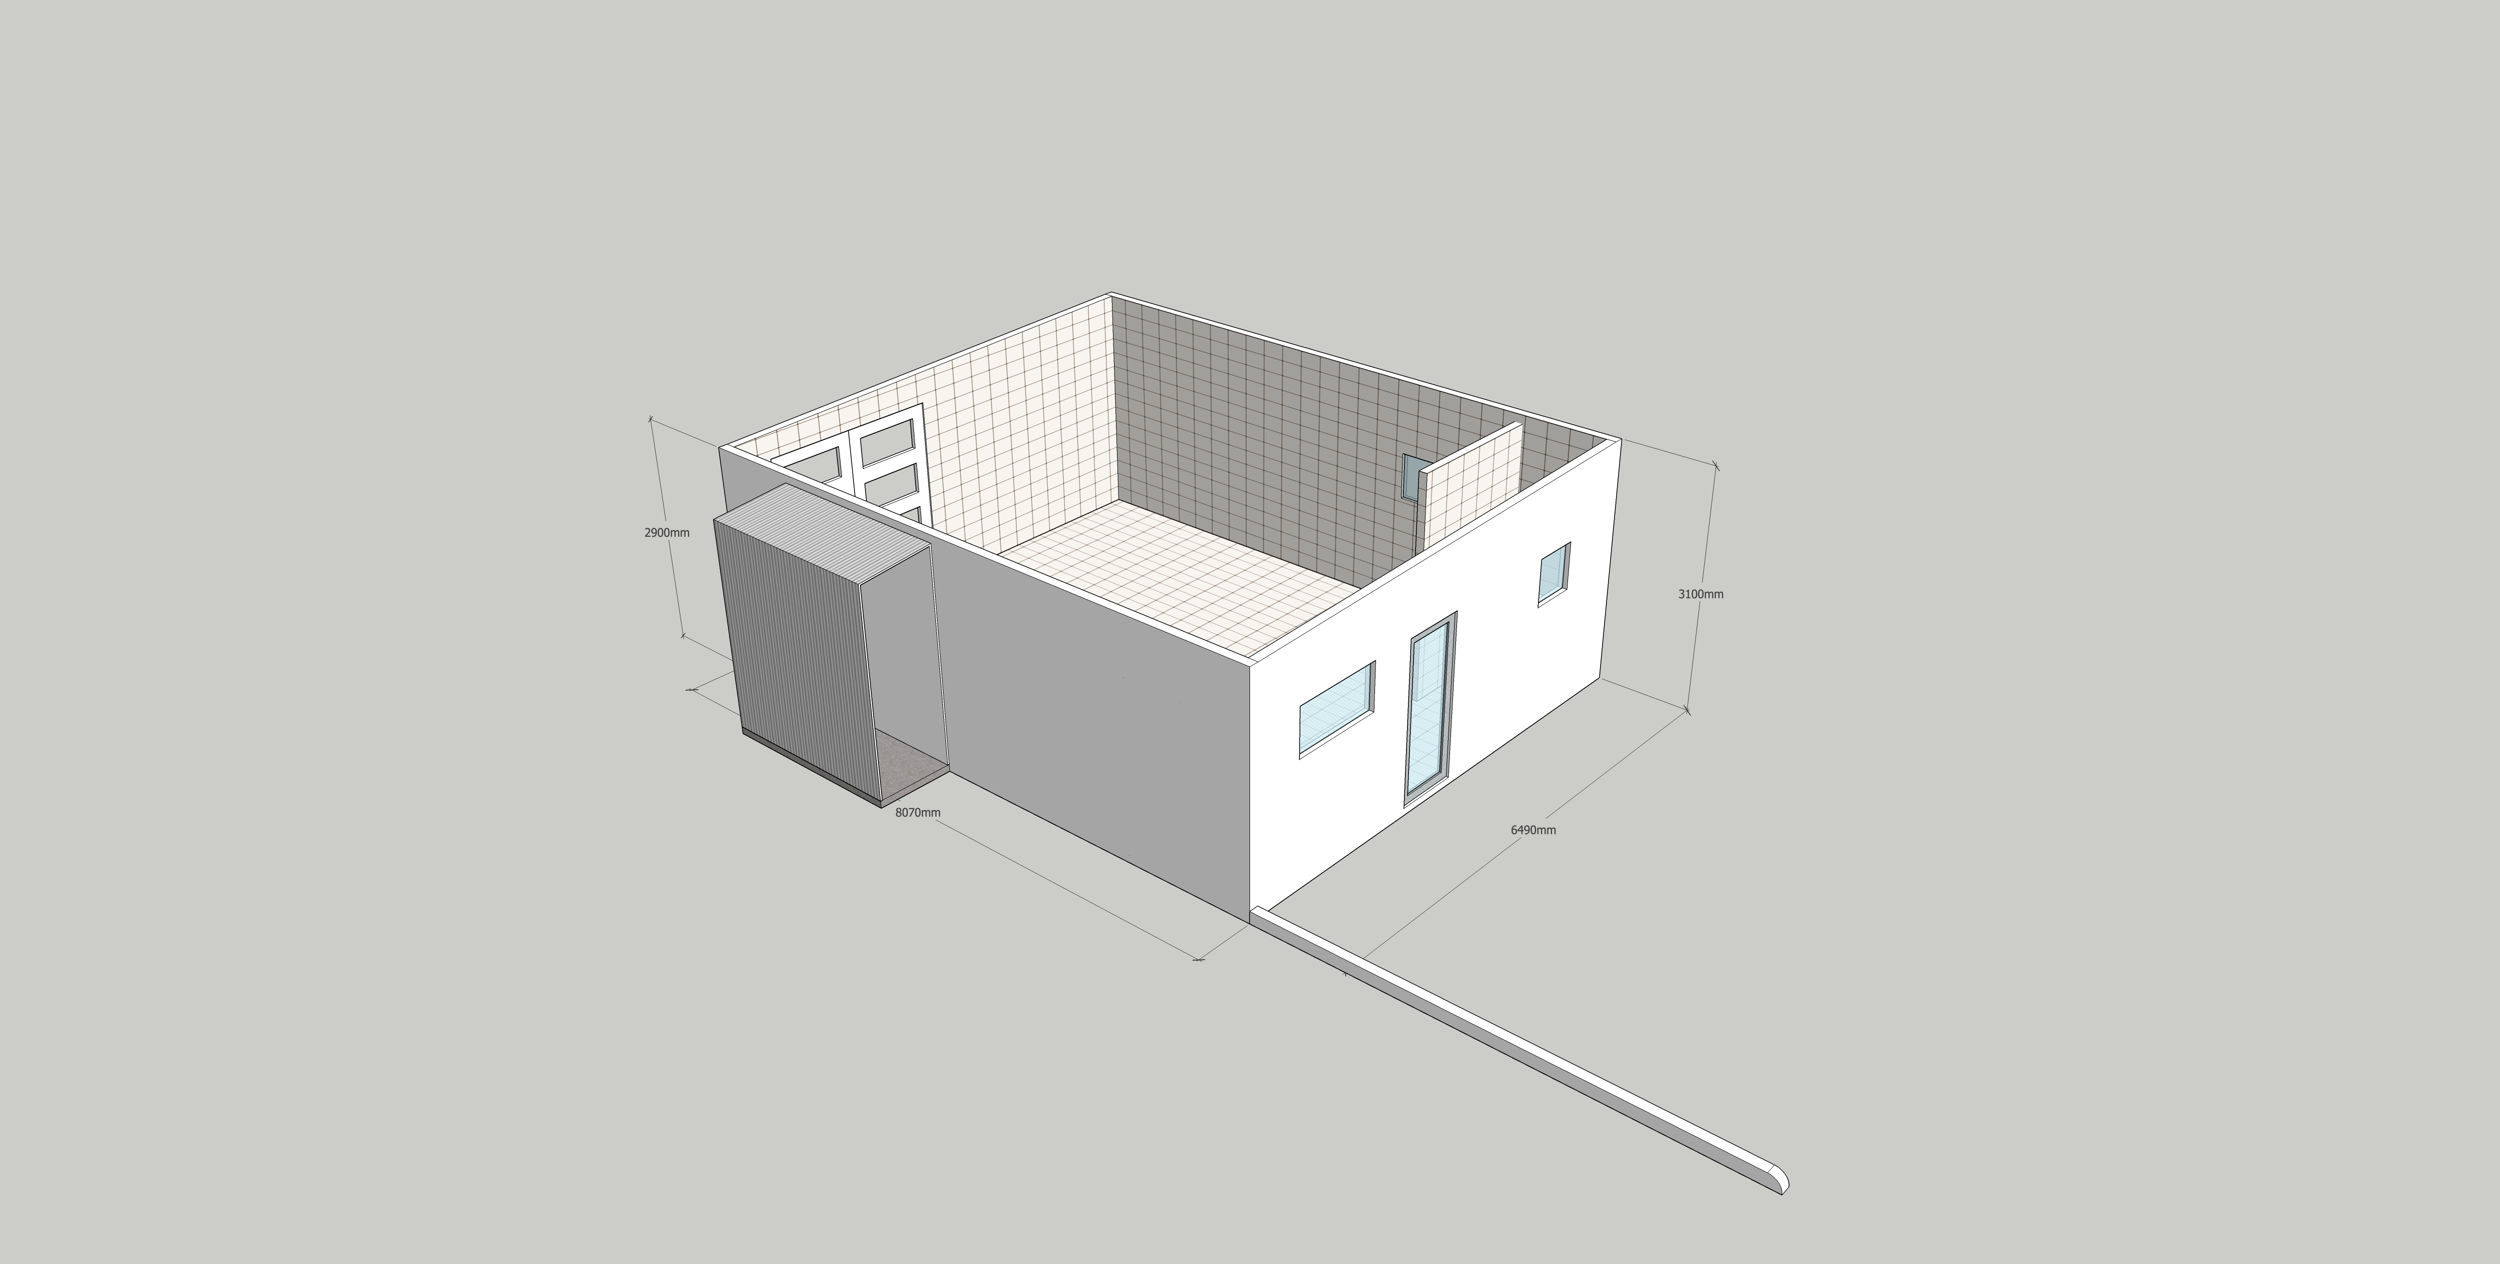
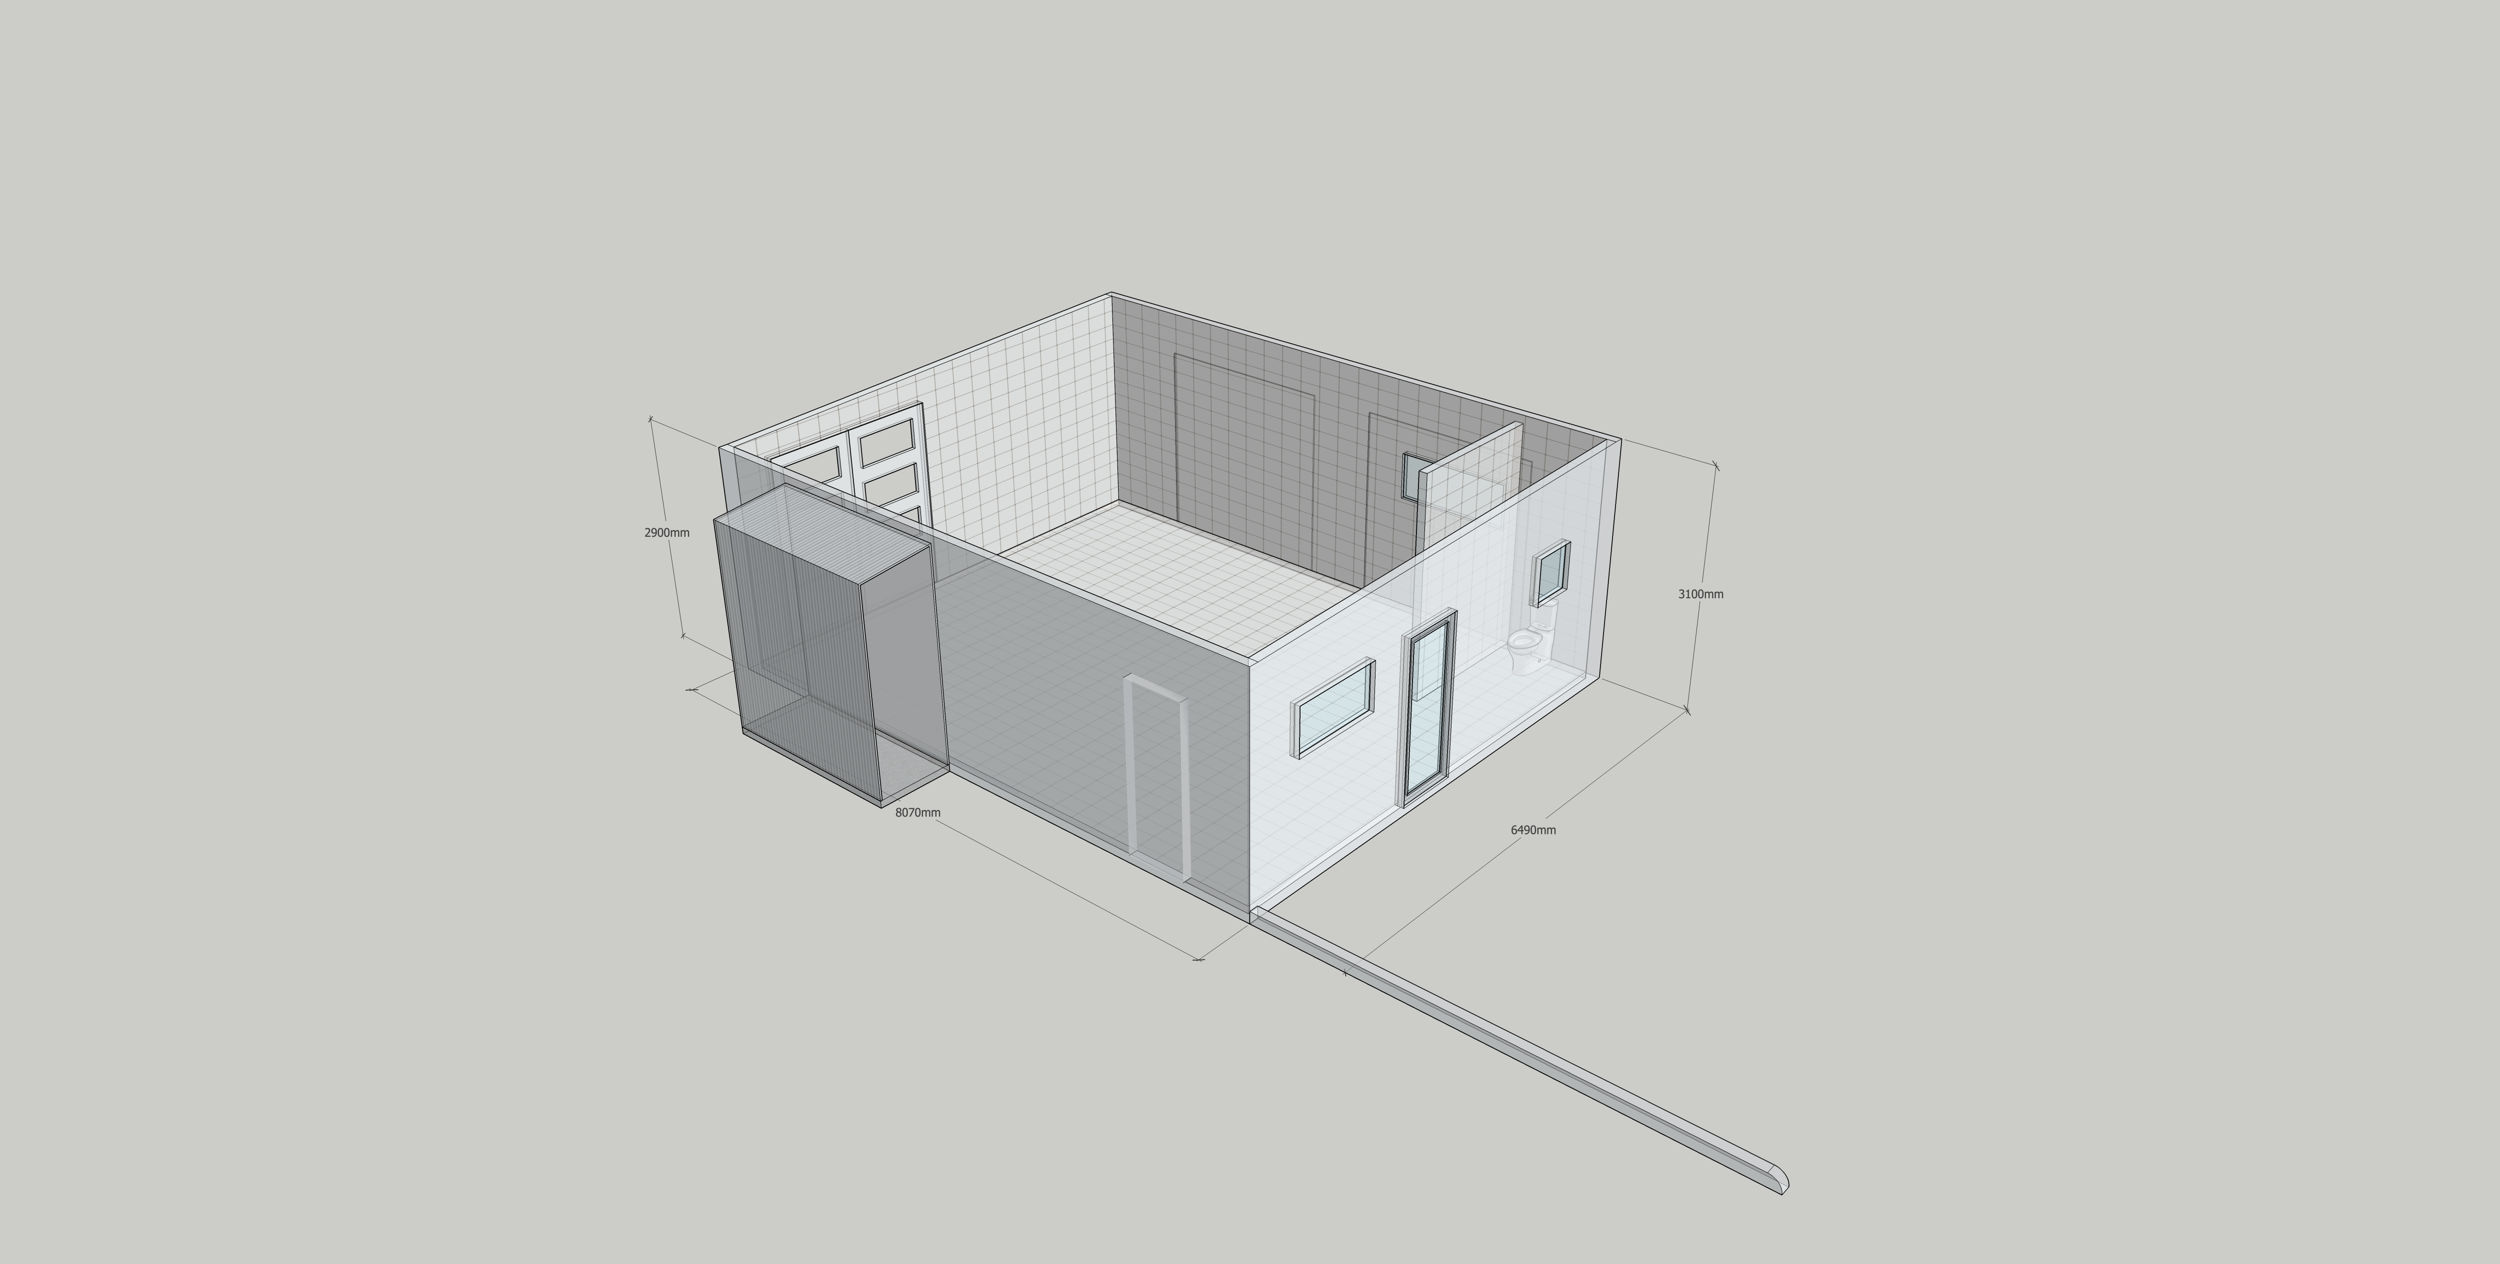
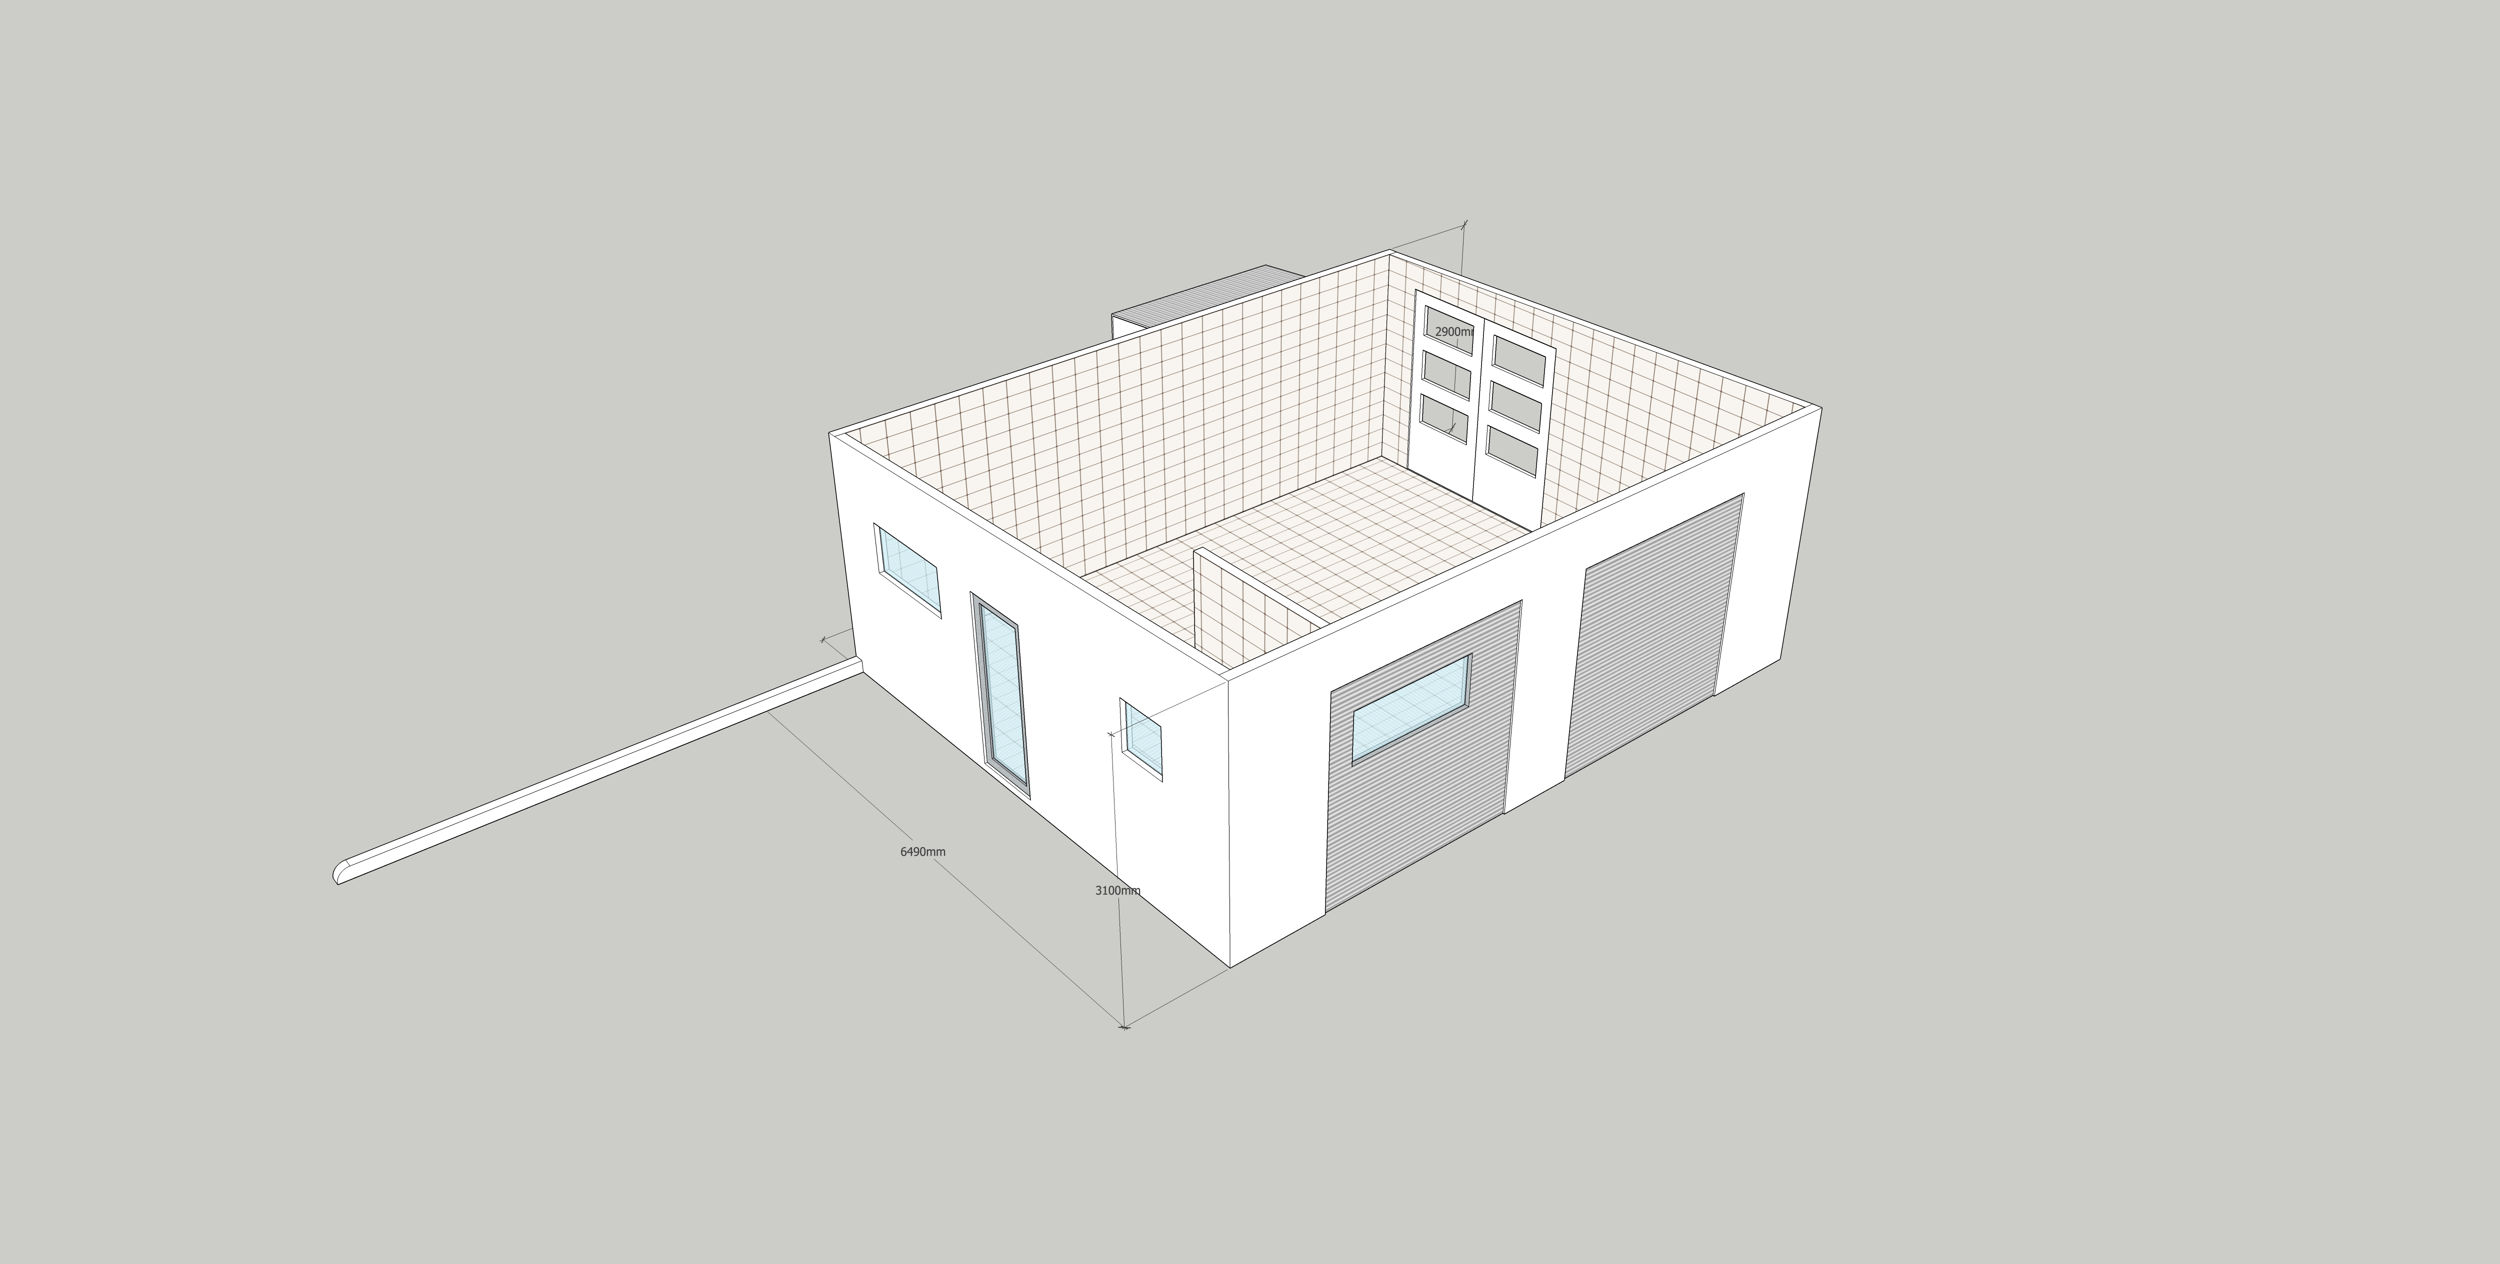
The single door was the entrance to the property, and there was a pair of parking spaces, with a low curb running alongside. The whole building was freestanding in a concreted parking lot behind a street-facing row of shopfronts. That parking zone was the first problem – the parking spaces wren’t part of the title, or even exclusive-use for the property, so that was where the whole thing went to the “not feasible” list. It might be OK for now, and there might be an agreement with the other owners / tenants not to park in them, but it only takes one new person deciding to be a jerk for that to evaporate. So, from here on in, everything became a fantasy “what if” scenario to see if I could design a small-footprint Artisan workshop / residence – the sort of thing that used to be common, but has effectively vanished in the developed world.
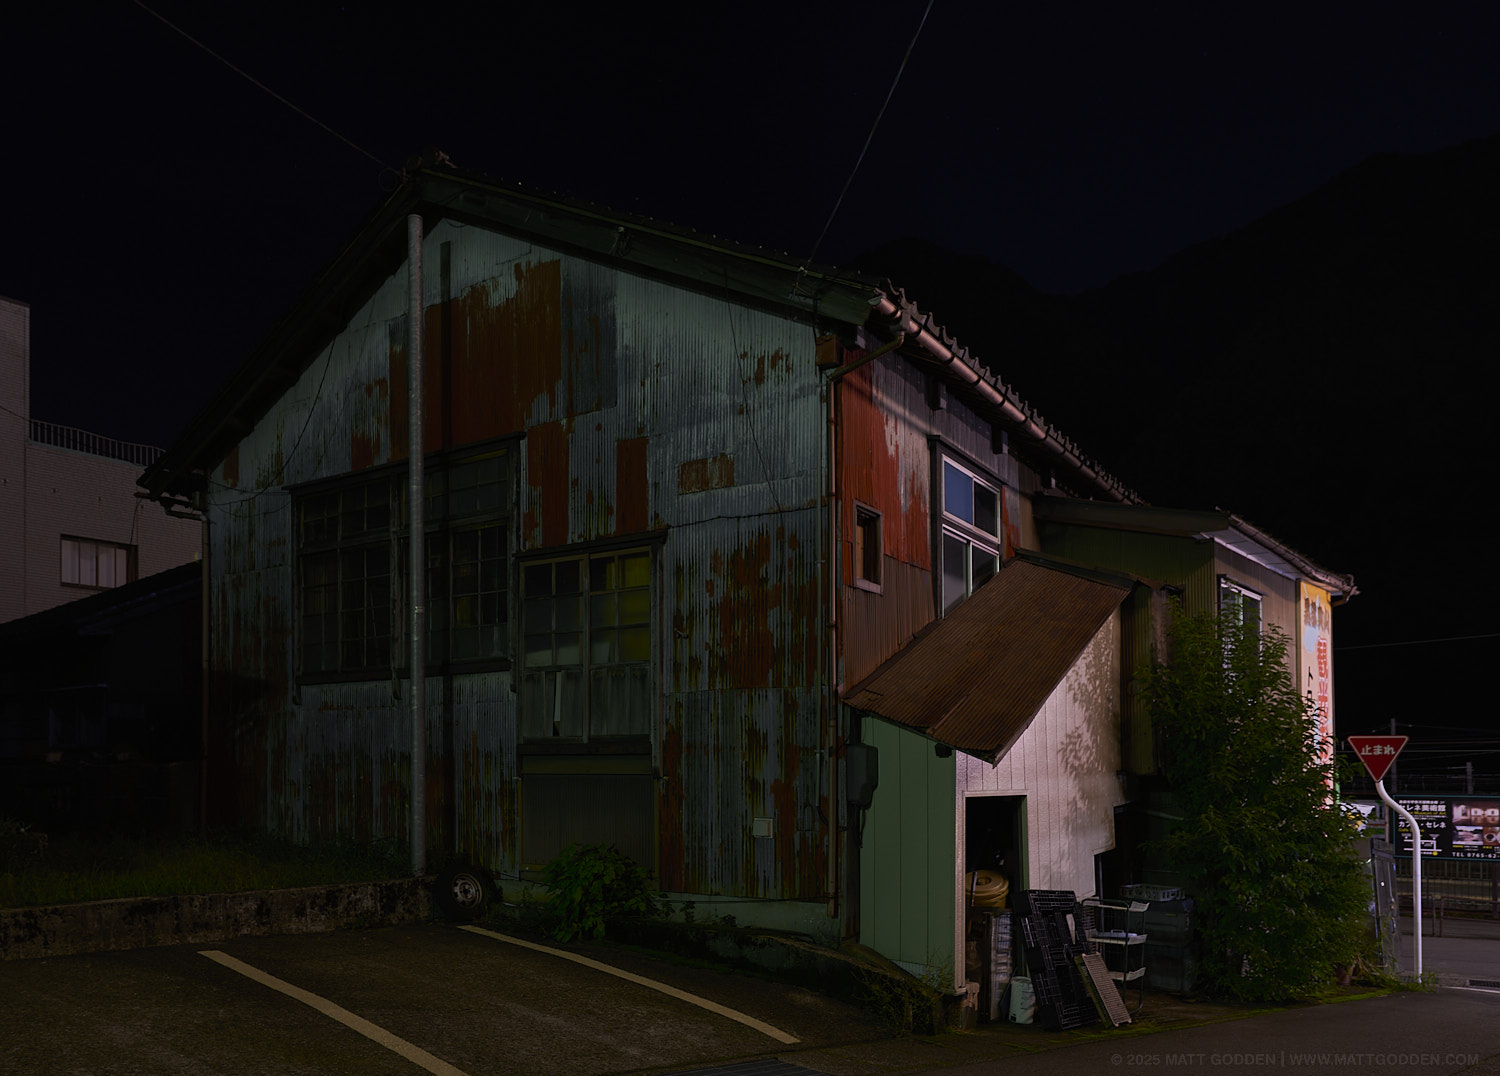
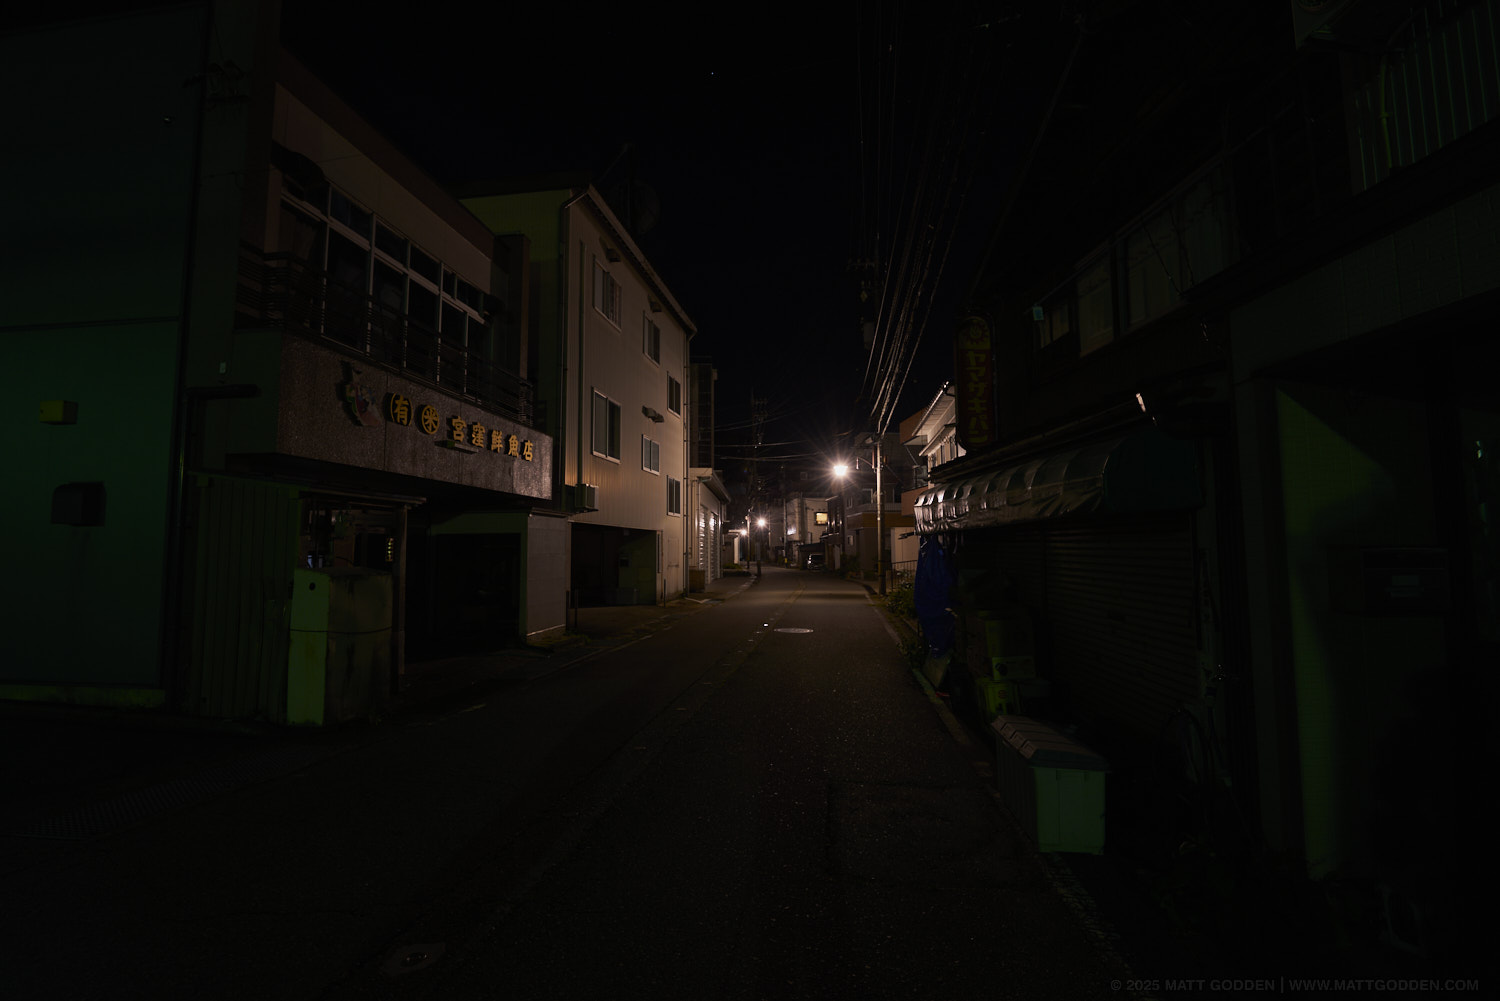
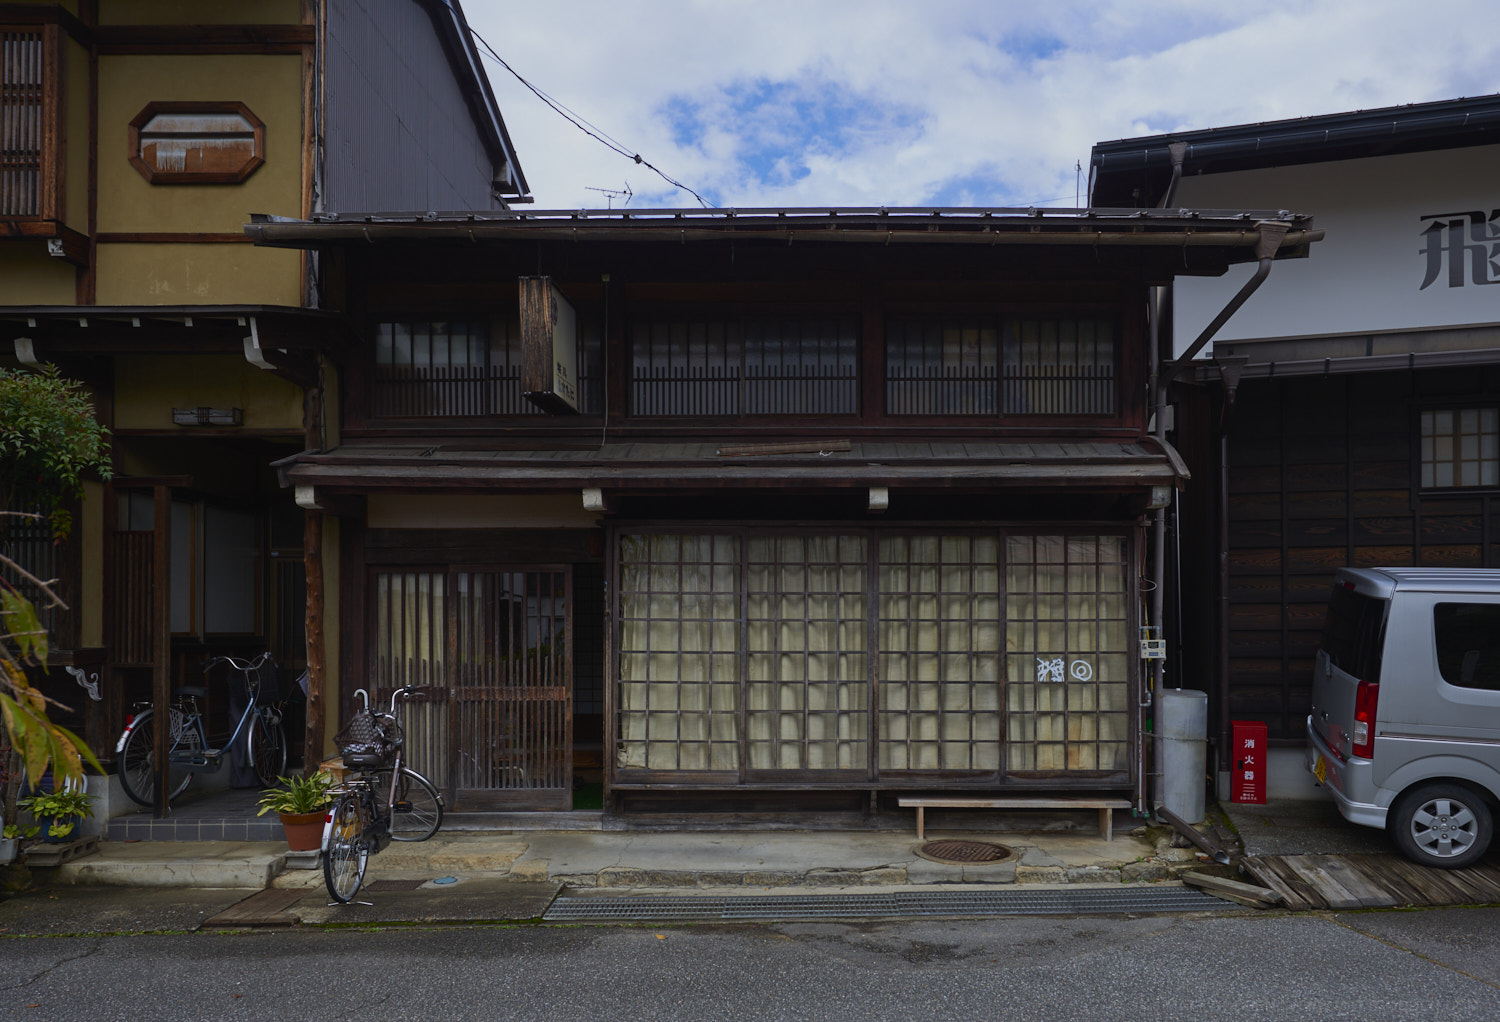
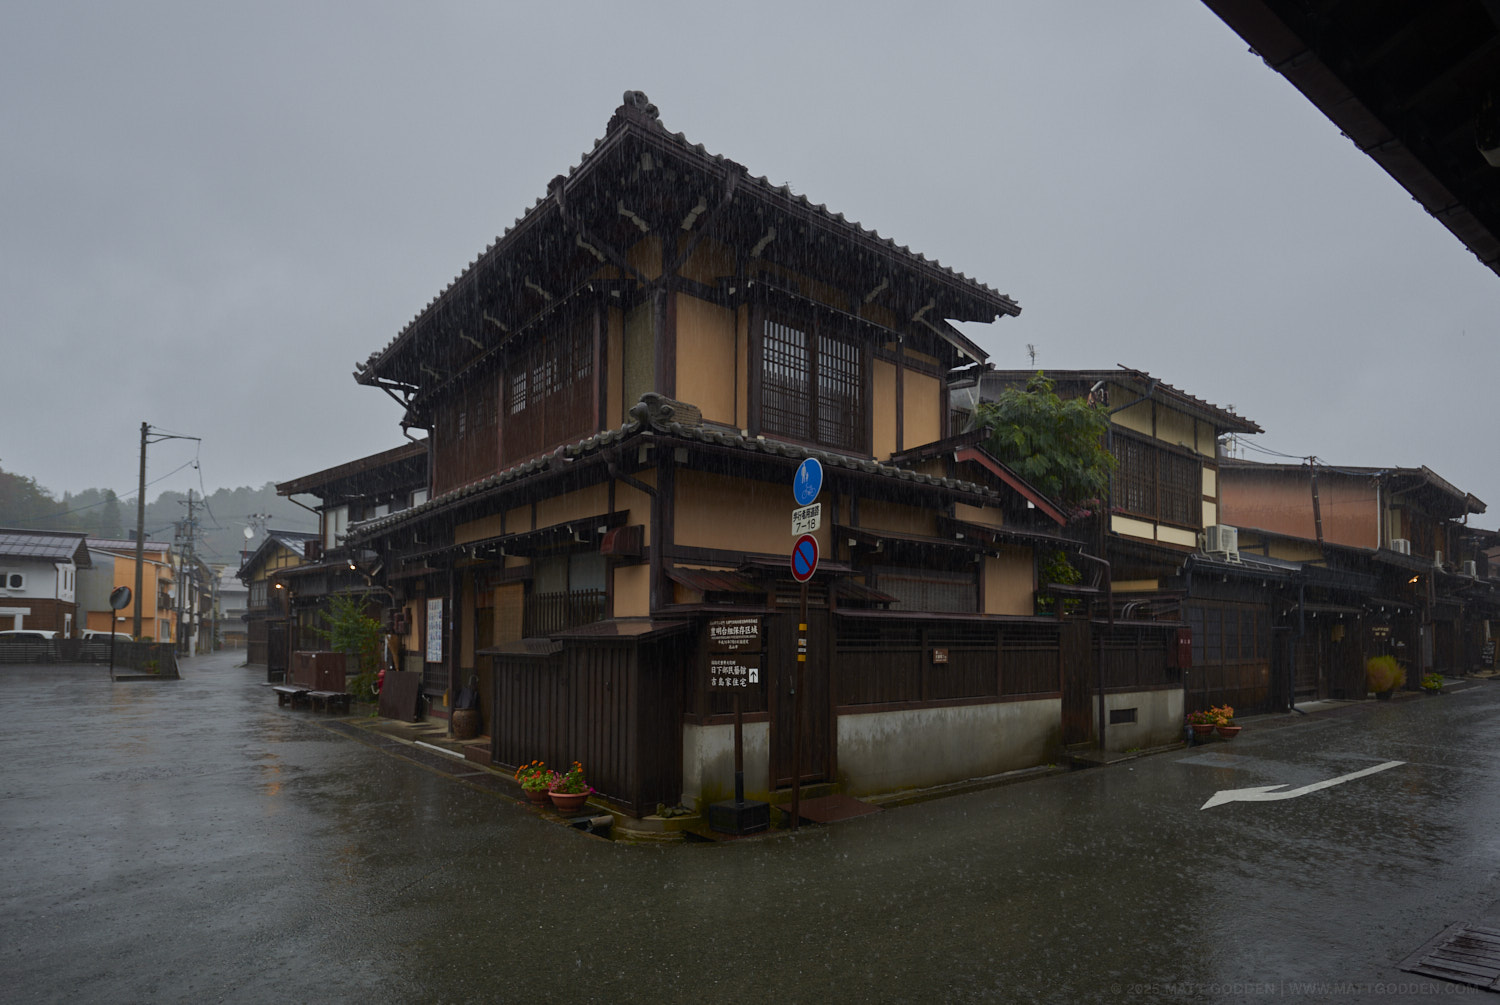
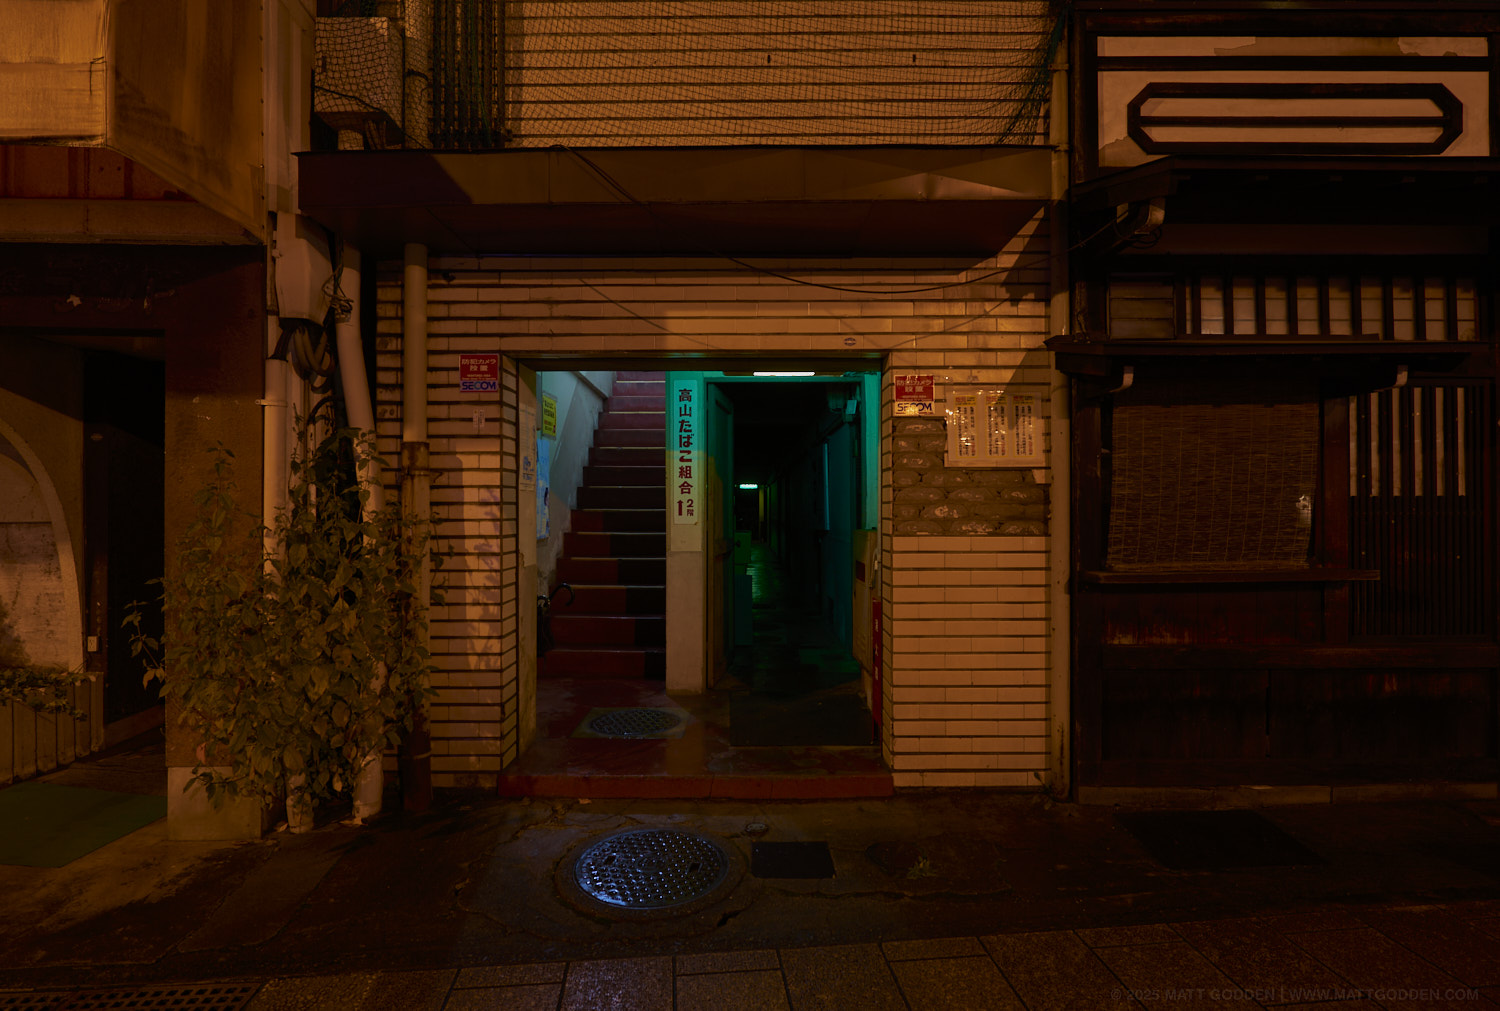
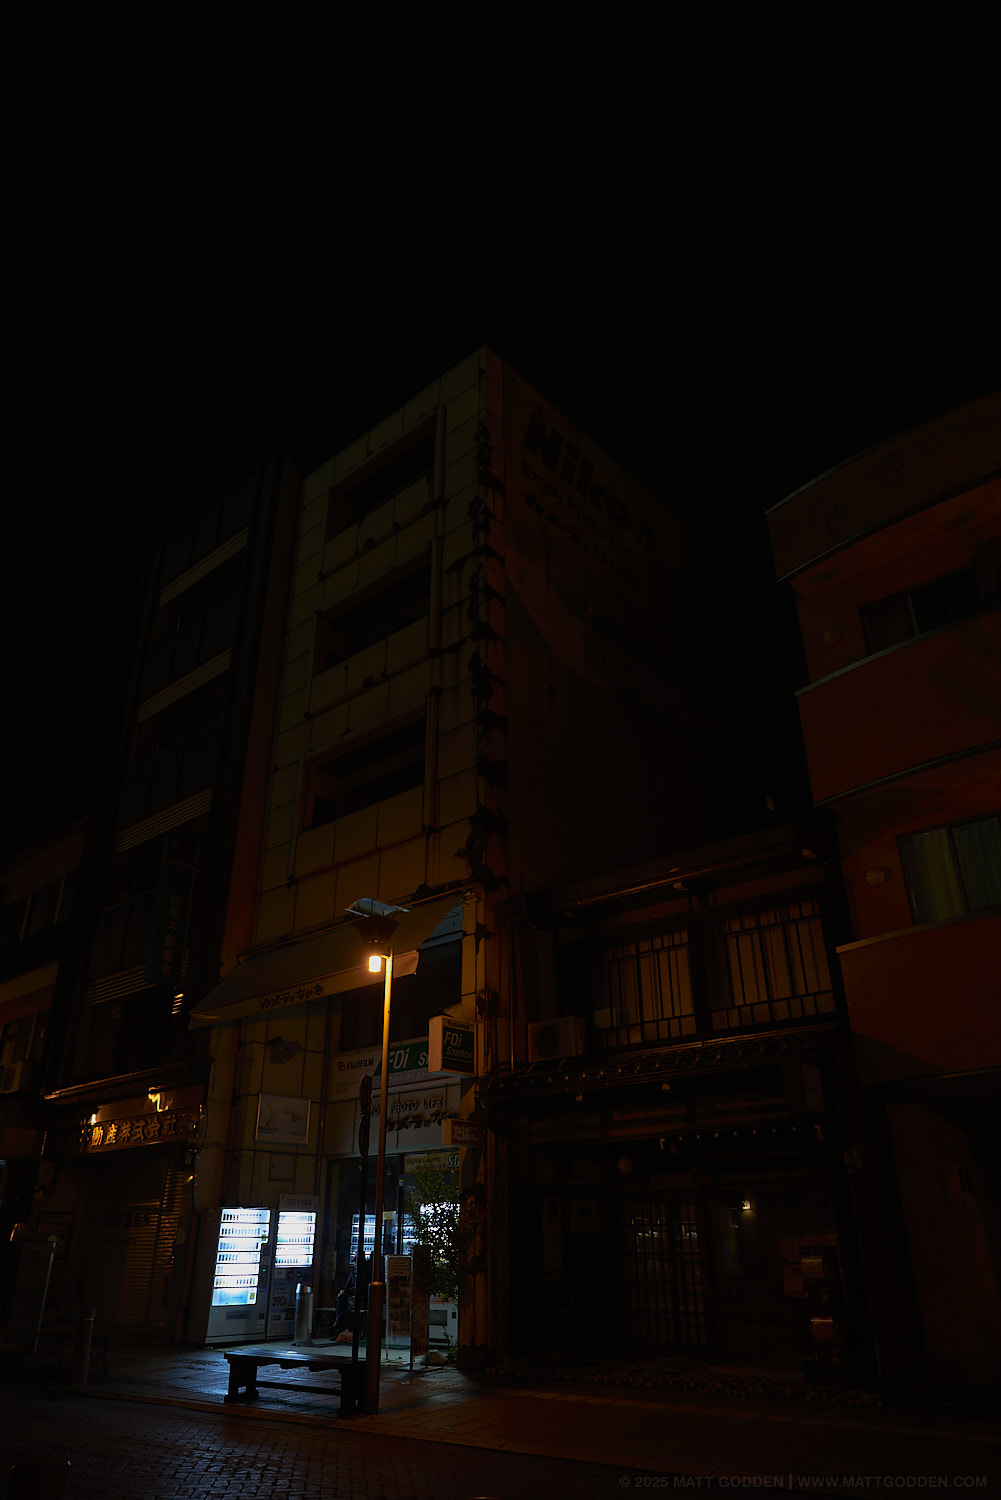
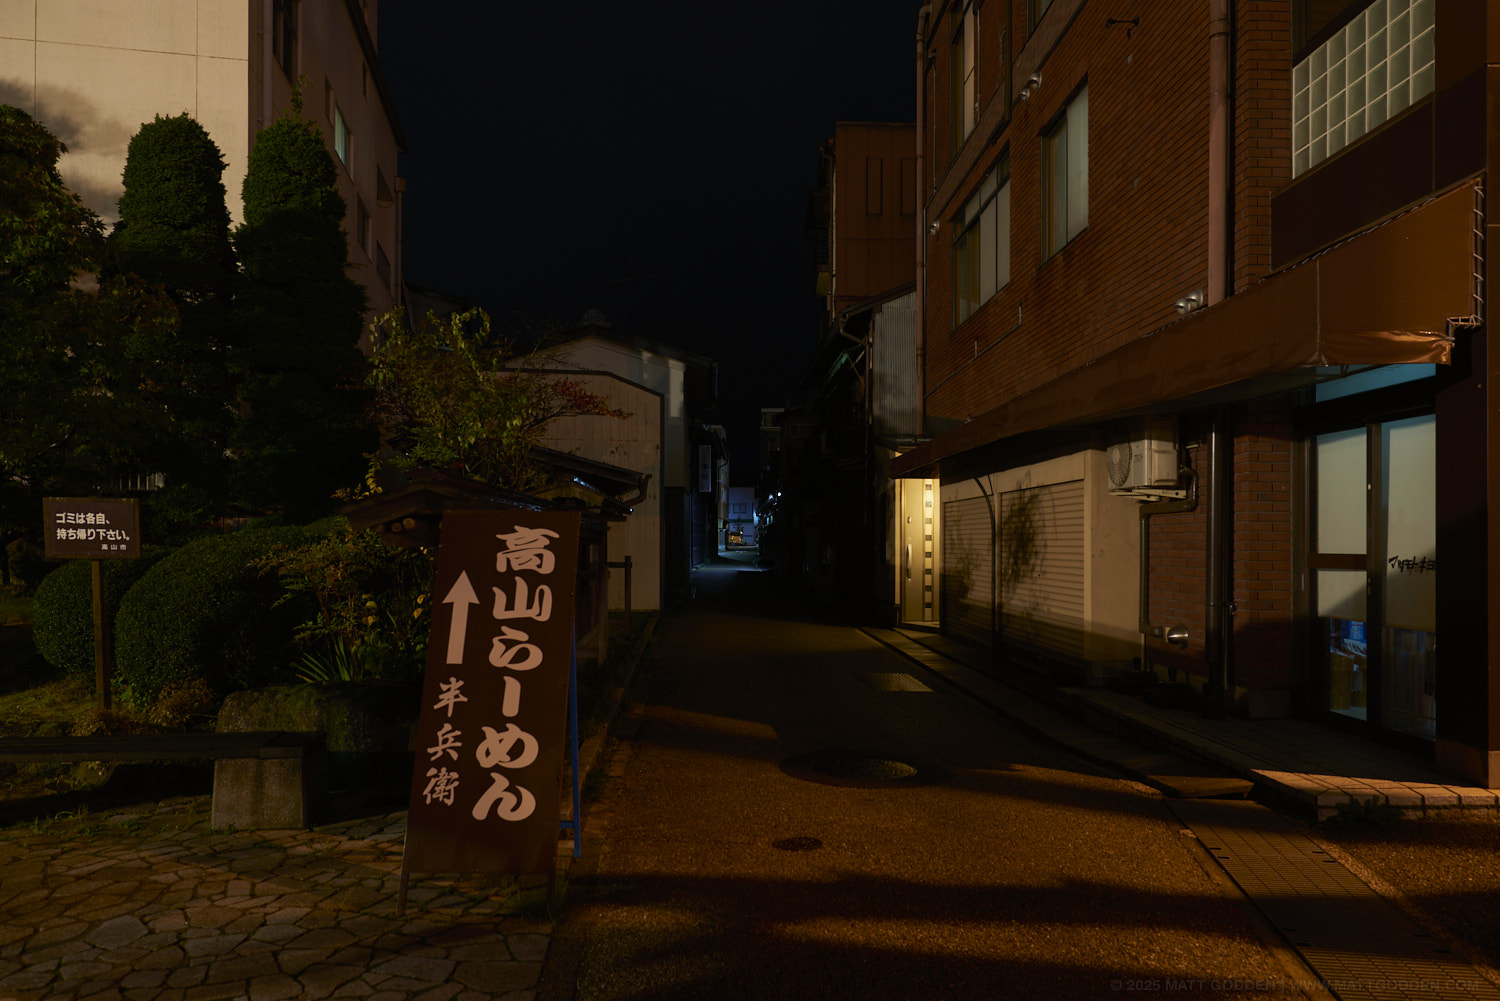
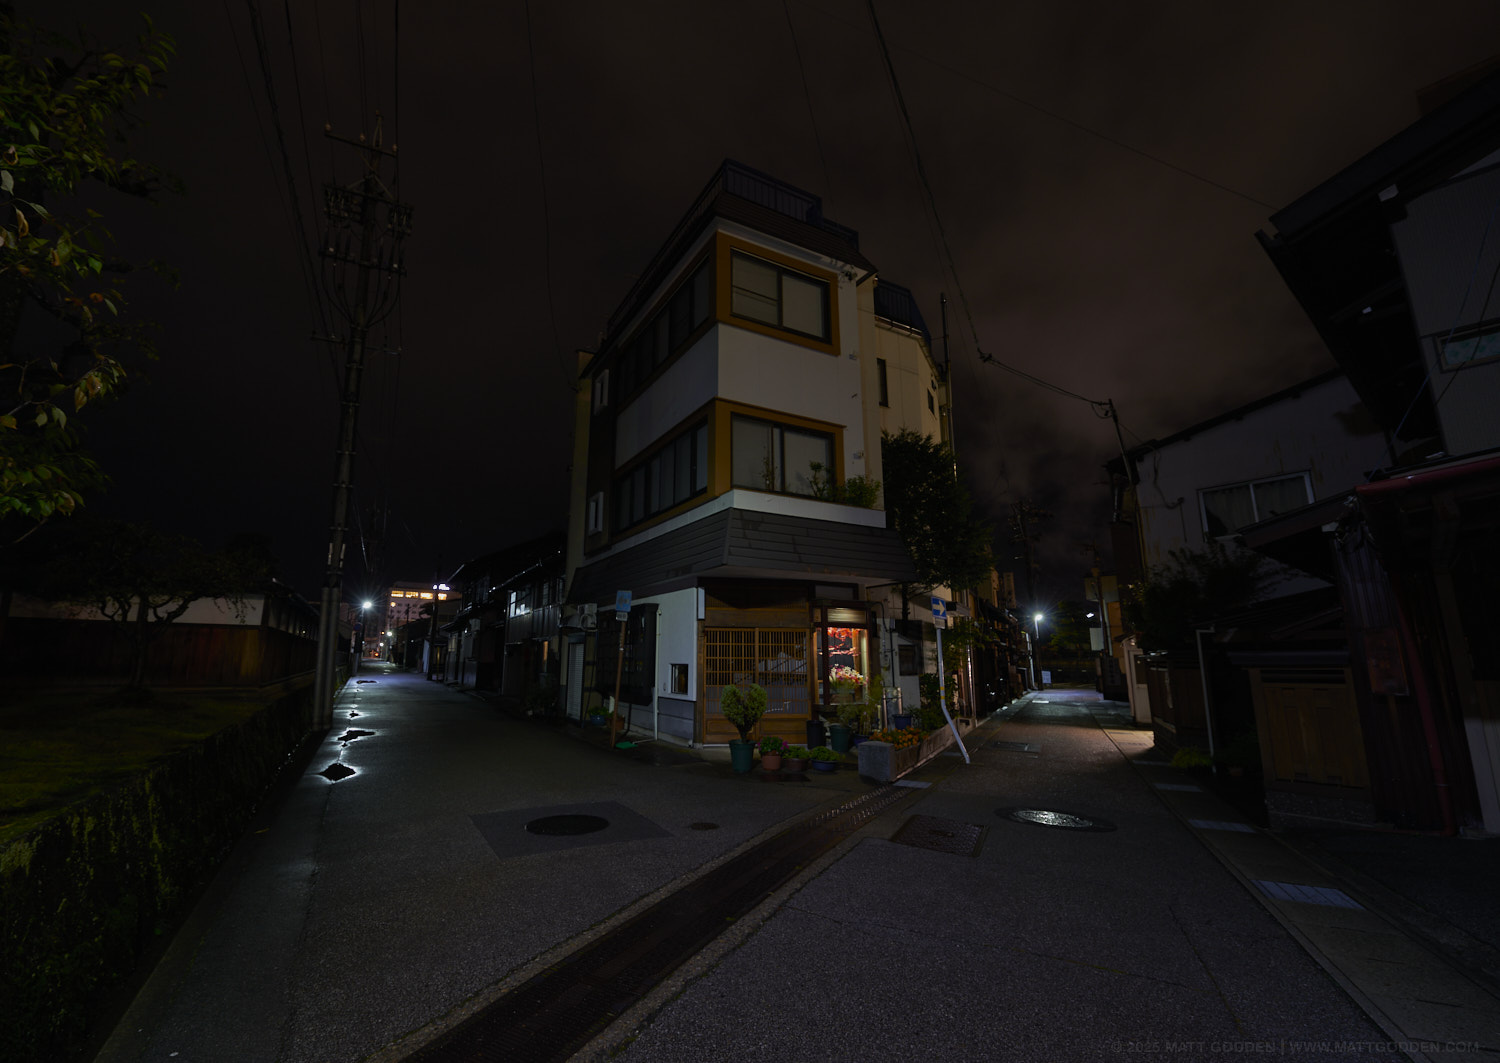
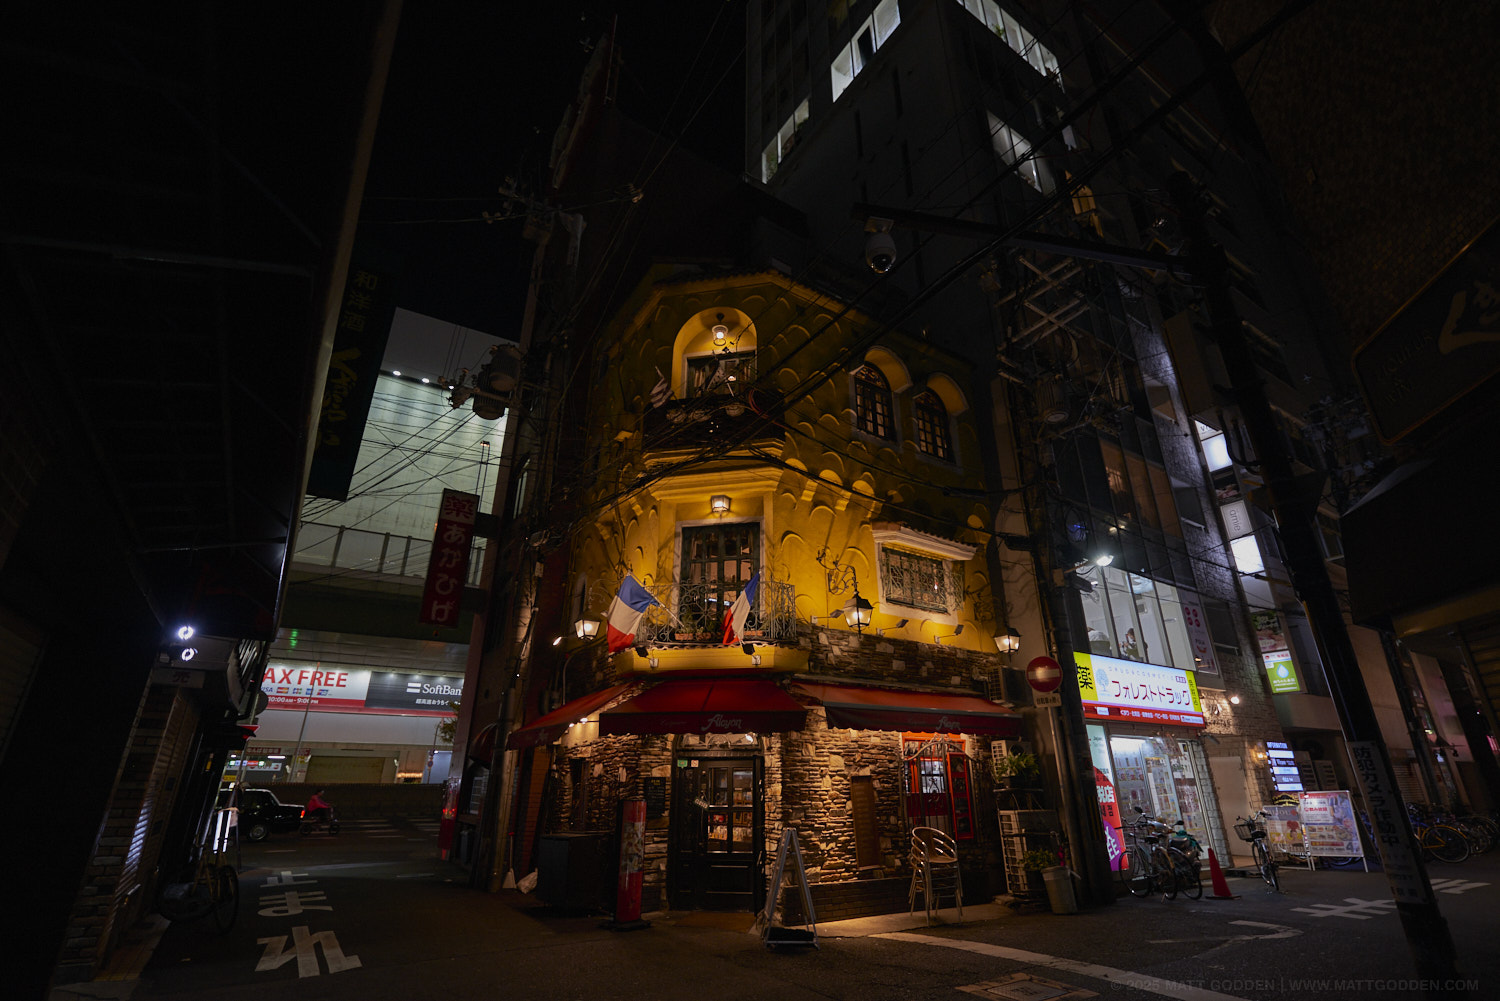
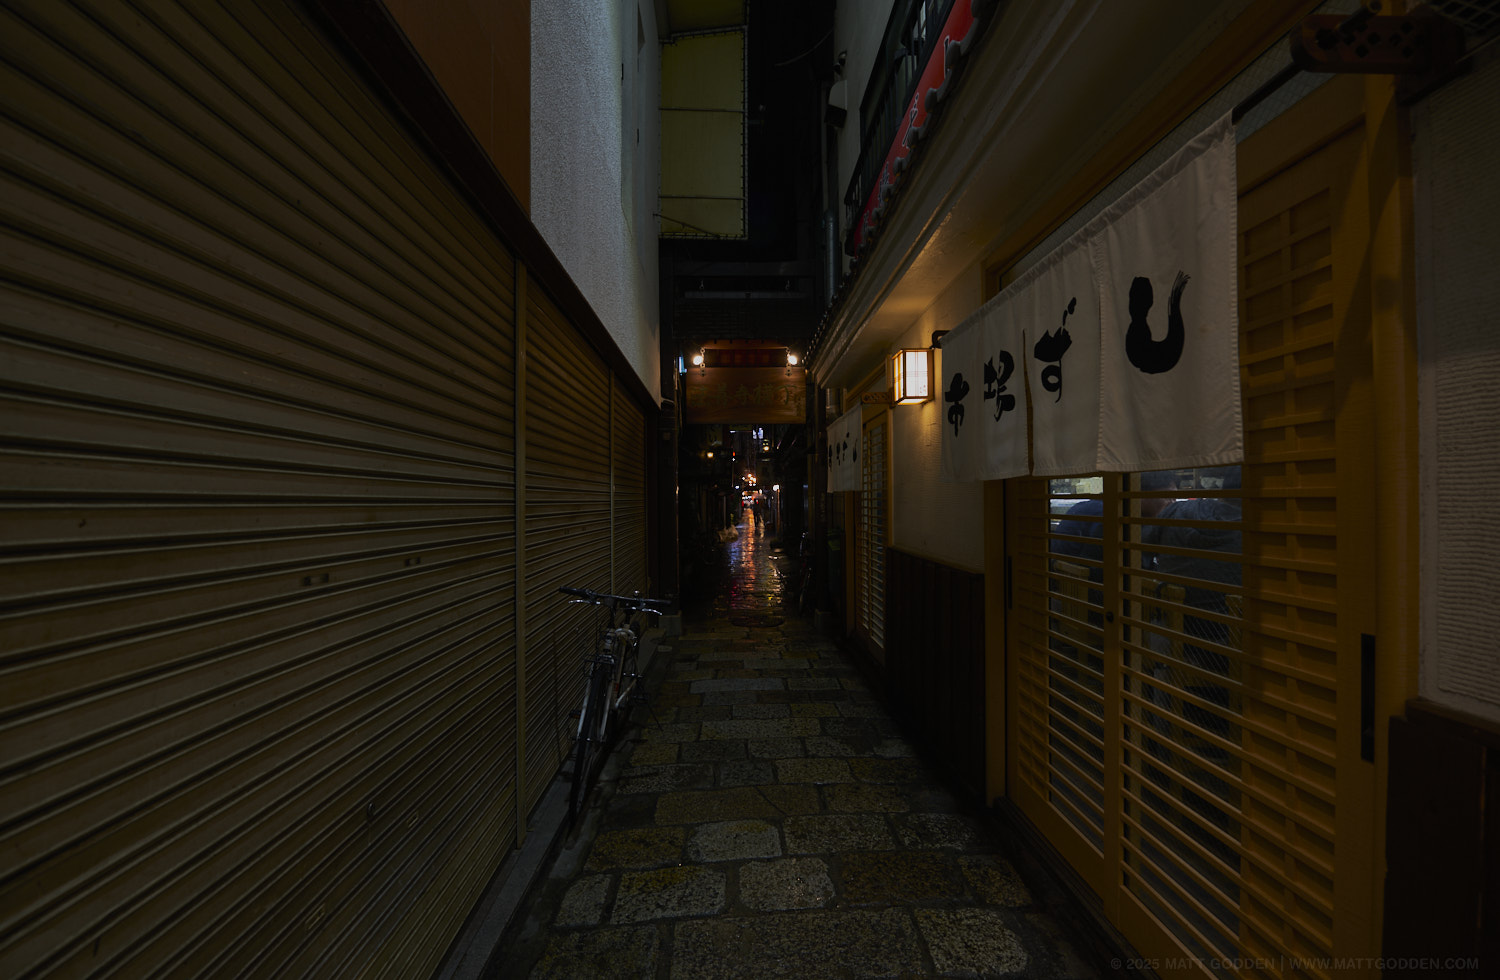
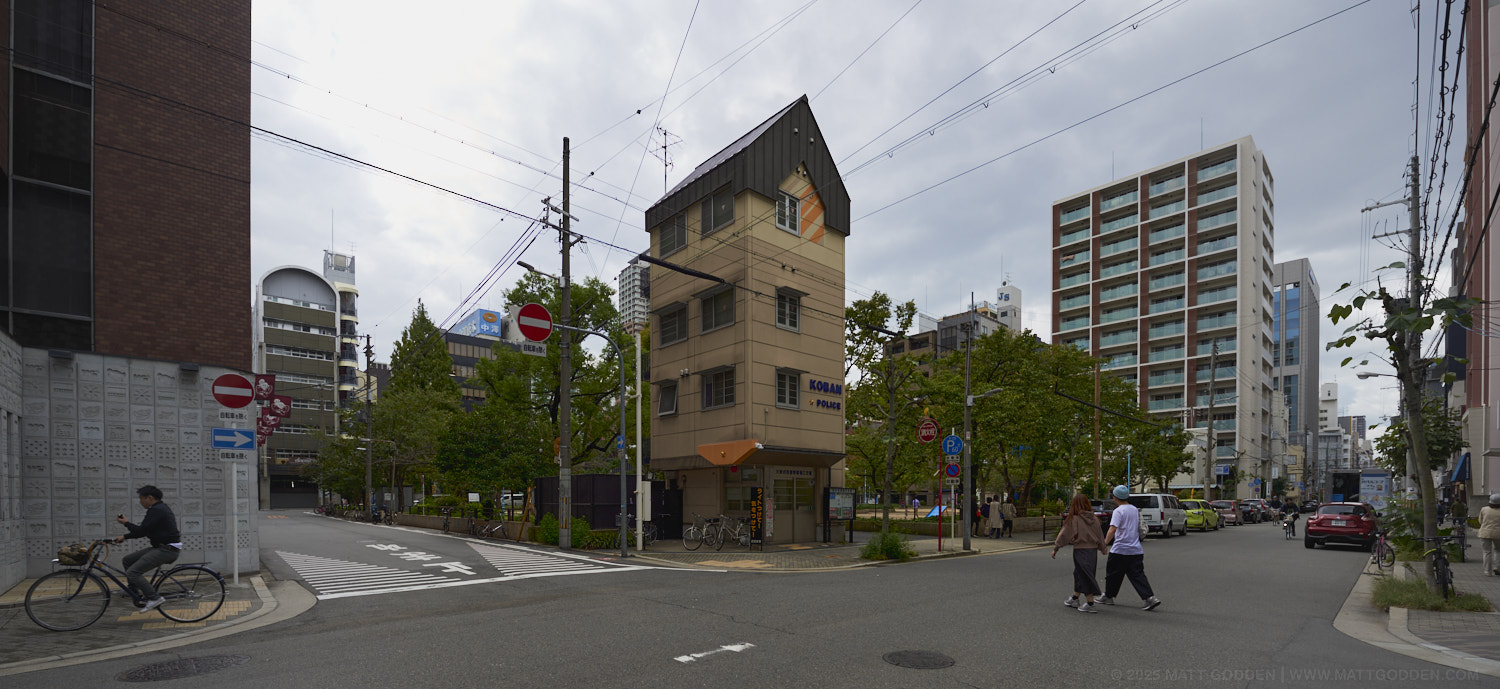
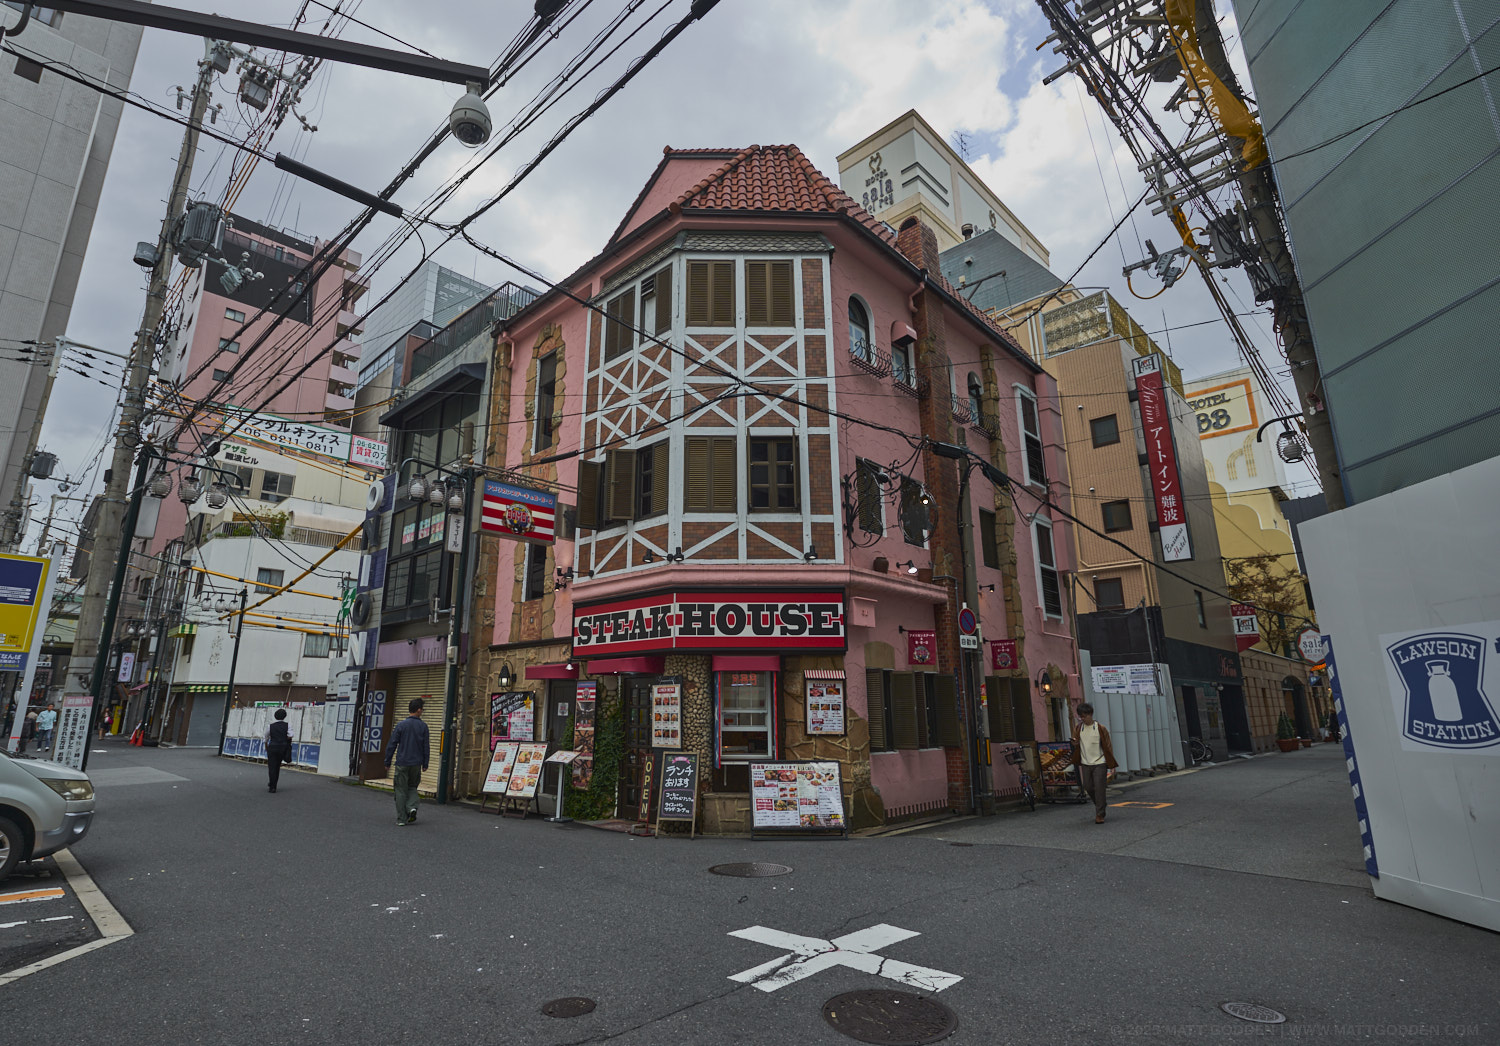
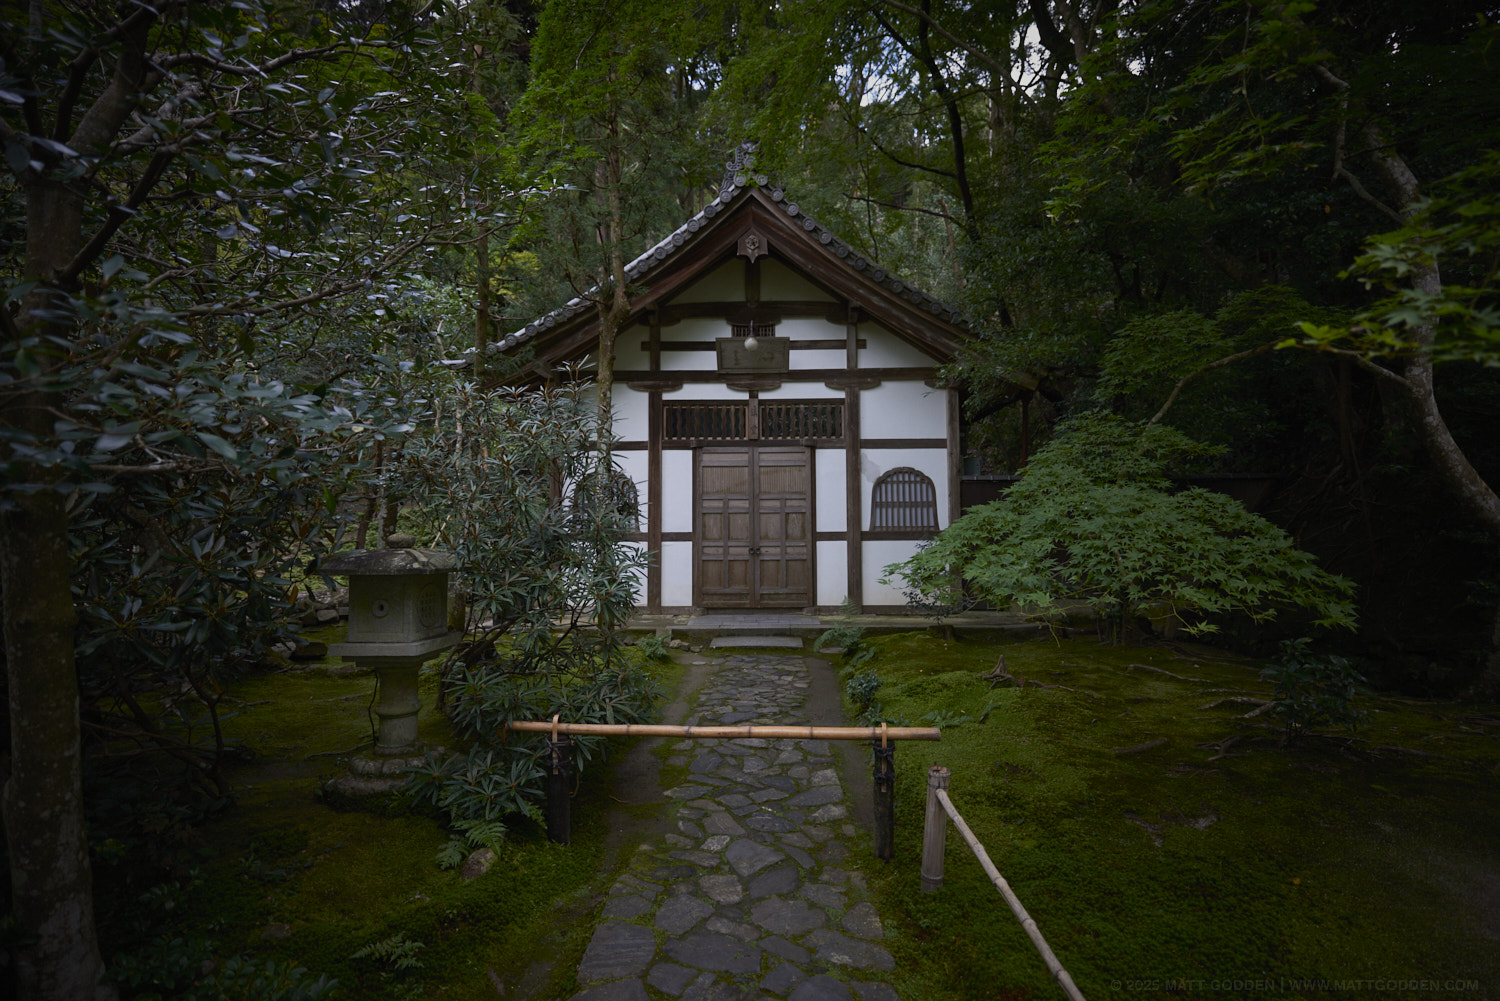
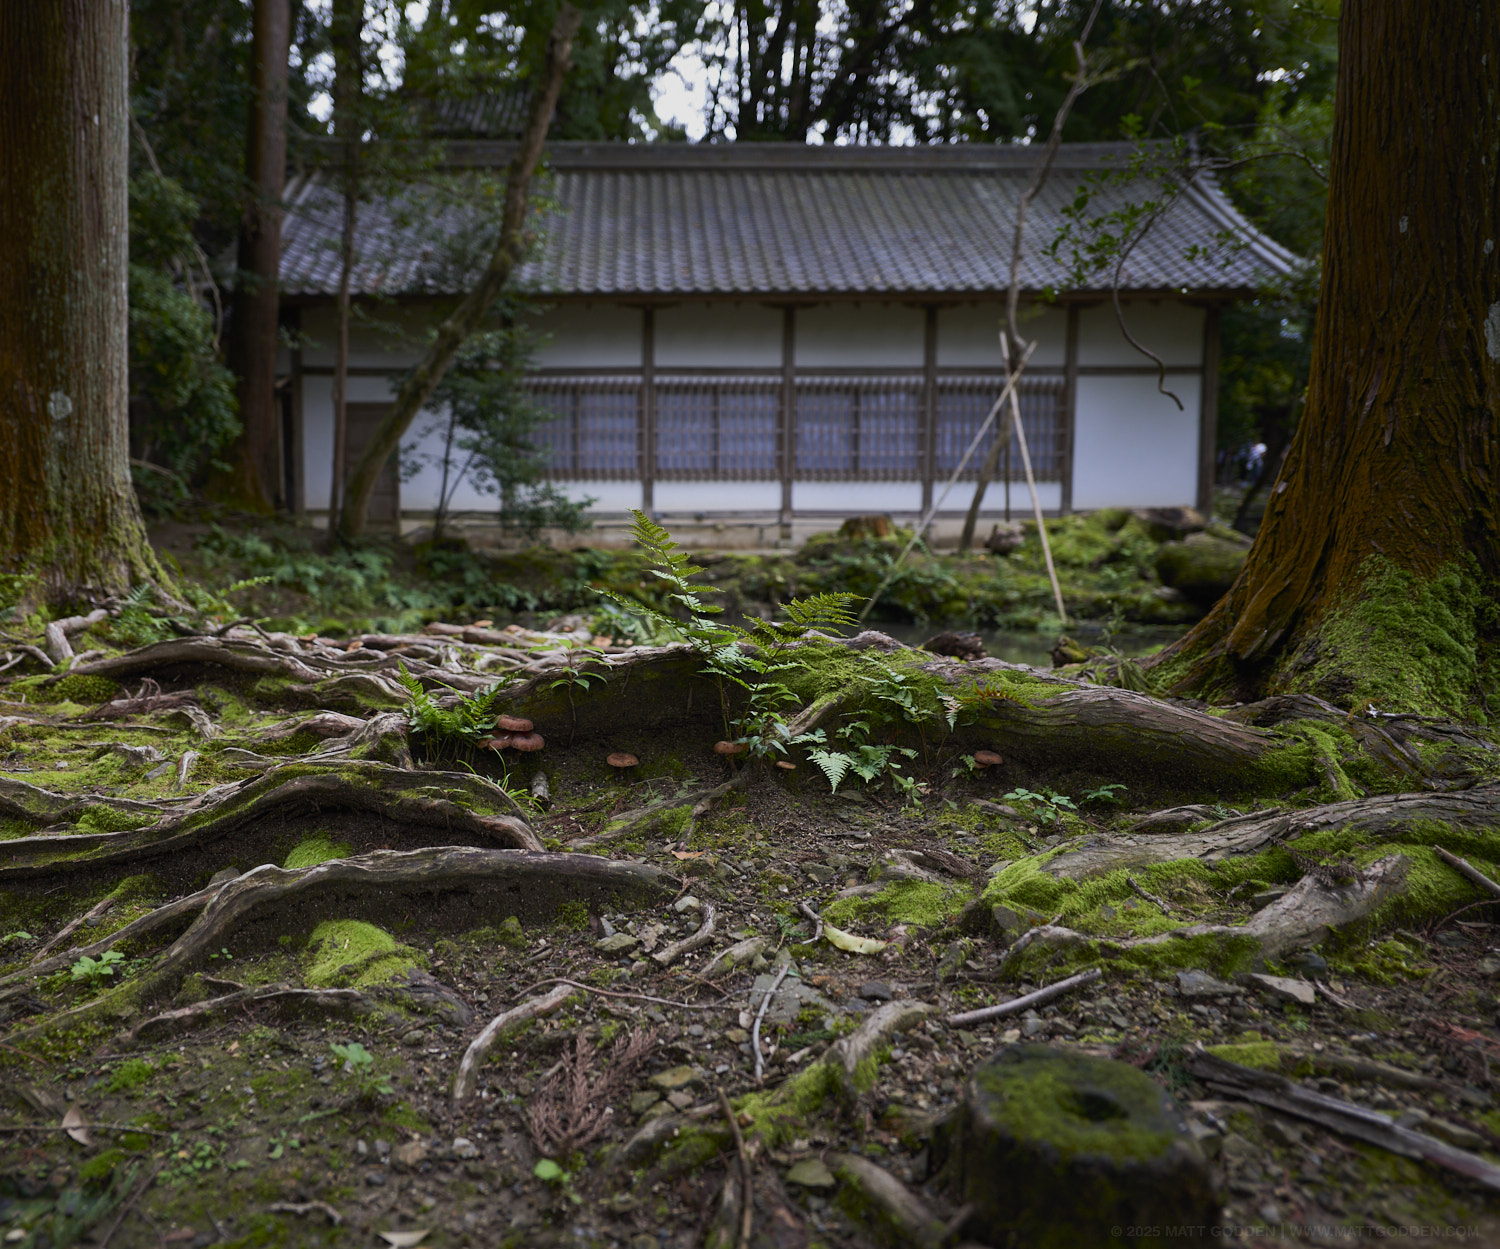
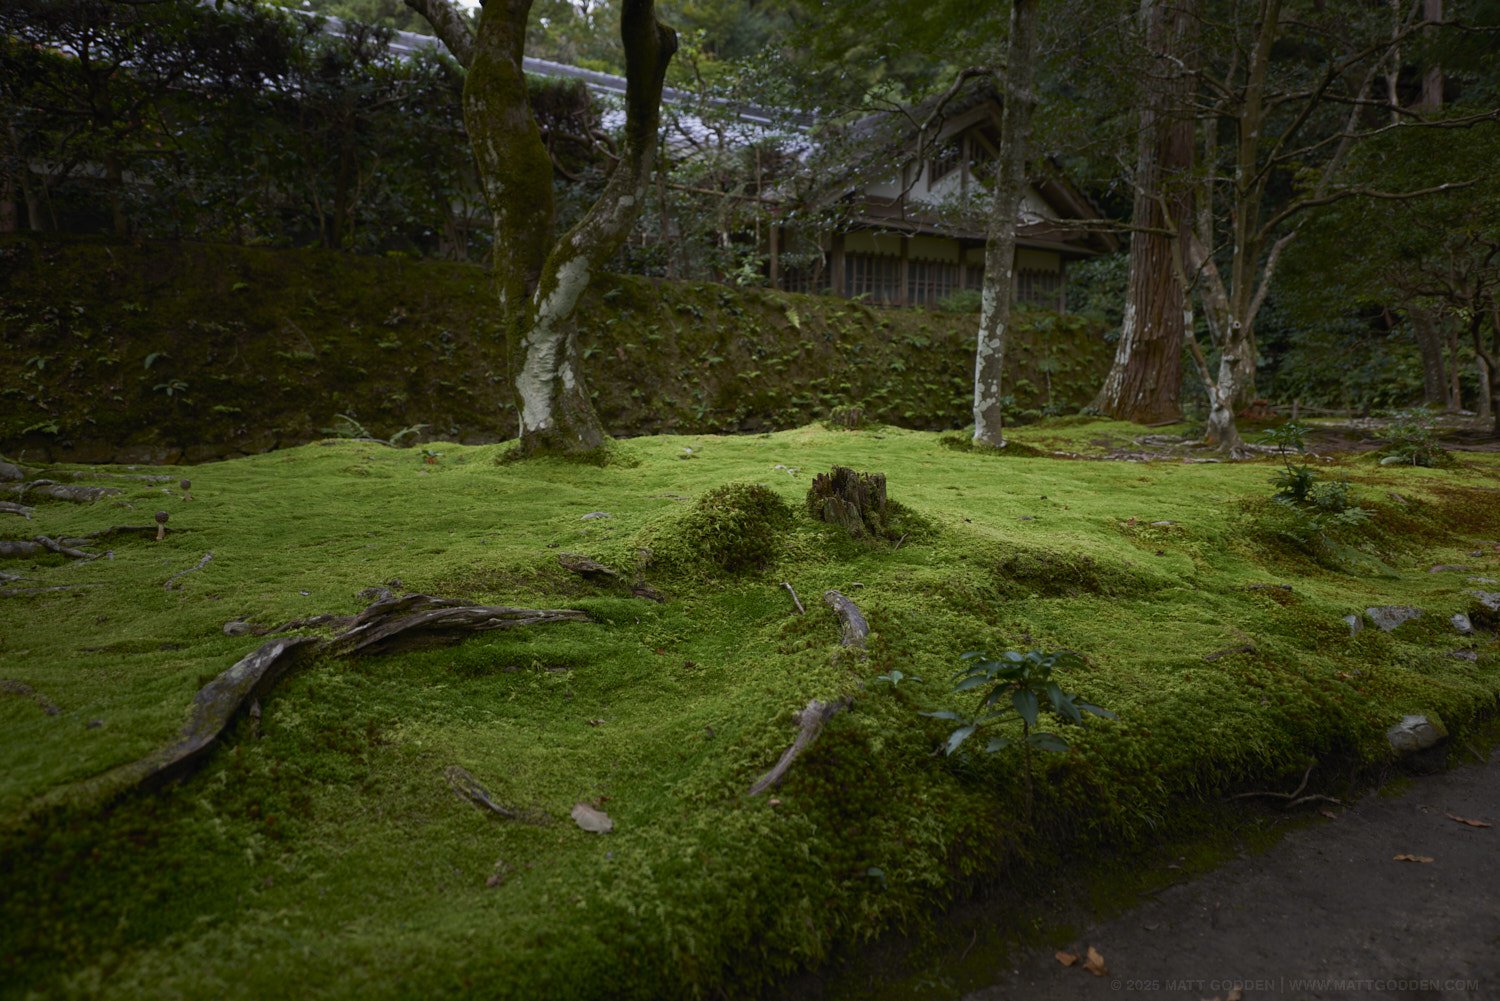
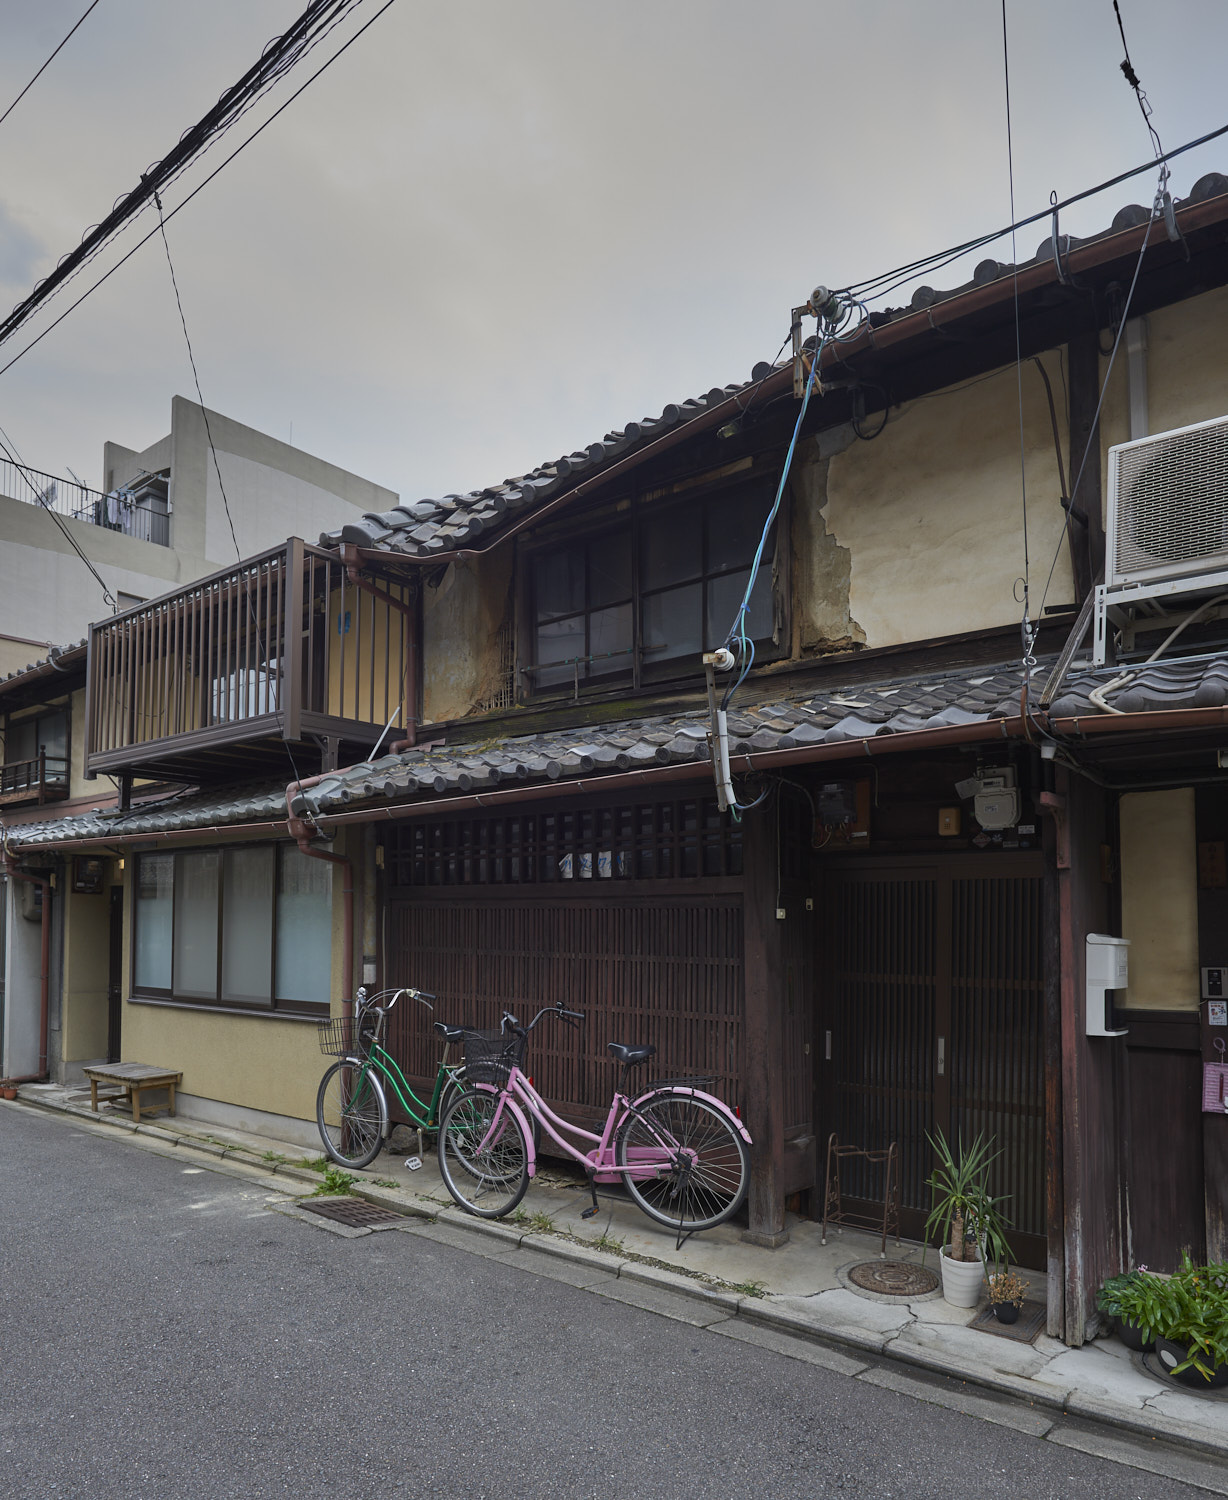
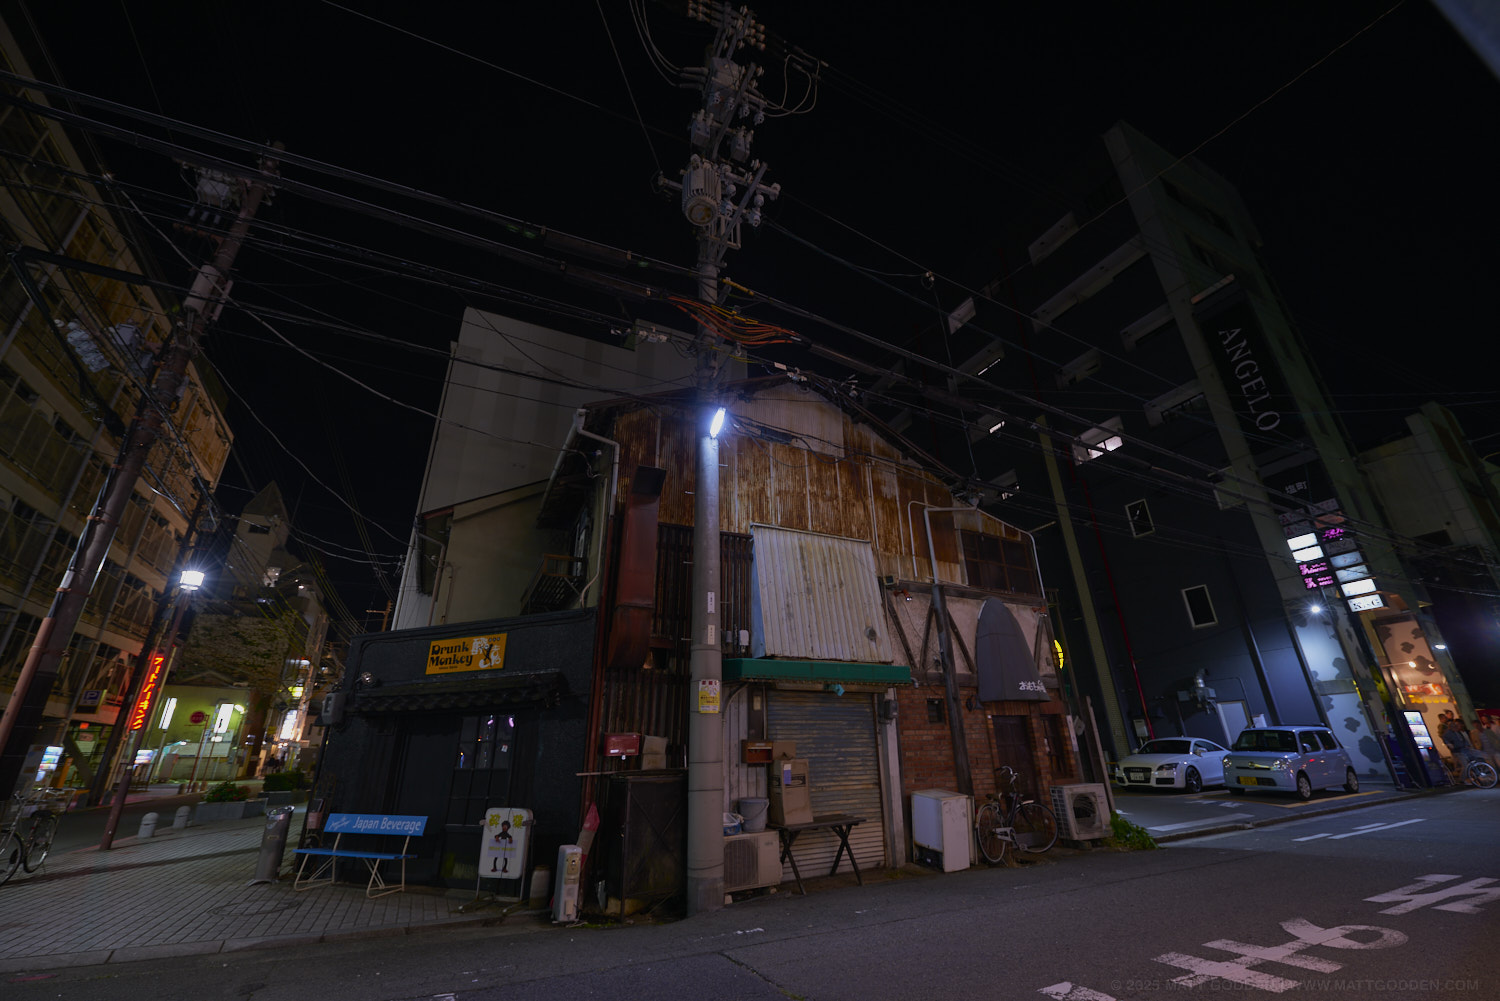
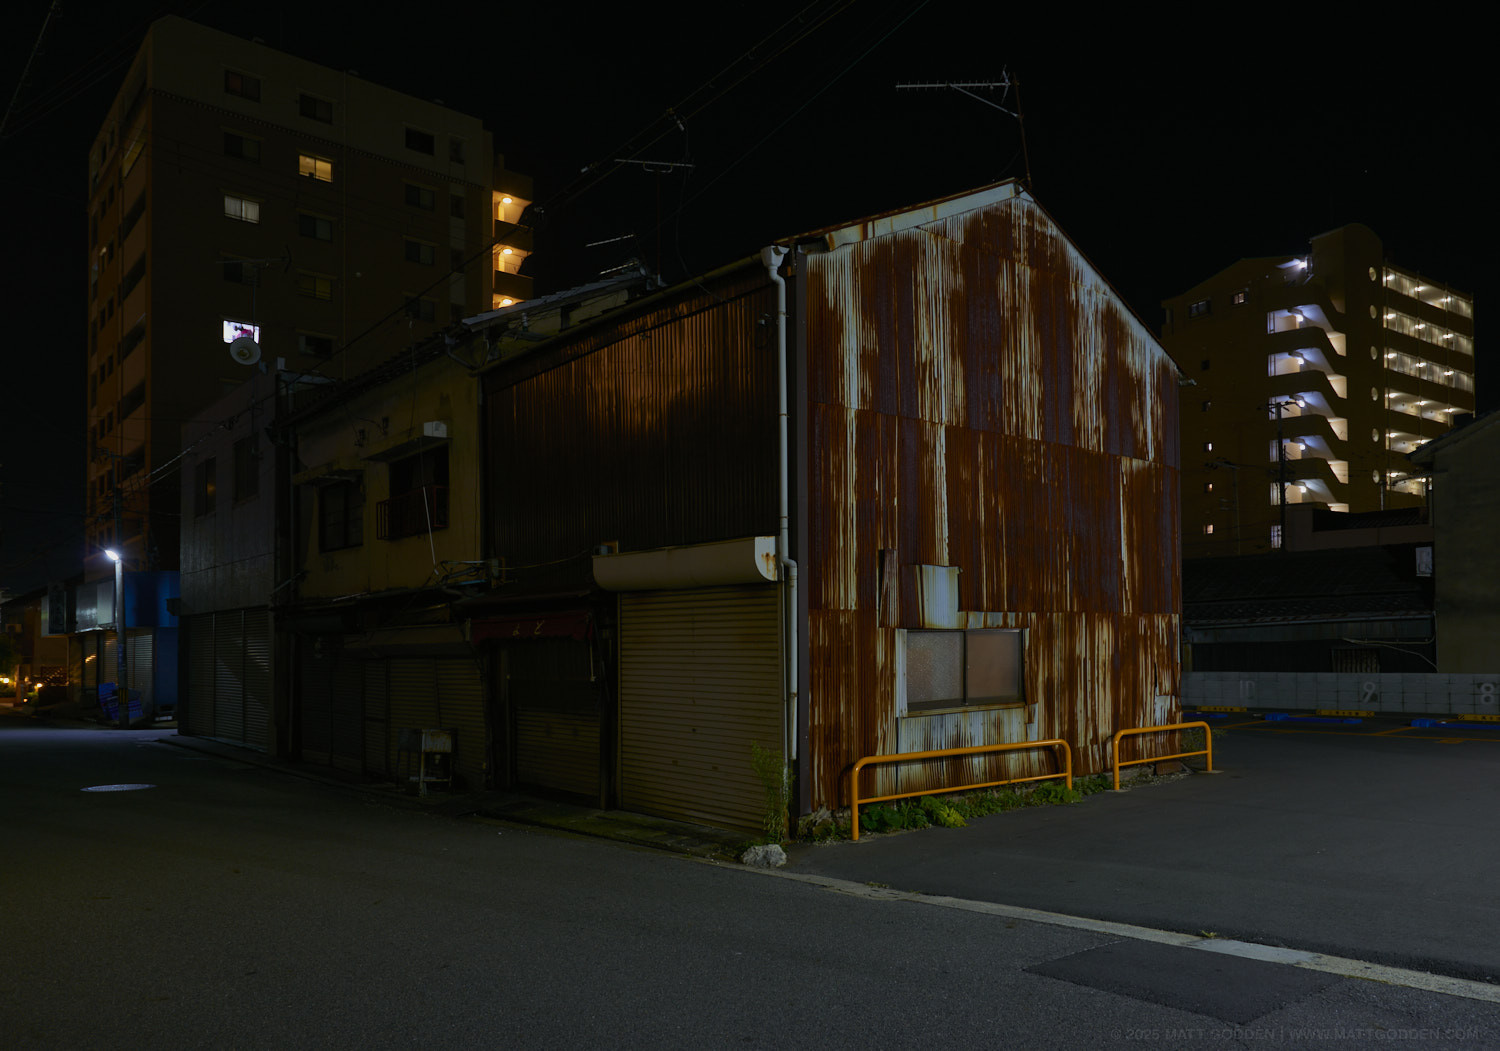
The major inspiration, is the sort of compact, and slightly dilapidated buildings seen in Japan.
So, first things first, that ground floor workshop needs more ceiling height (note, this model lacks structural members).
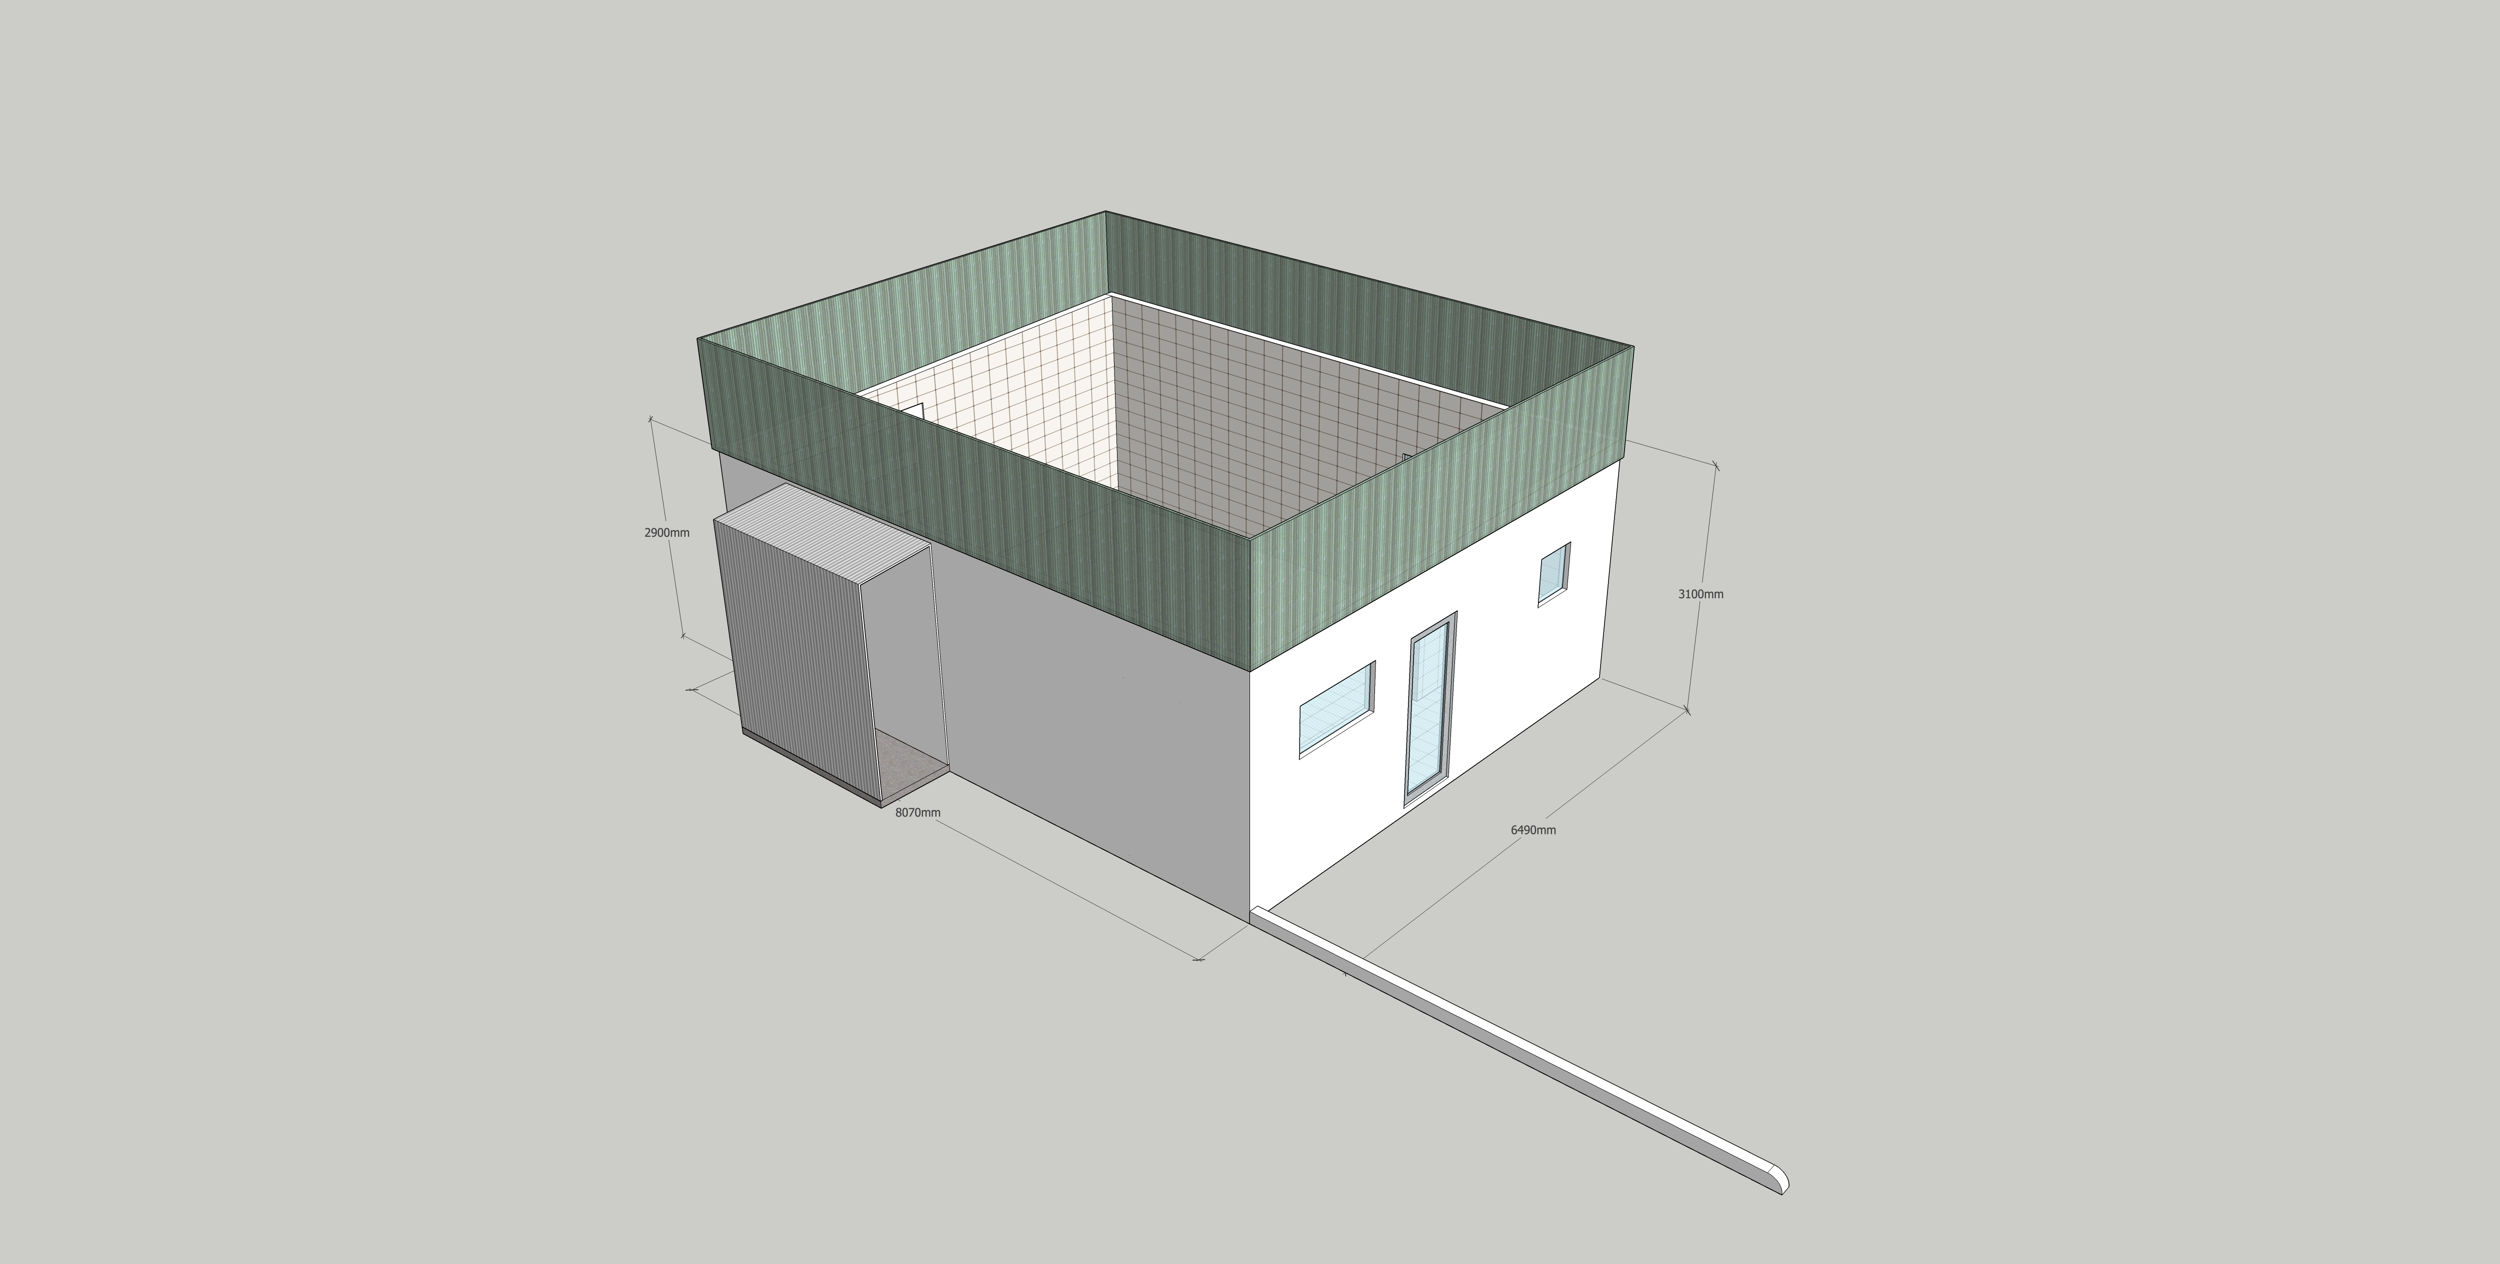
This is a clerestory window level, making use of translucent (with translucent insulation) polycarbonate, to allow light in.
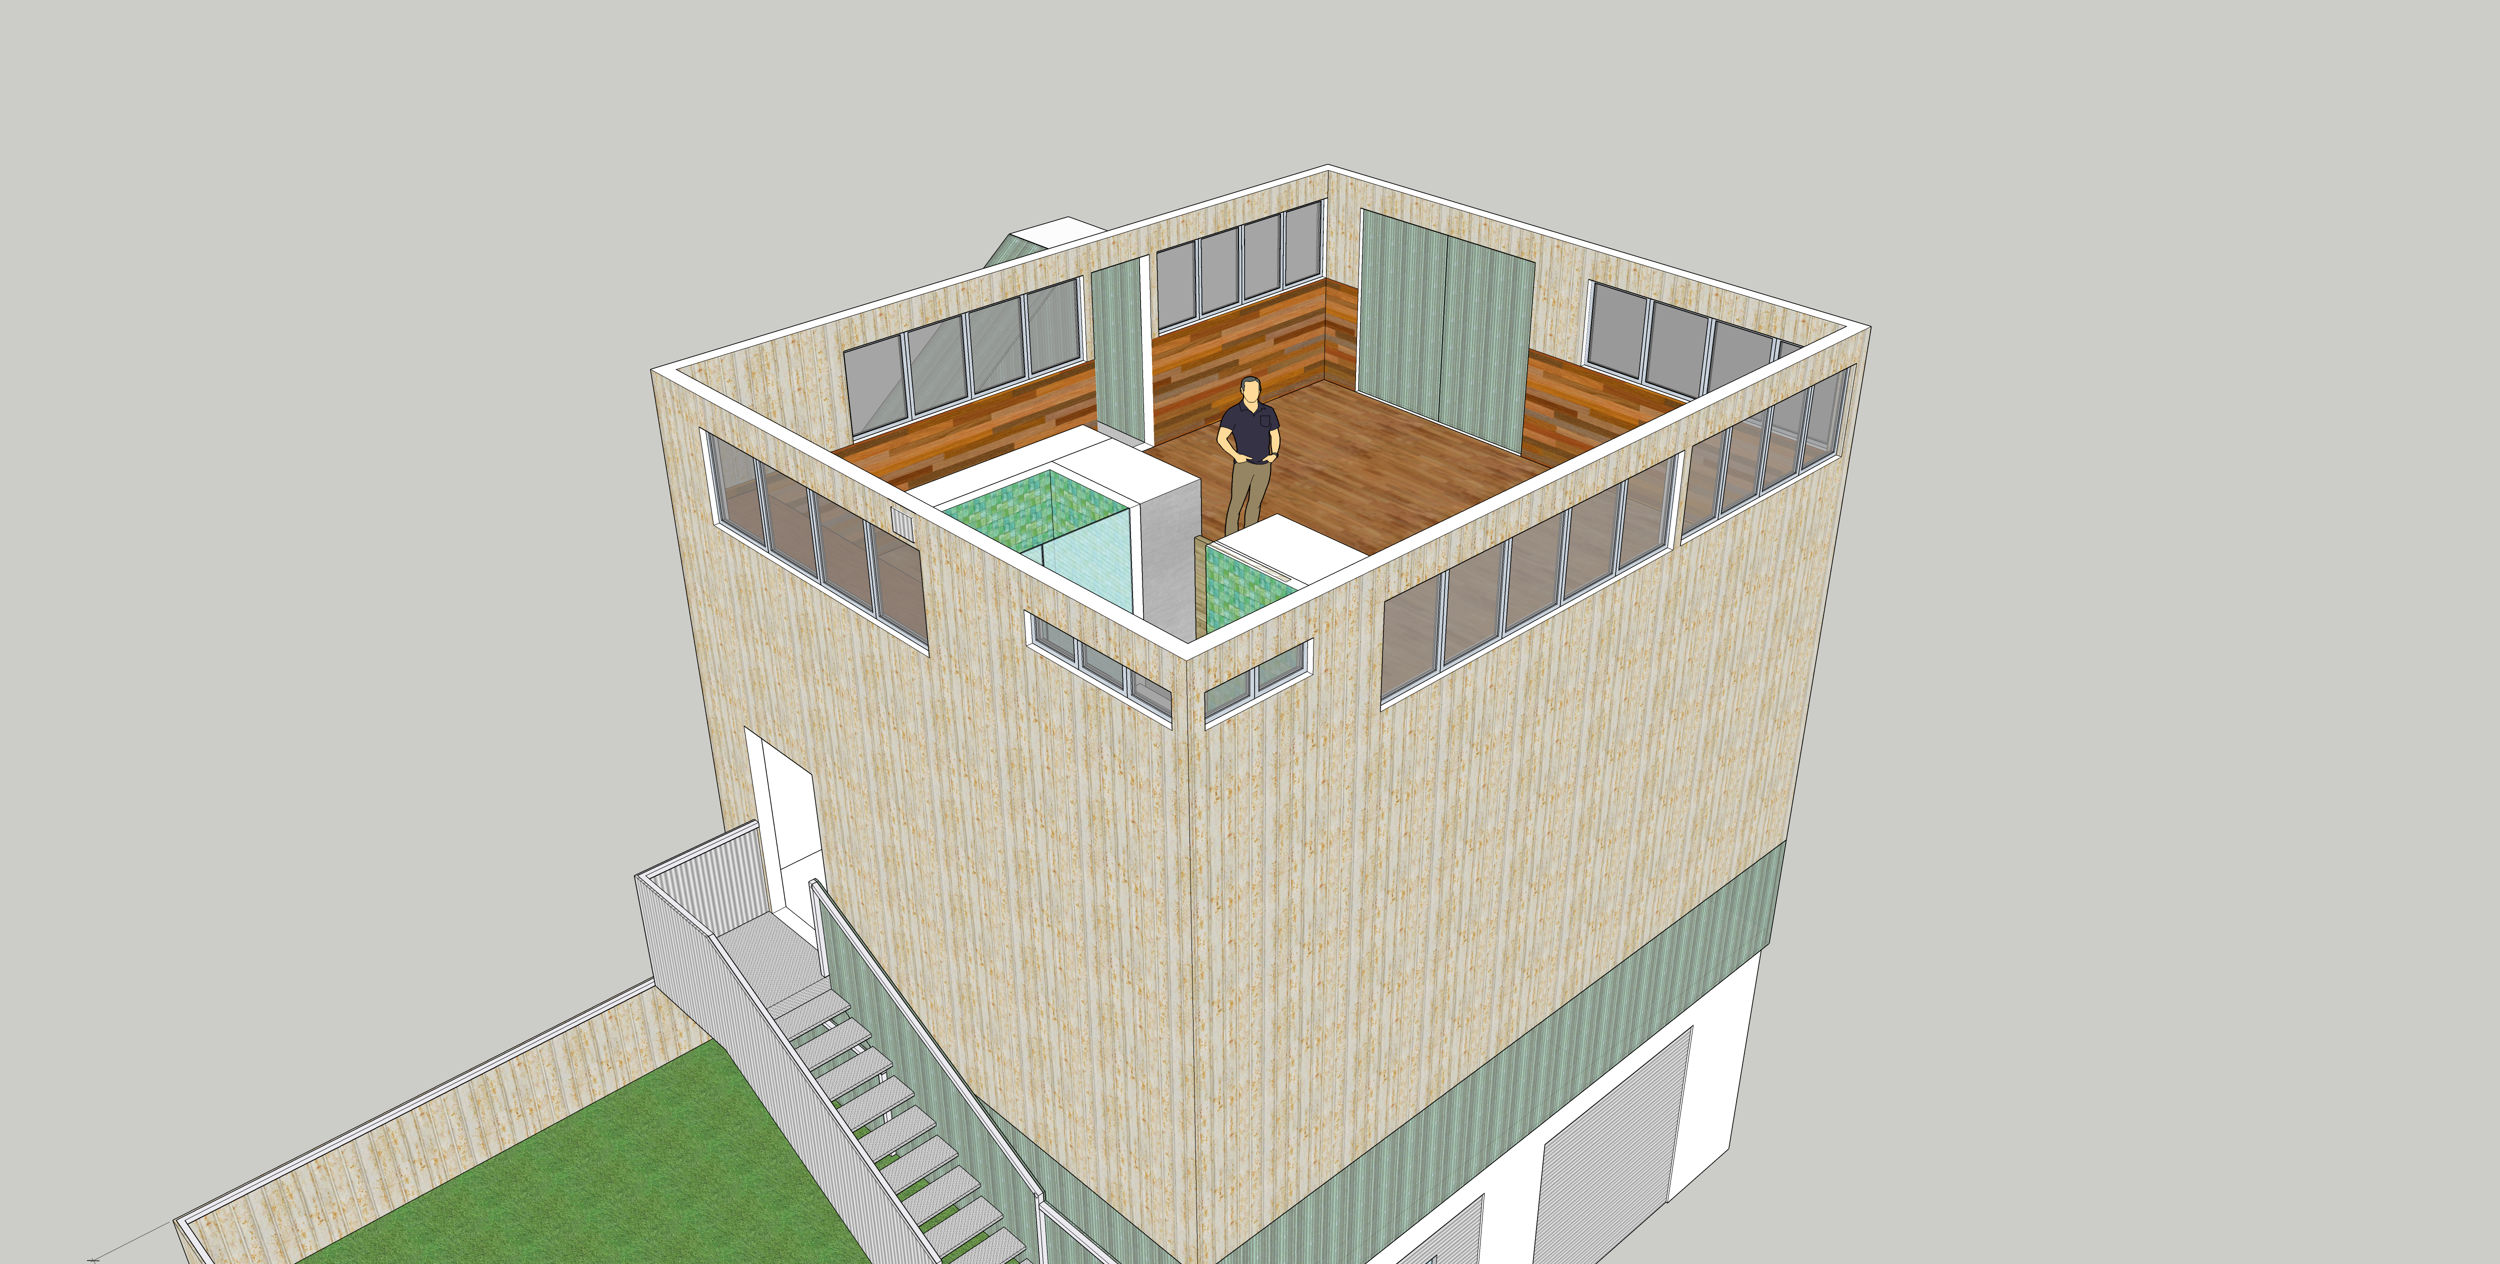
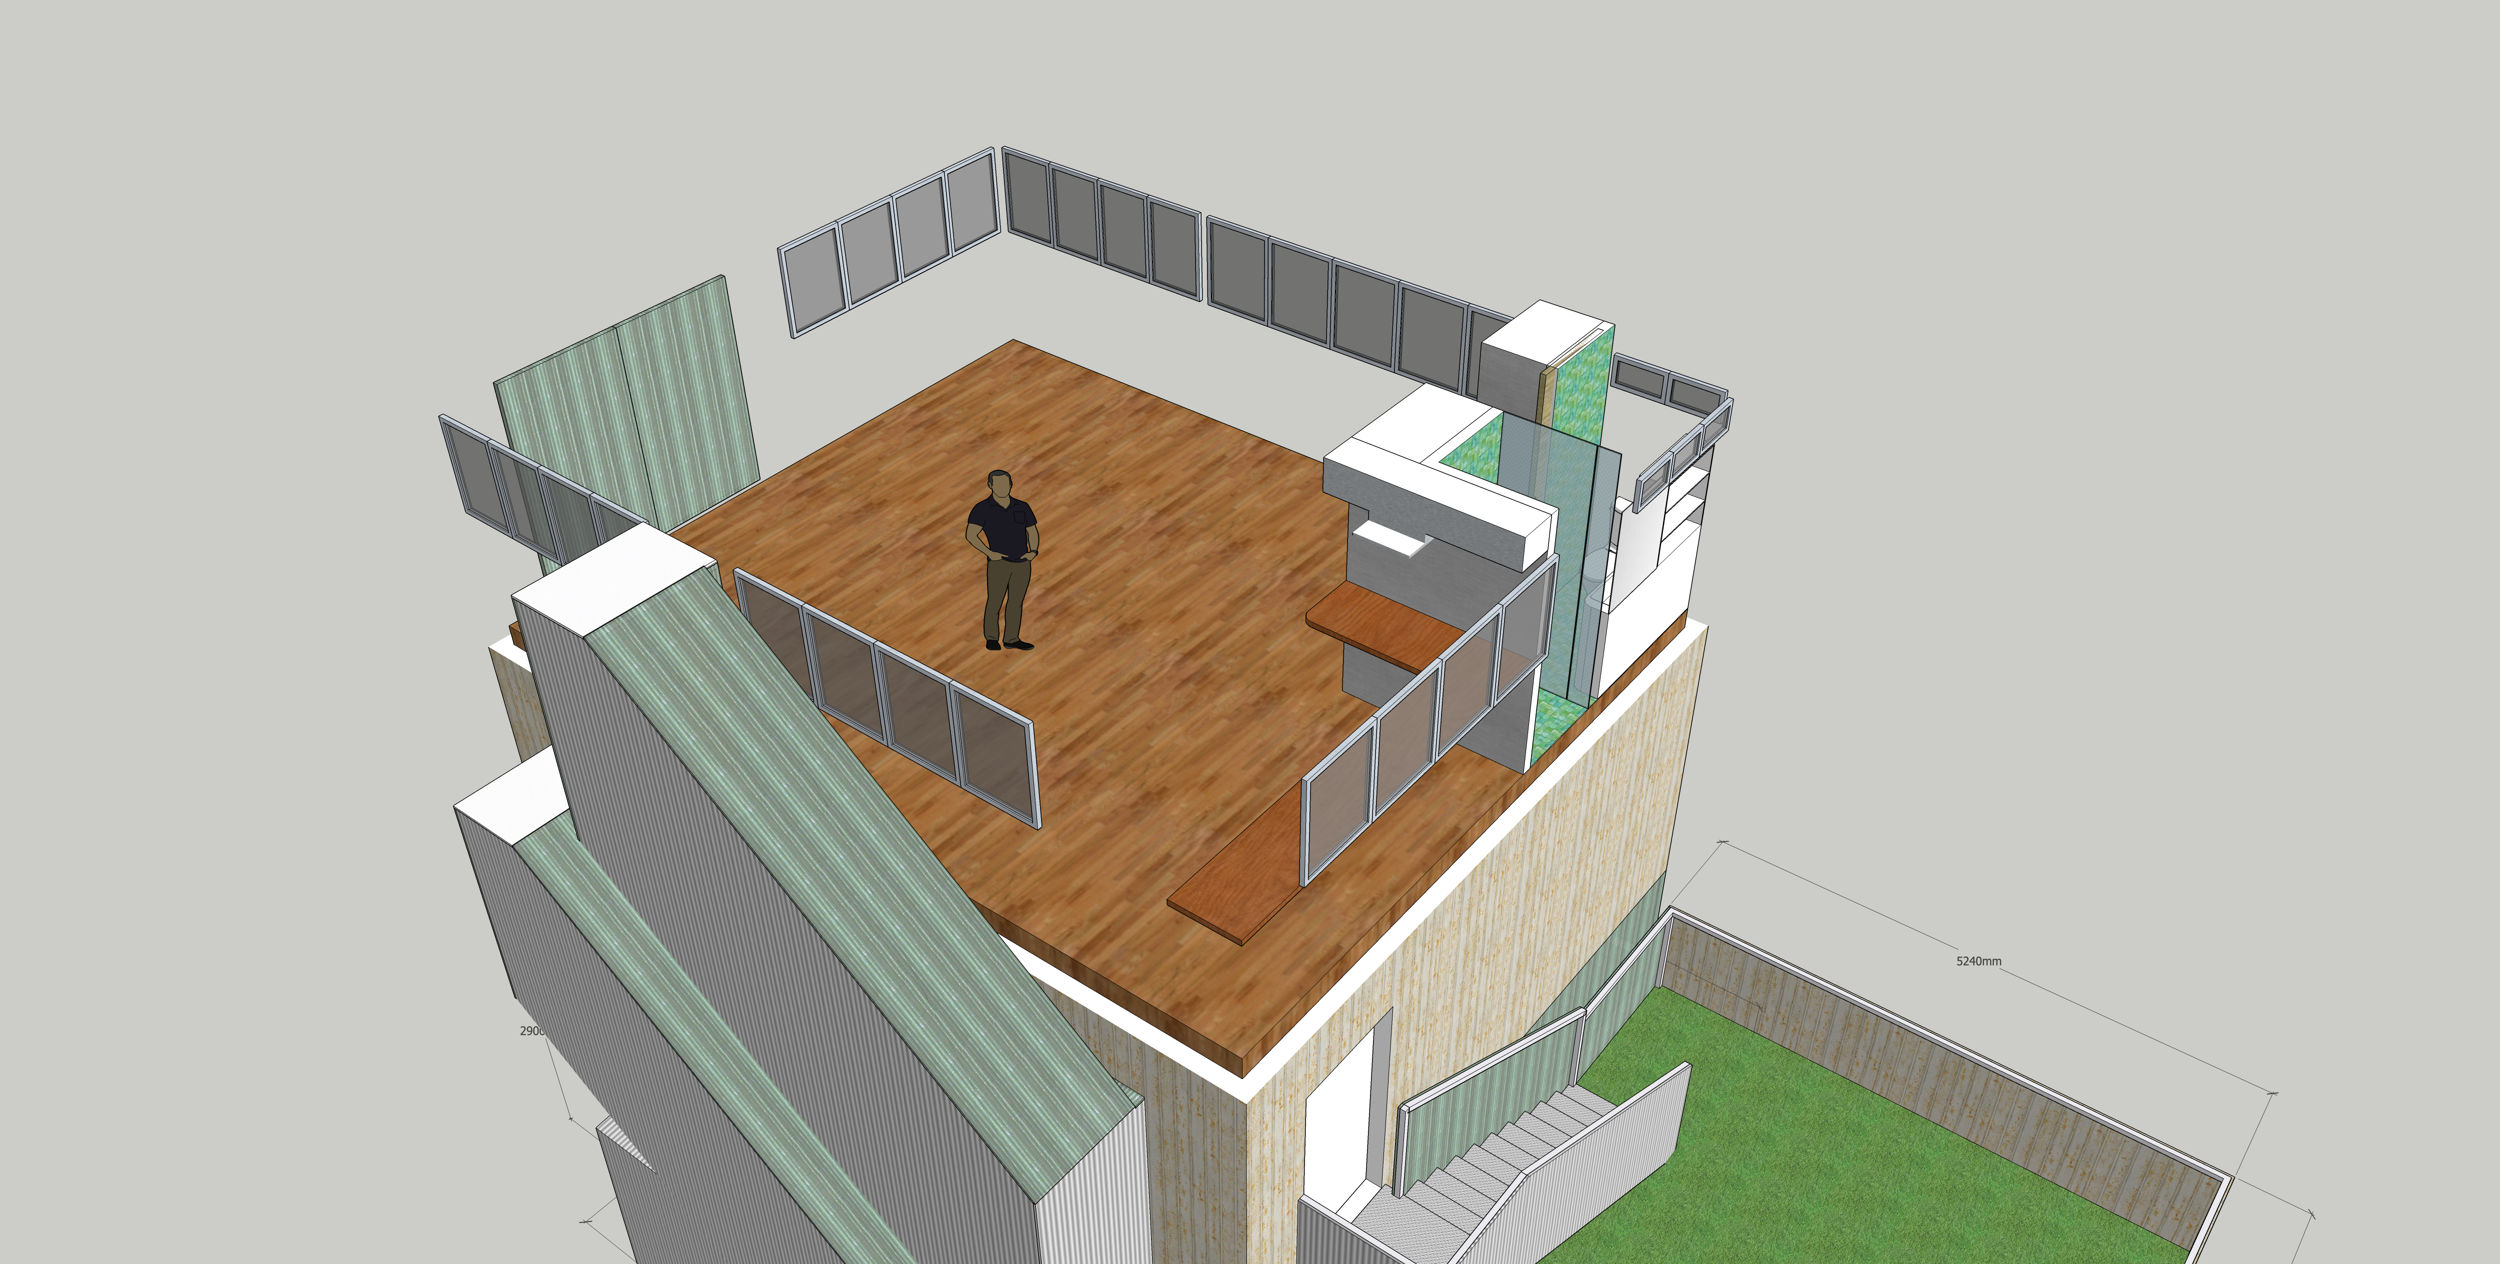
Above the fabricating workshop, would be the digital space. This would be for computer-based work, studio photography, Virtual Reality playspace, etc.
The main feature would be a cyclorama on three walls, to create the nothing background for photography.
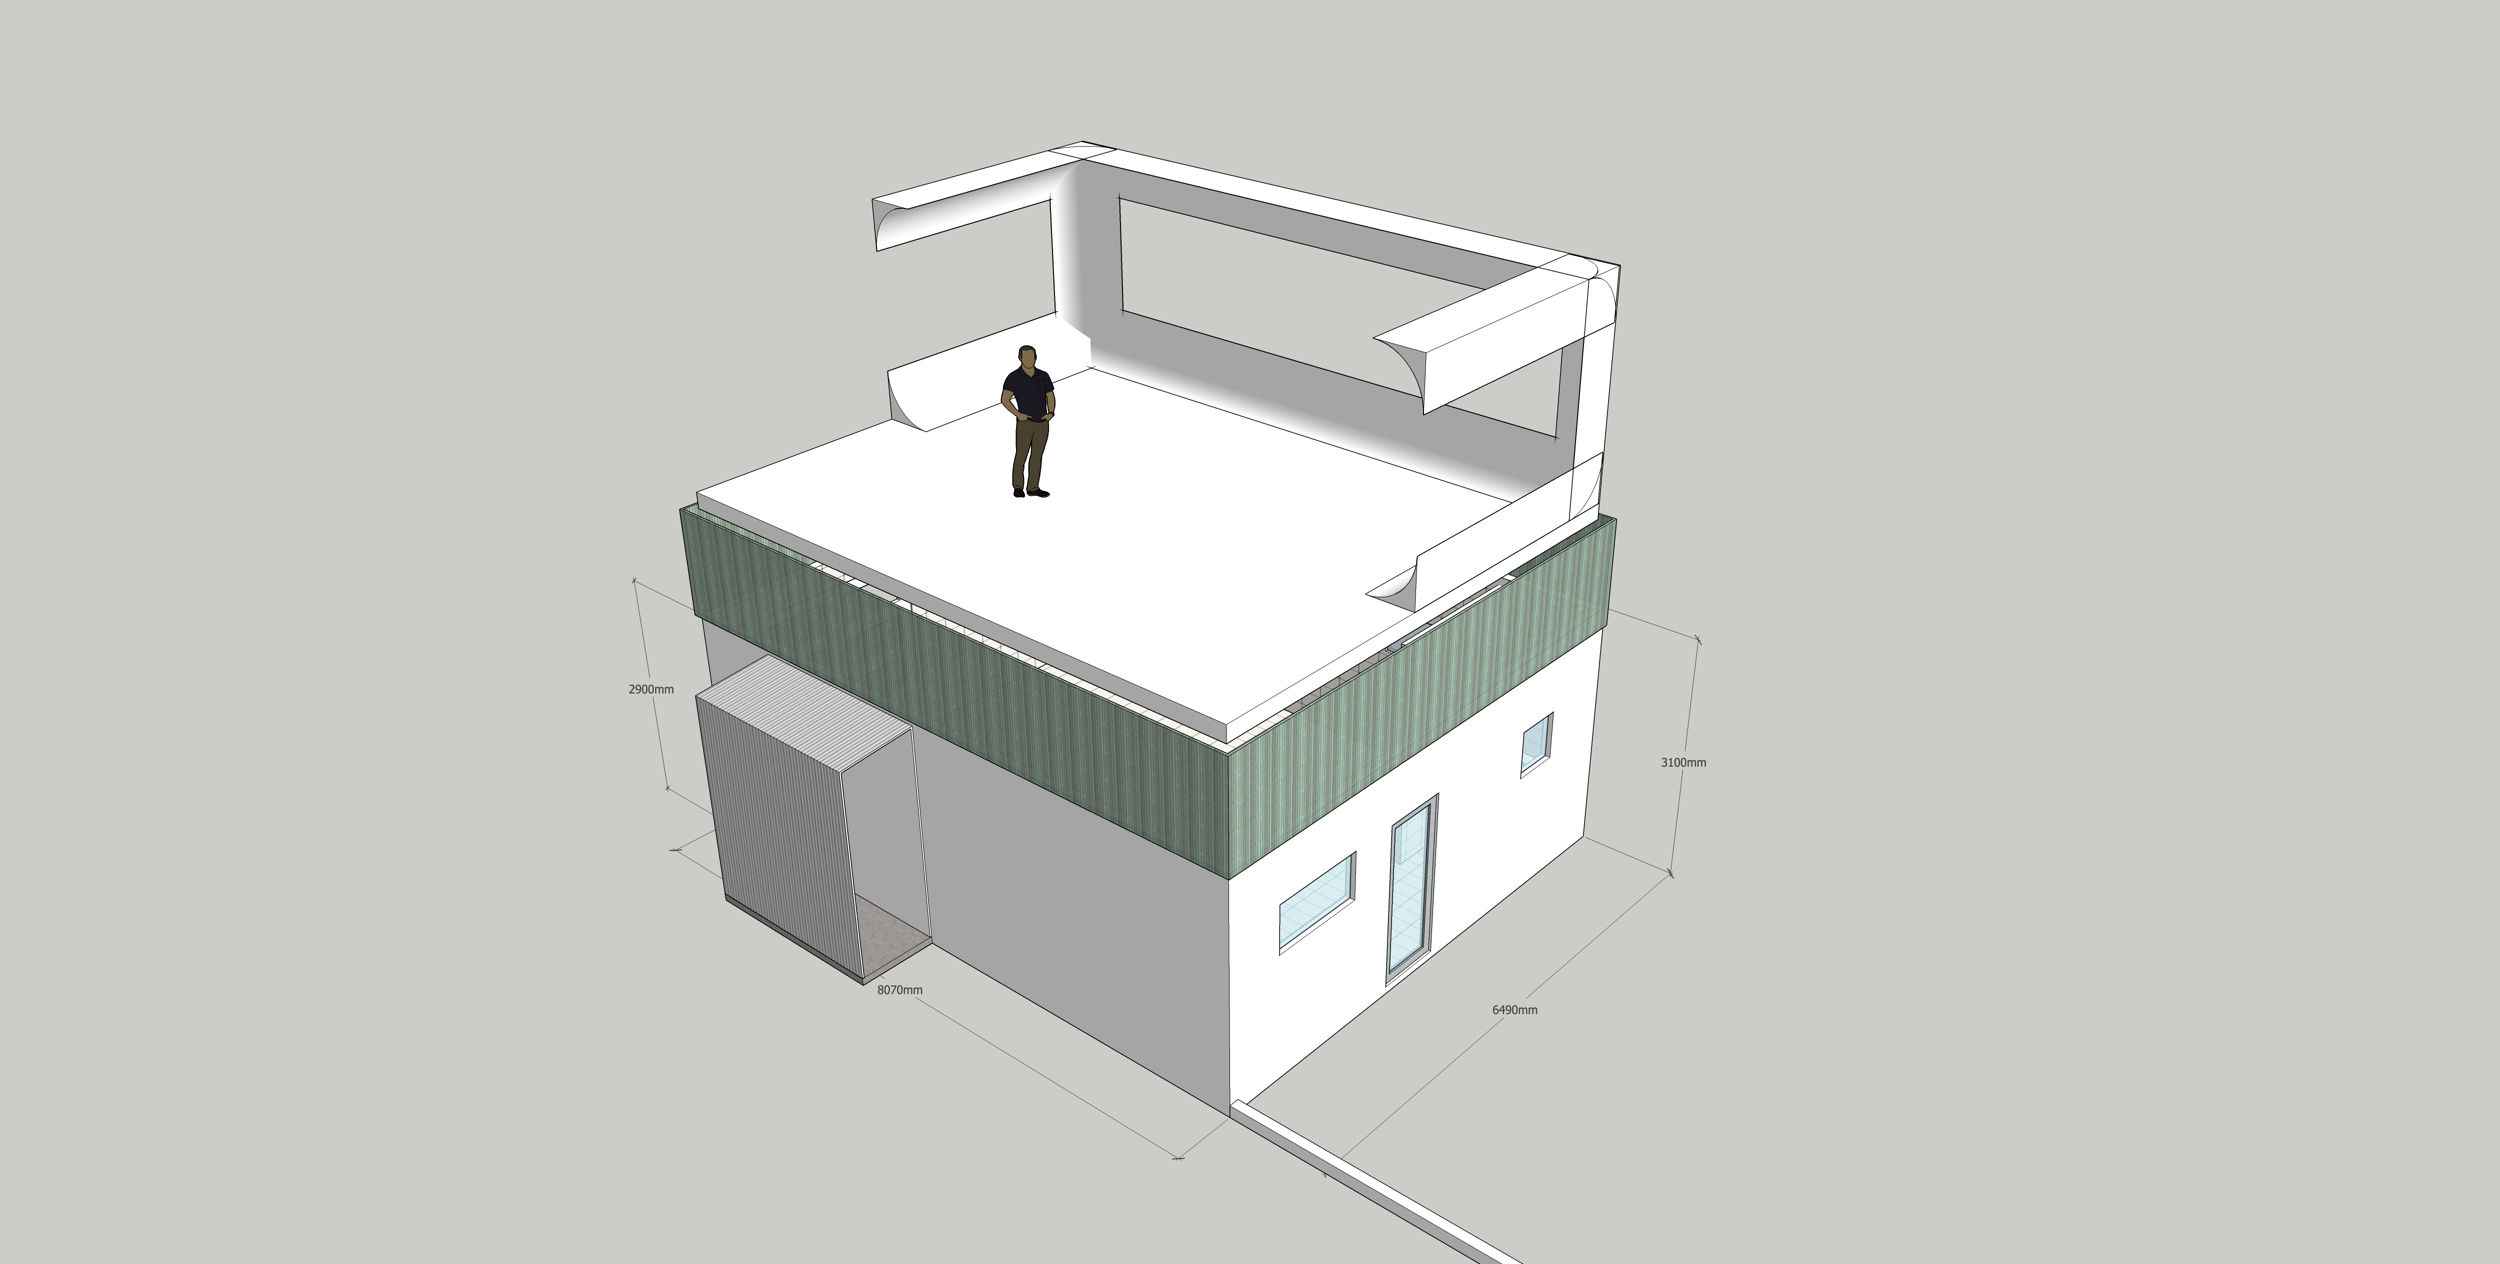
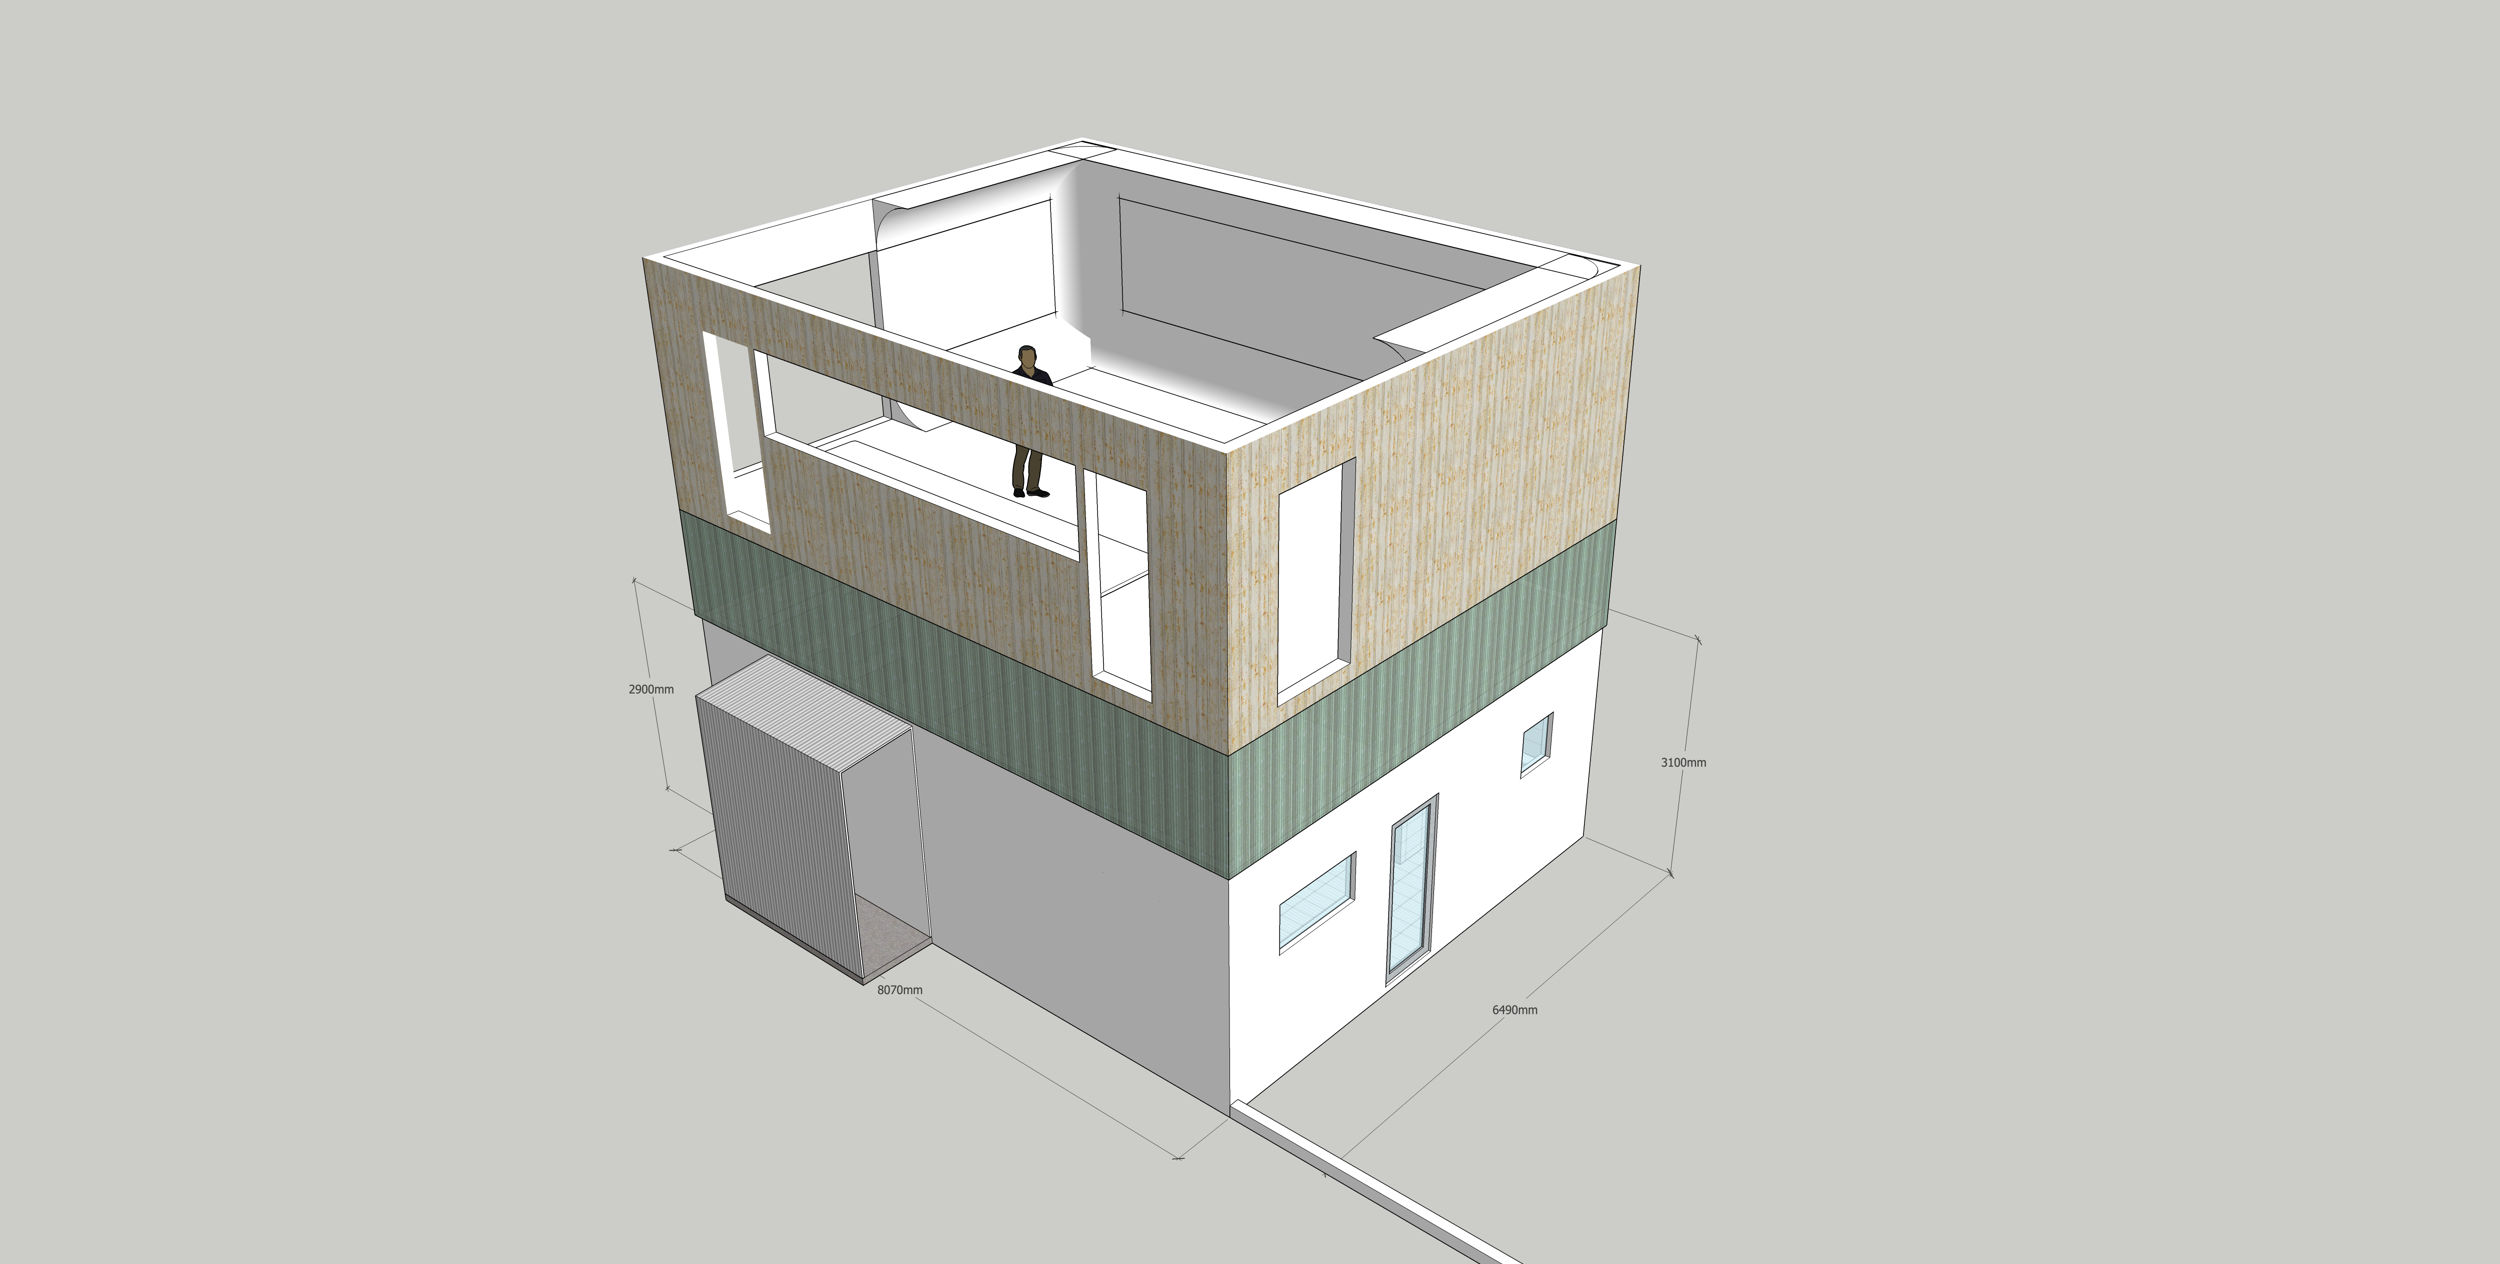
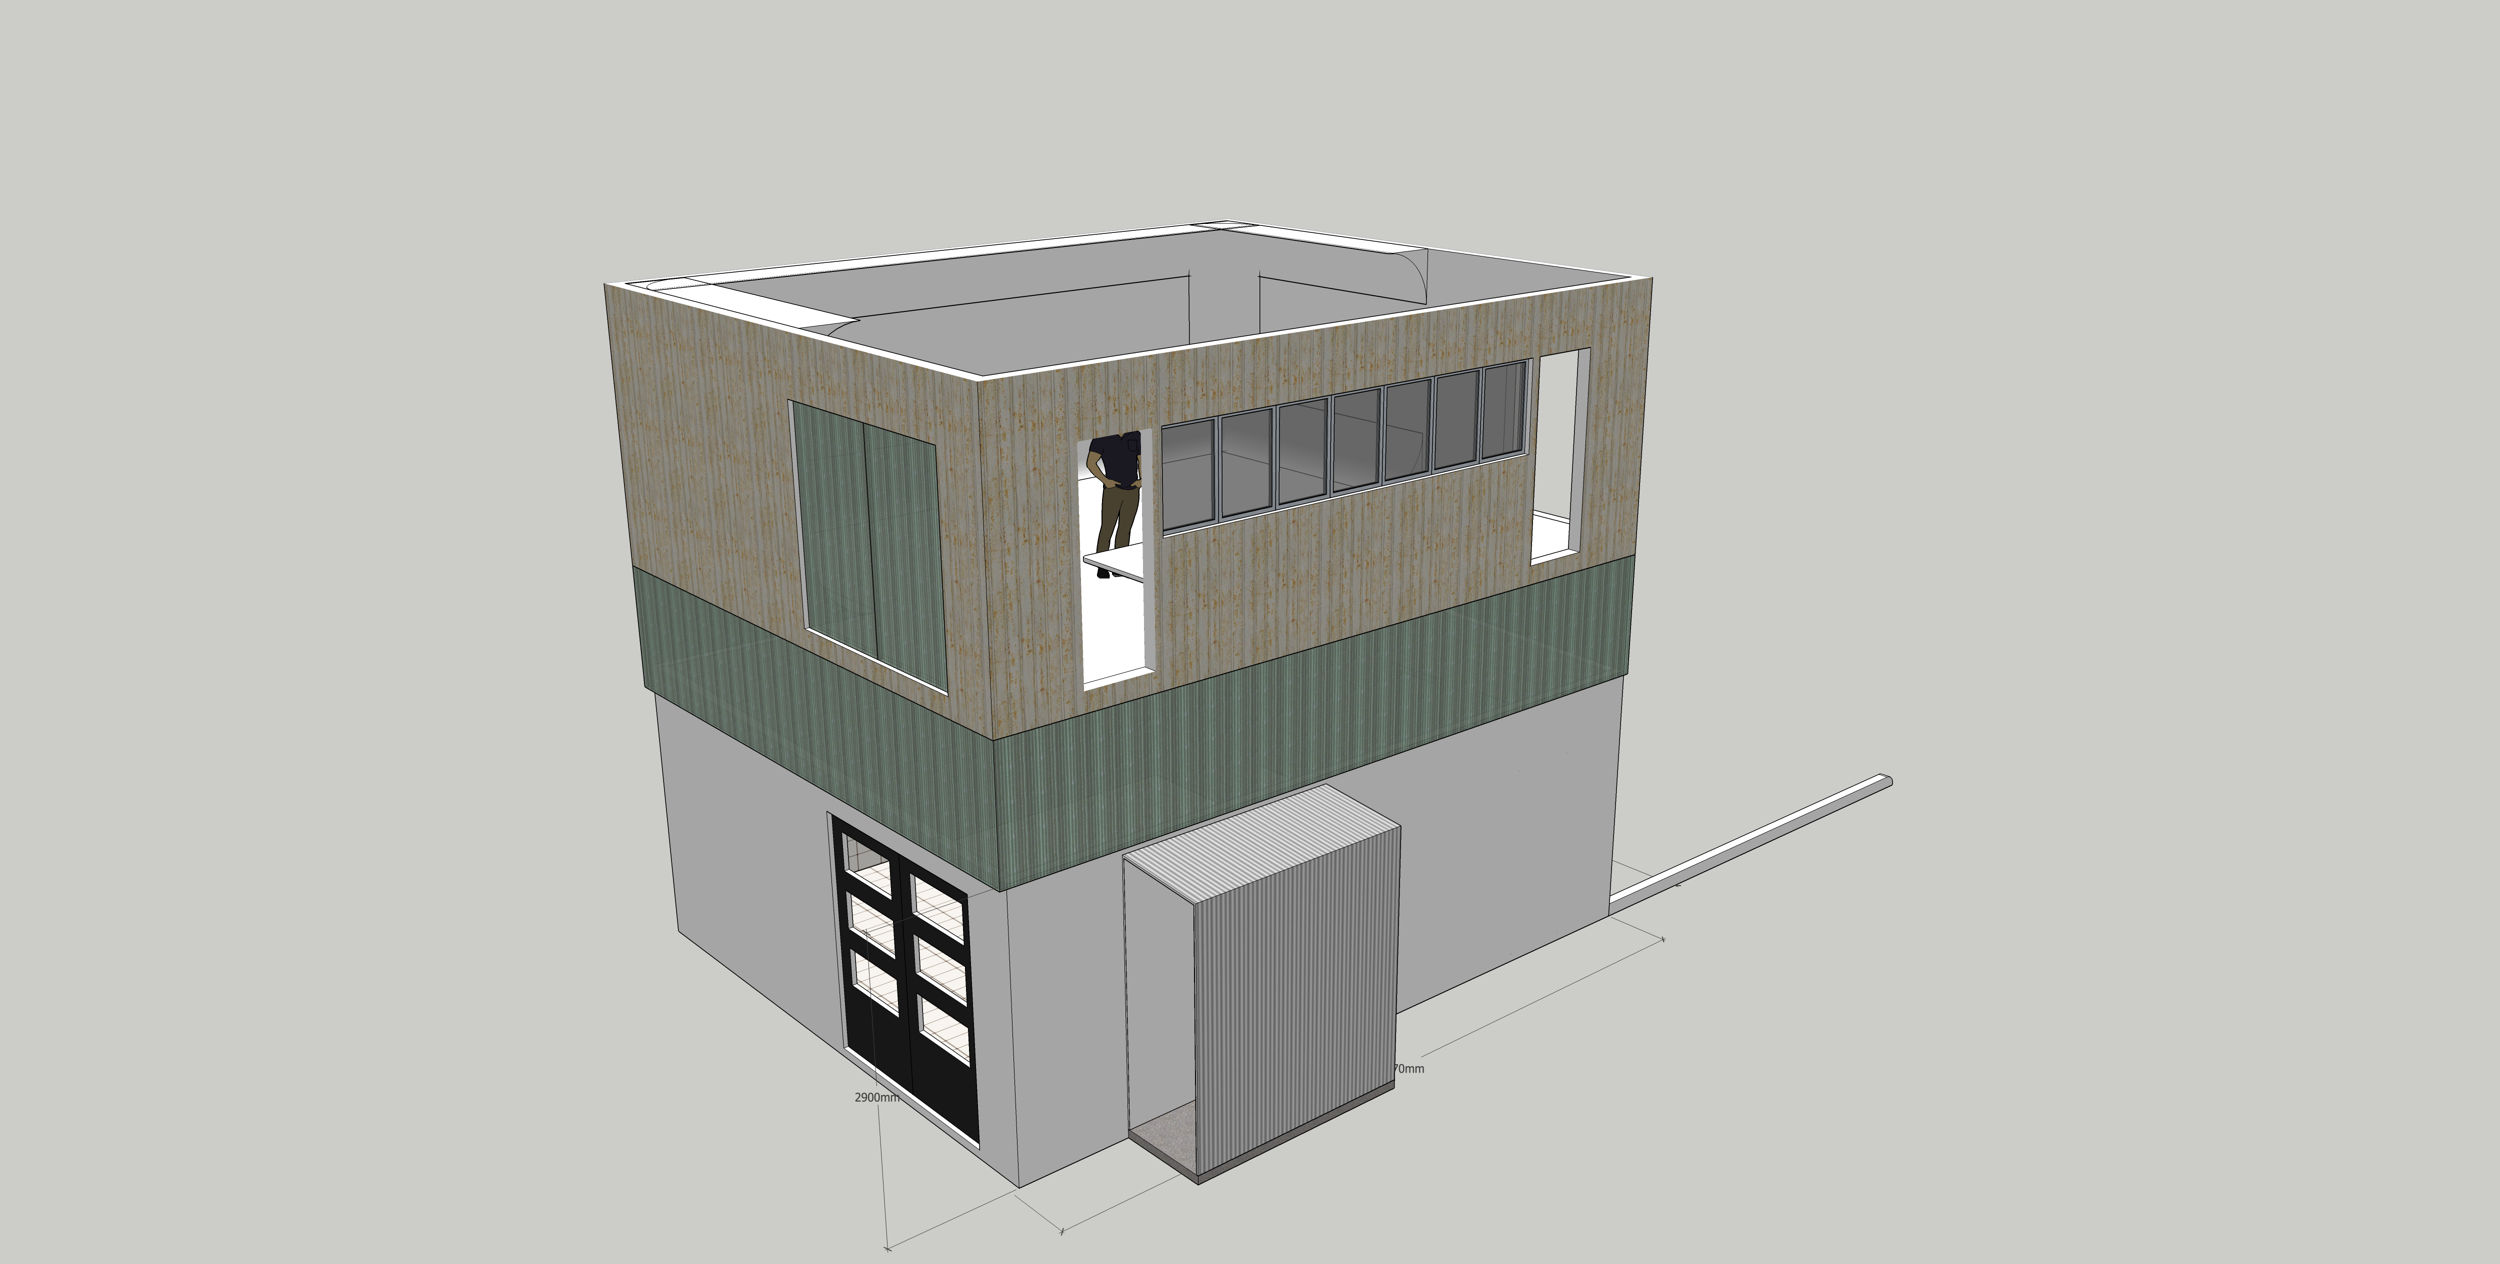
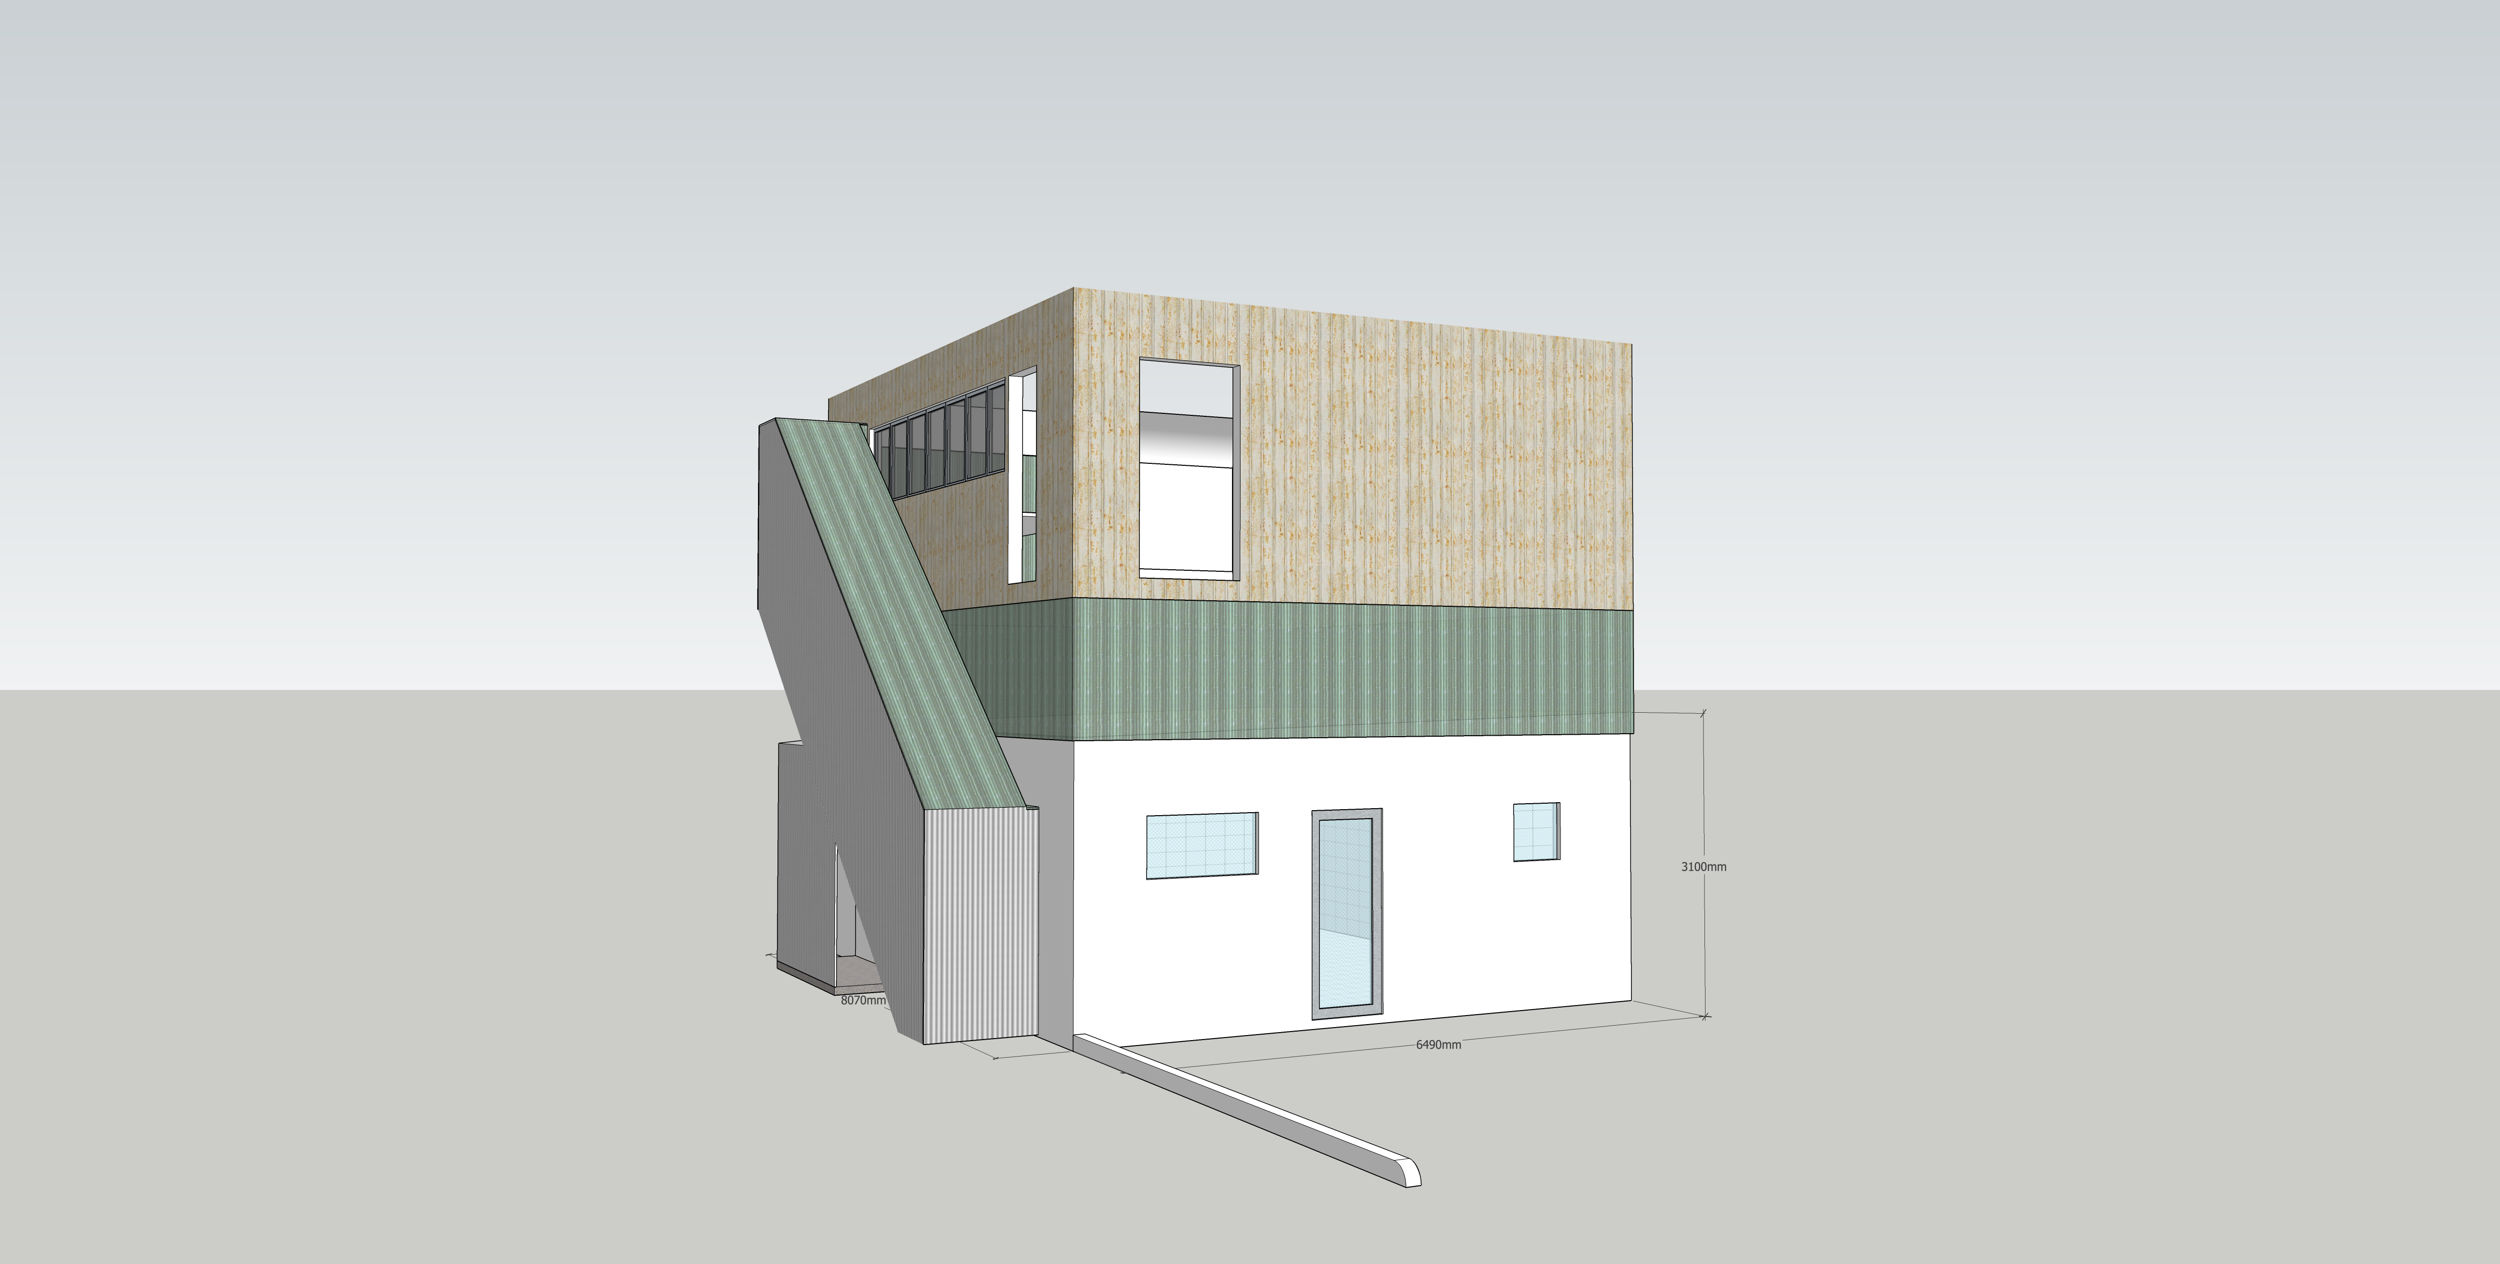
Entrance and exit would be via doors on each side on a long main desk, with staircases running between floors. This is a single person residence, so stairs can be a tad narrower than a “passing width” stairway. The staircase would have a polycarbonate roof, for light. I was still fiddling with the requirements of standards compliance for domestic, vs. industrial staircases at this stage. Obviously, the staircase would necessitate punching a new doorway through the wall of the ground floor.
A double door, mirroring the one below, but clad in translucent polycarbonate would provide for floor-height loading to the second floor. The single door over the parking area would lead to…
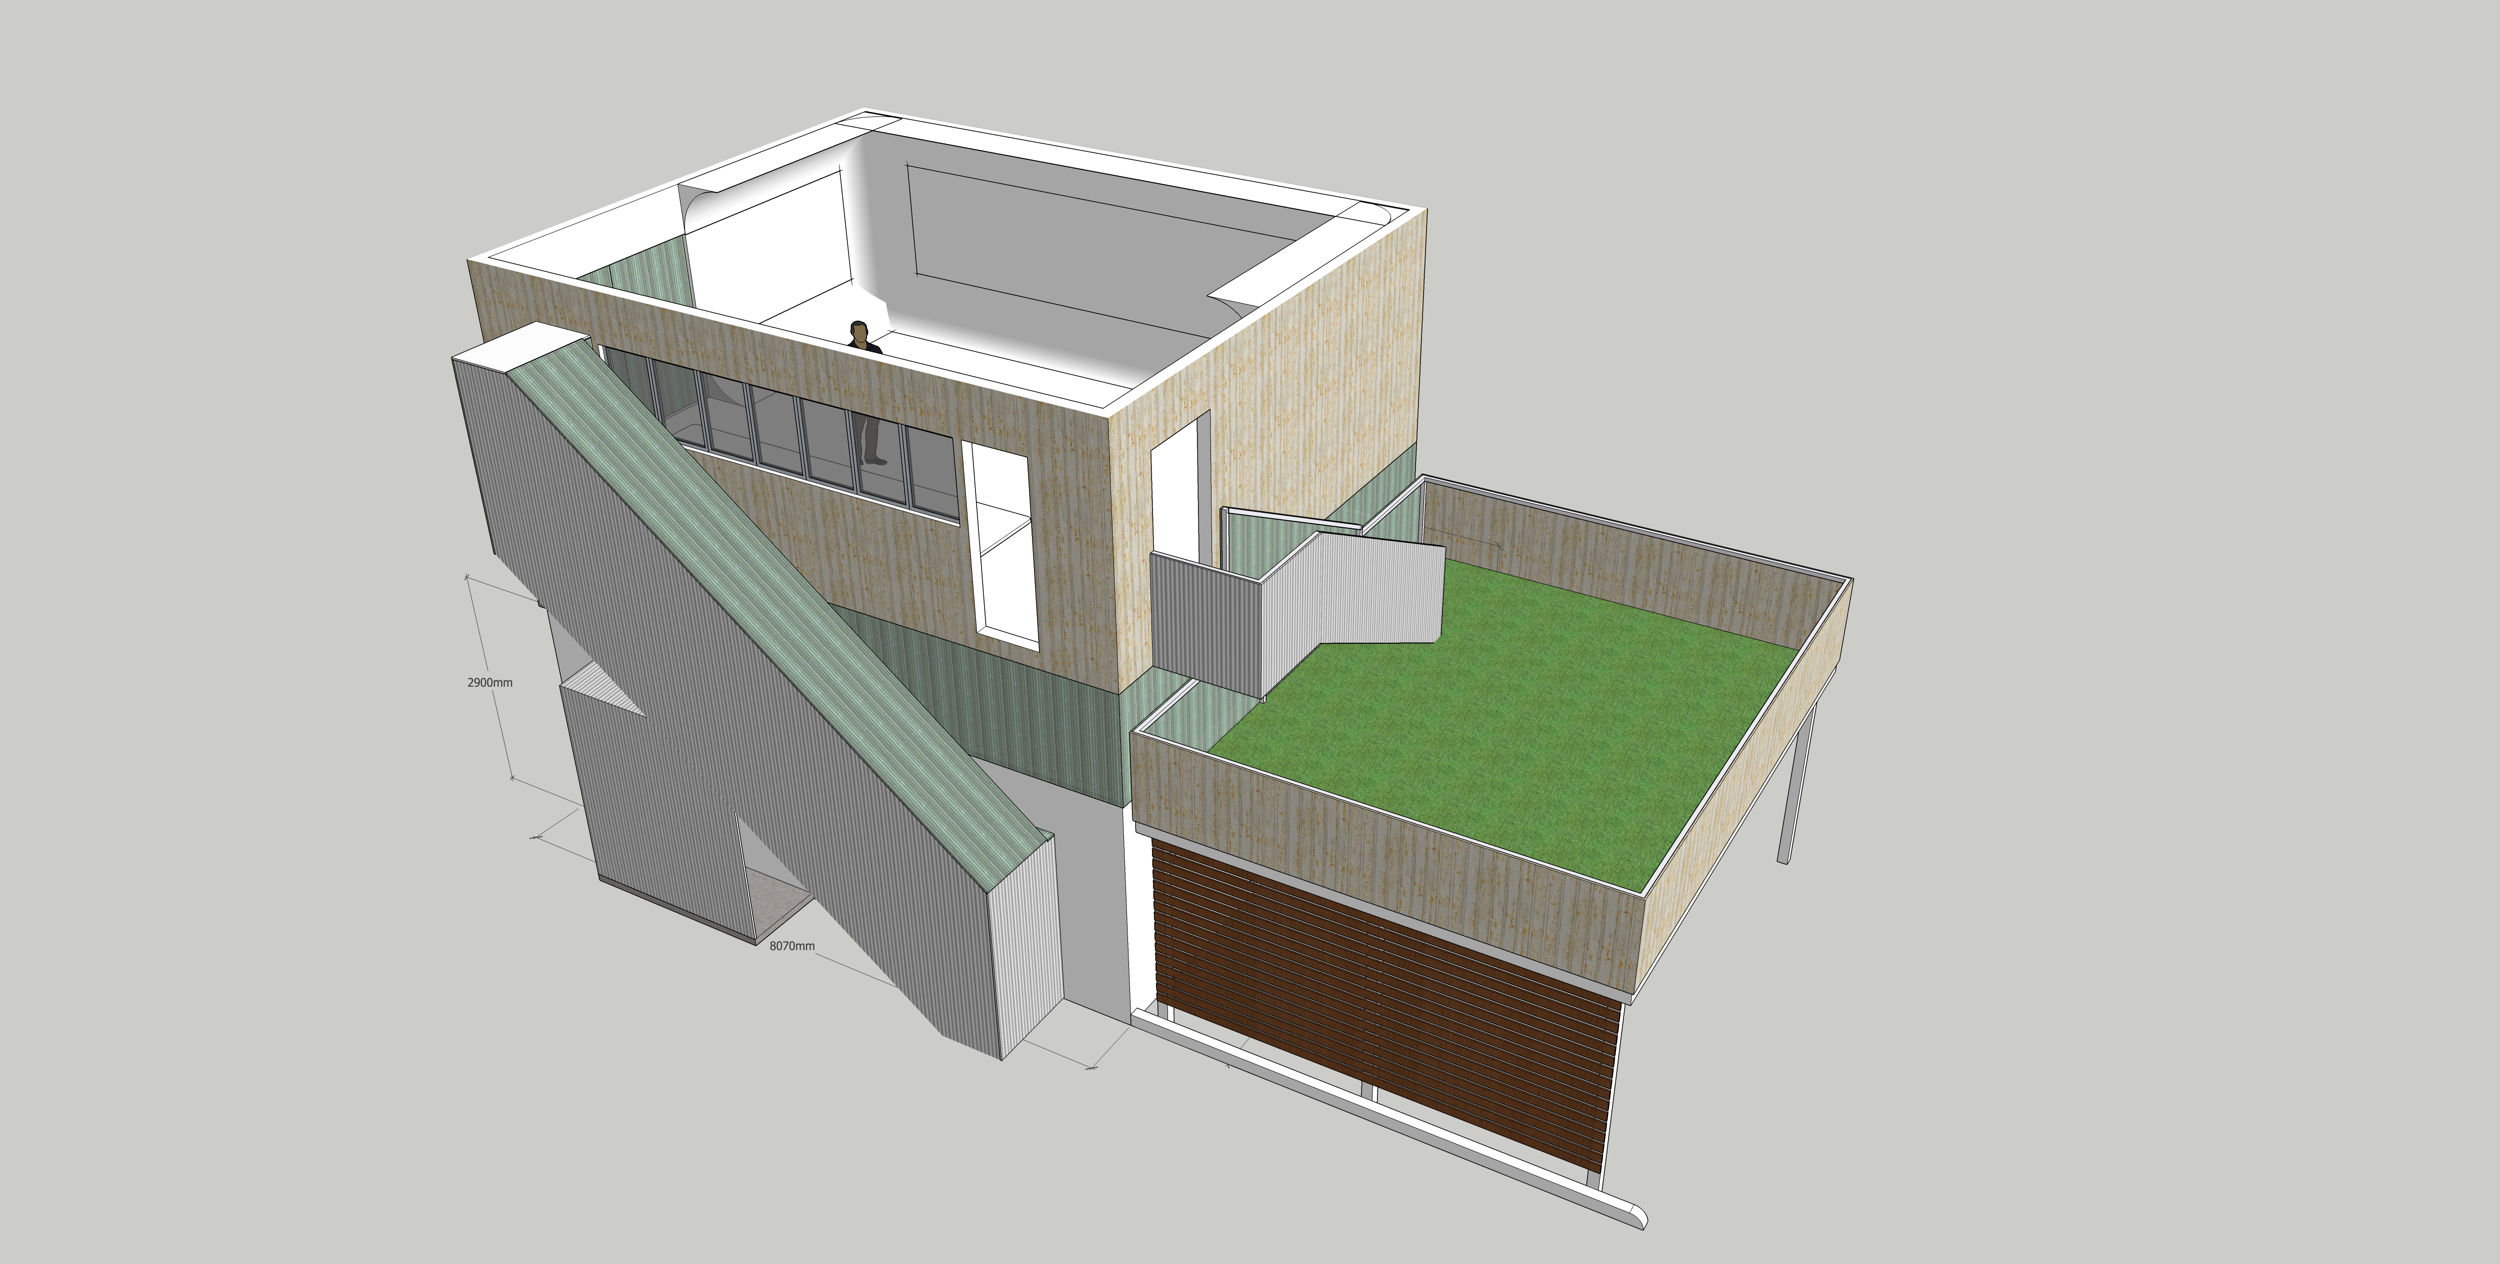
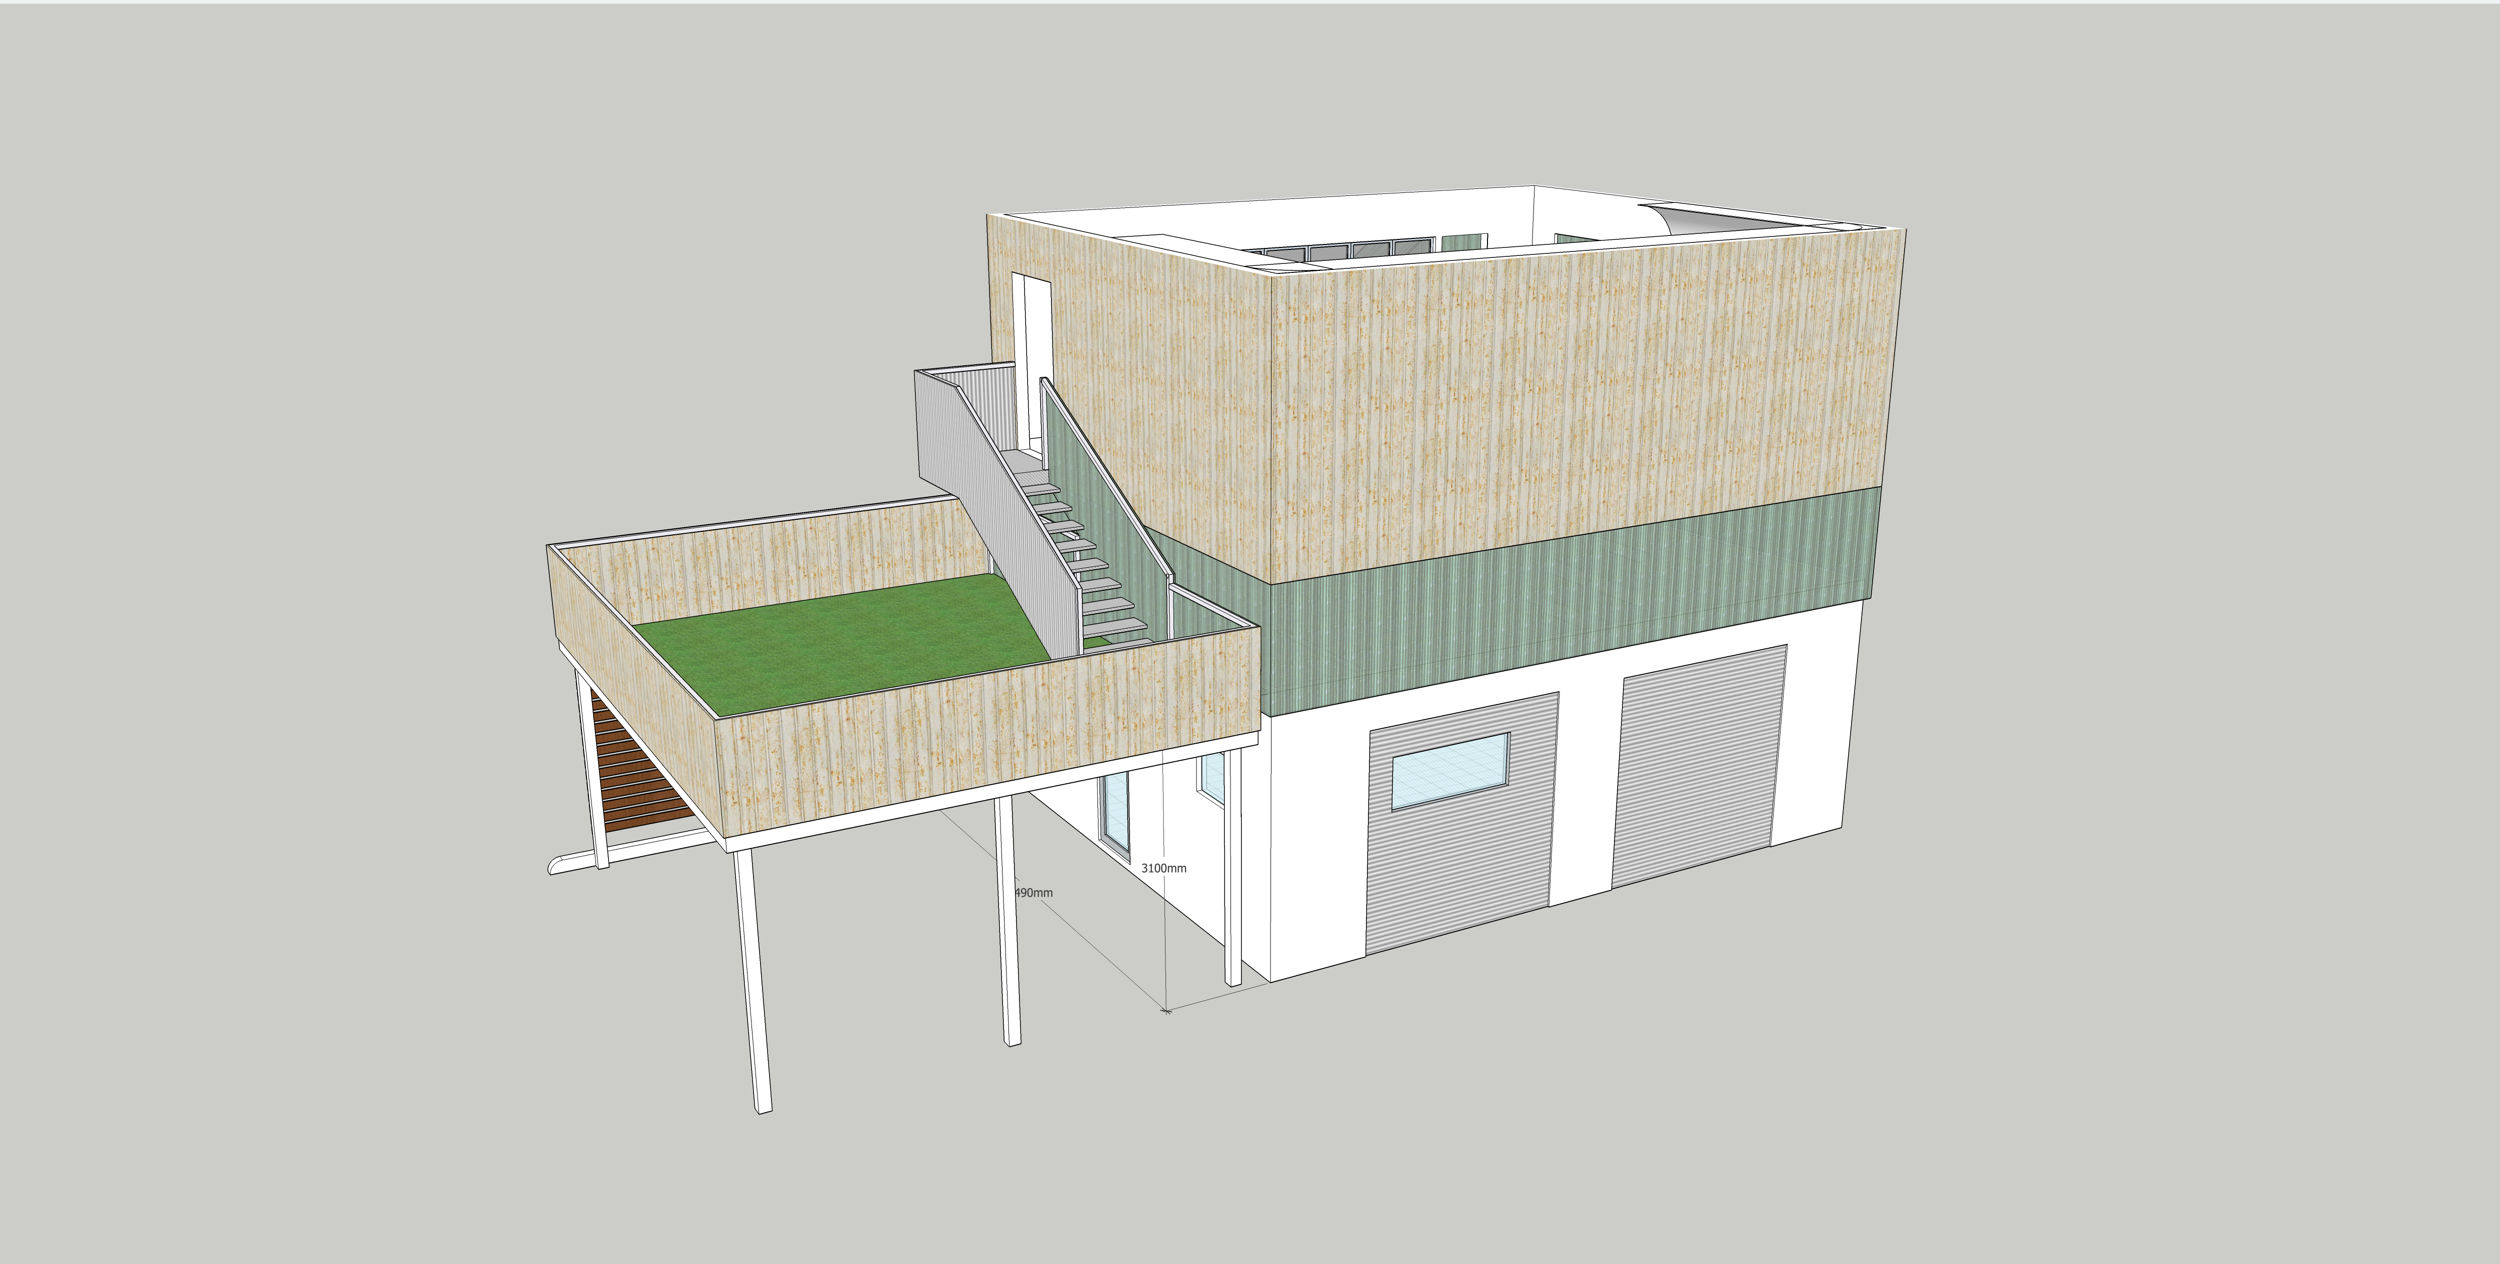
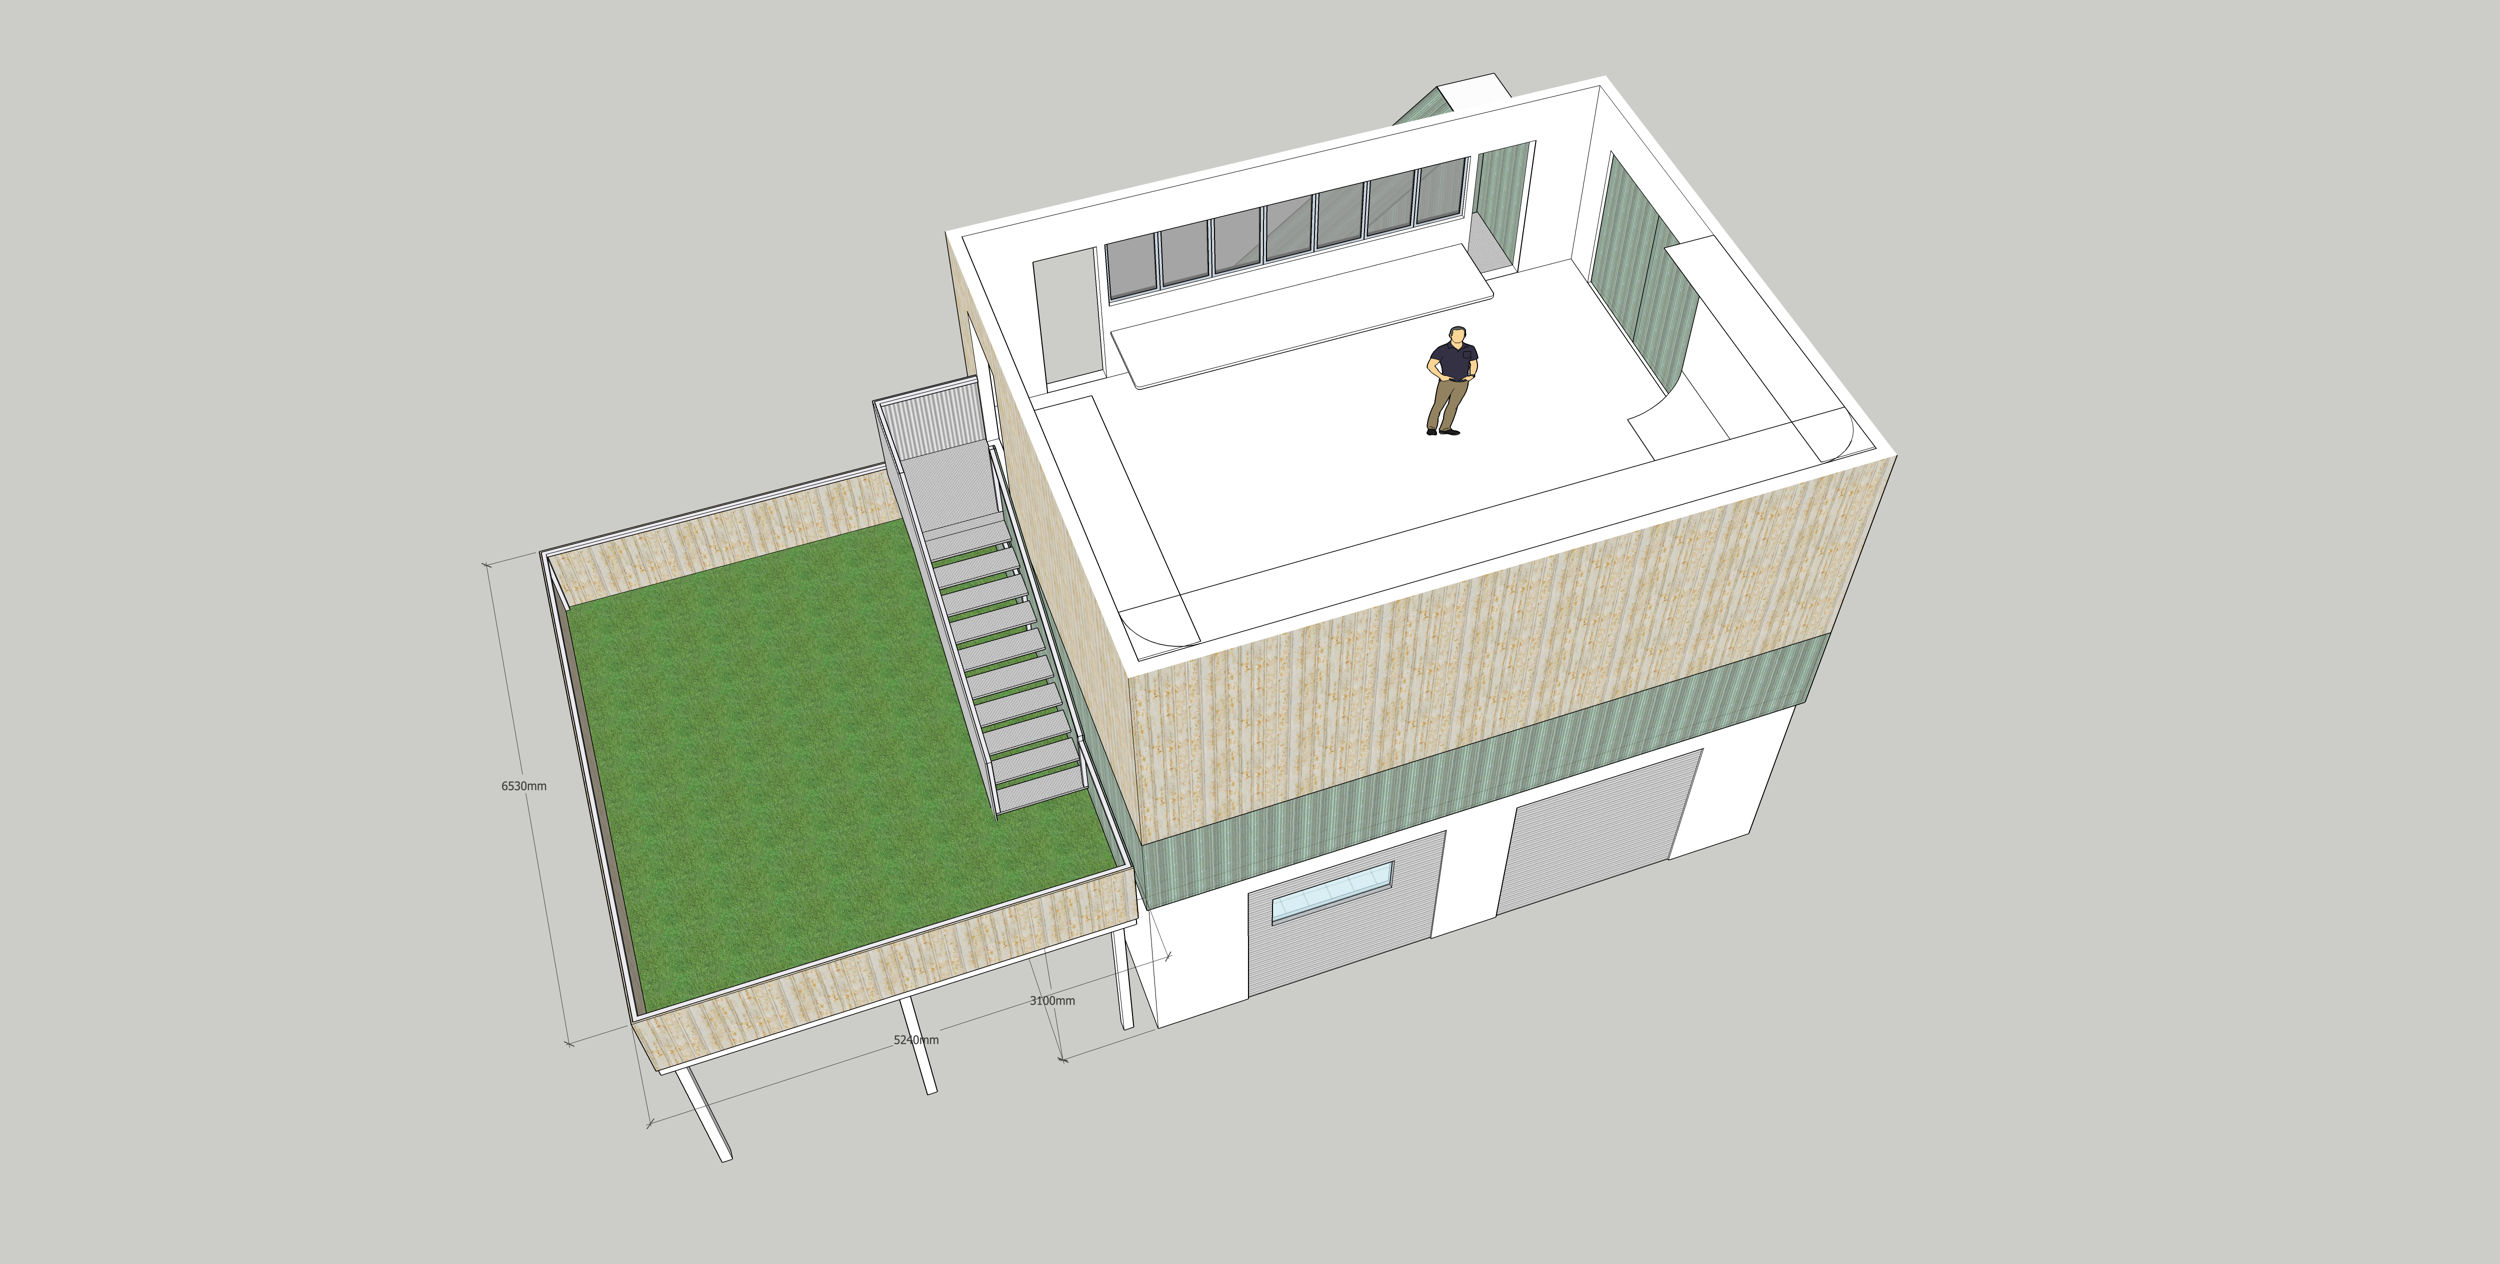
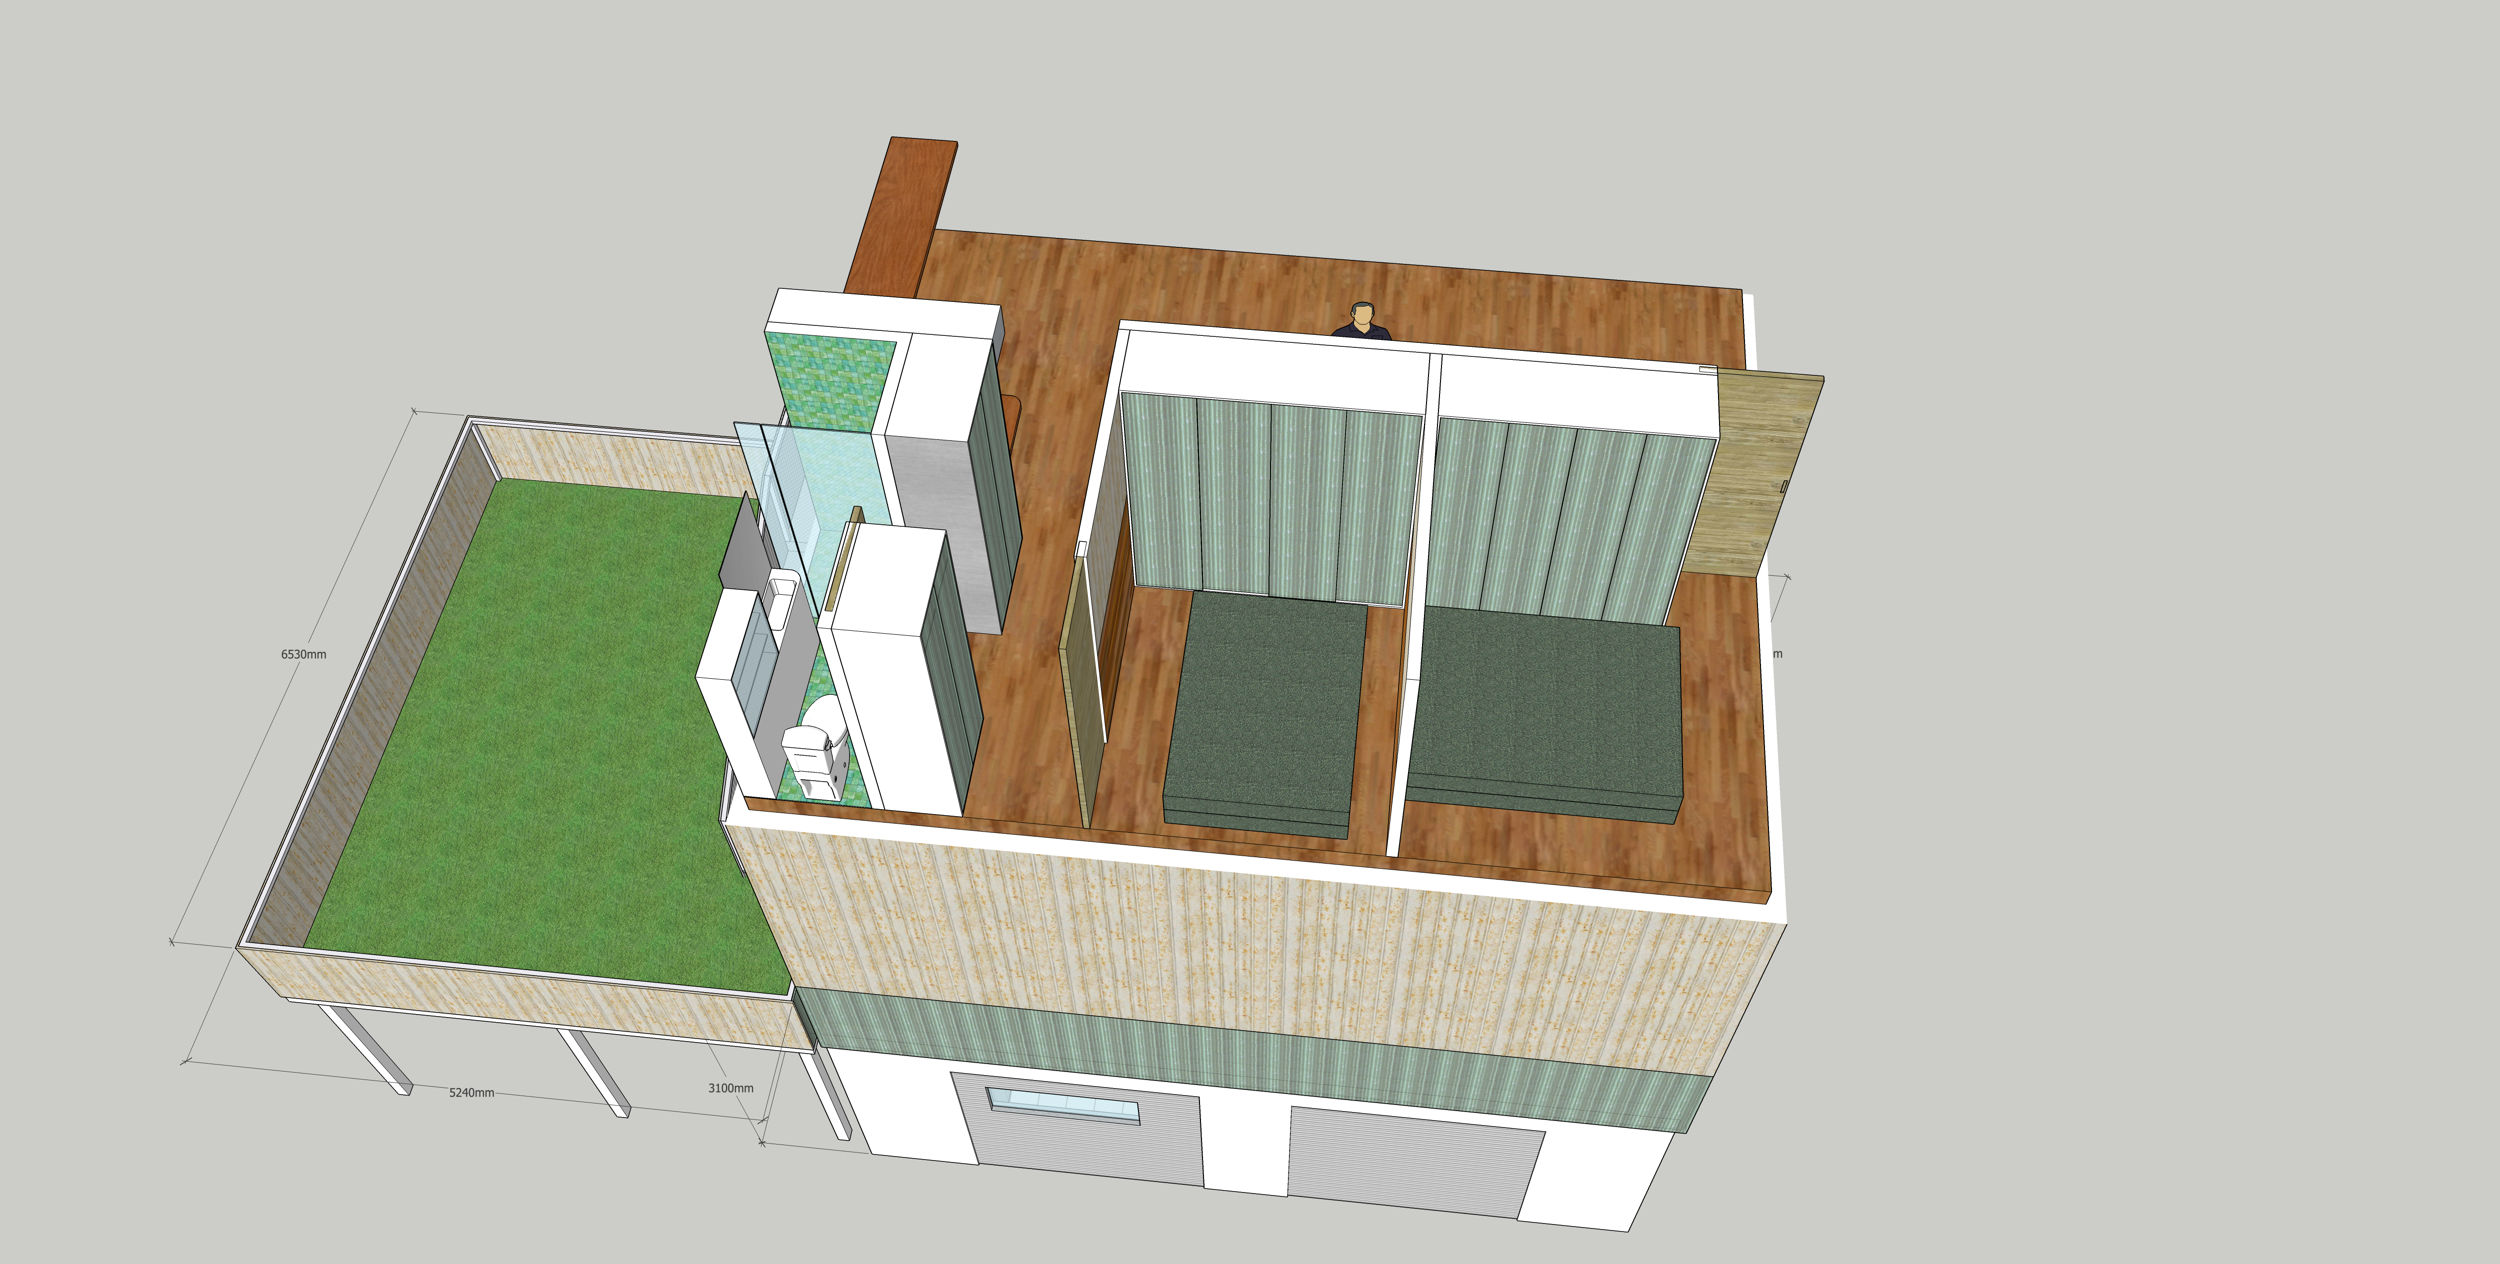
At around 30-ish square metres, albeit astroturfed, it’s some outdoor space, for what is otherwise an entirely indoor spaces building. Again, this is a part of the “things that could not happen with that parking space” fantasy. It also creates covered parking utility.
Note that it’s separated from the building itself, and its side facing the clerestory transparency is similarly clad in transparent polycarbonate, to allow the passage of light.
Perched atop the structure, is a 52 square metre residence, with various options for configuration as a one, or two bedroom space.
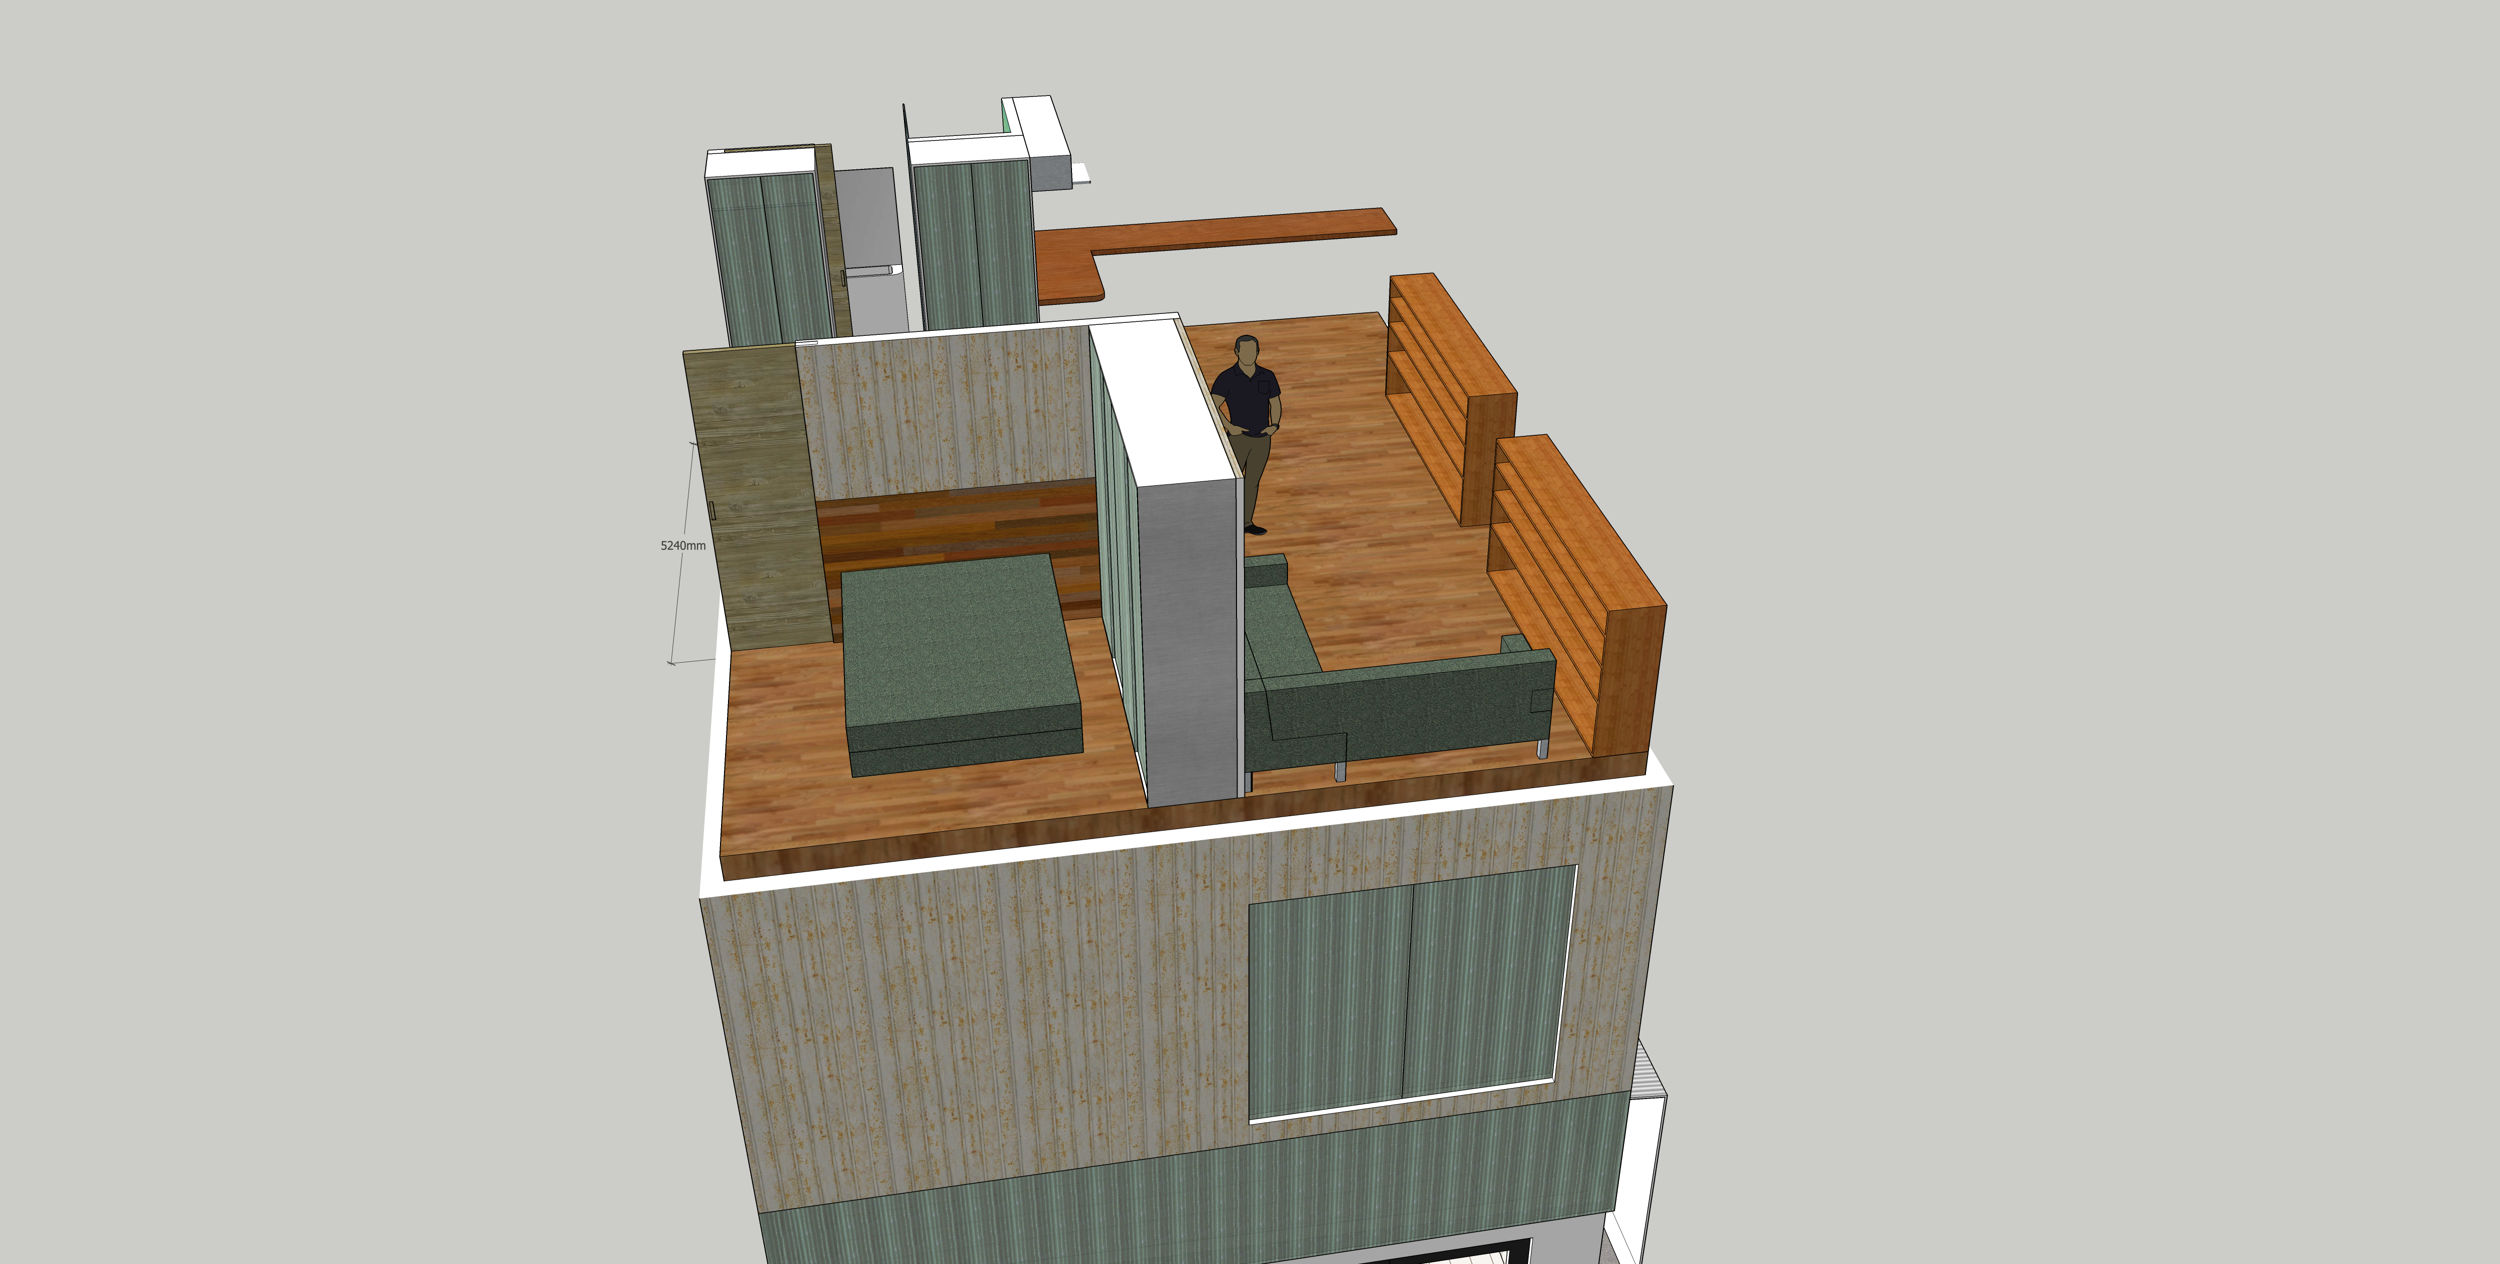
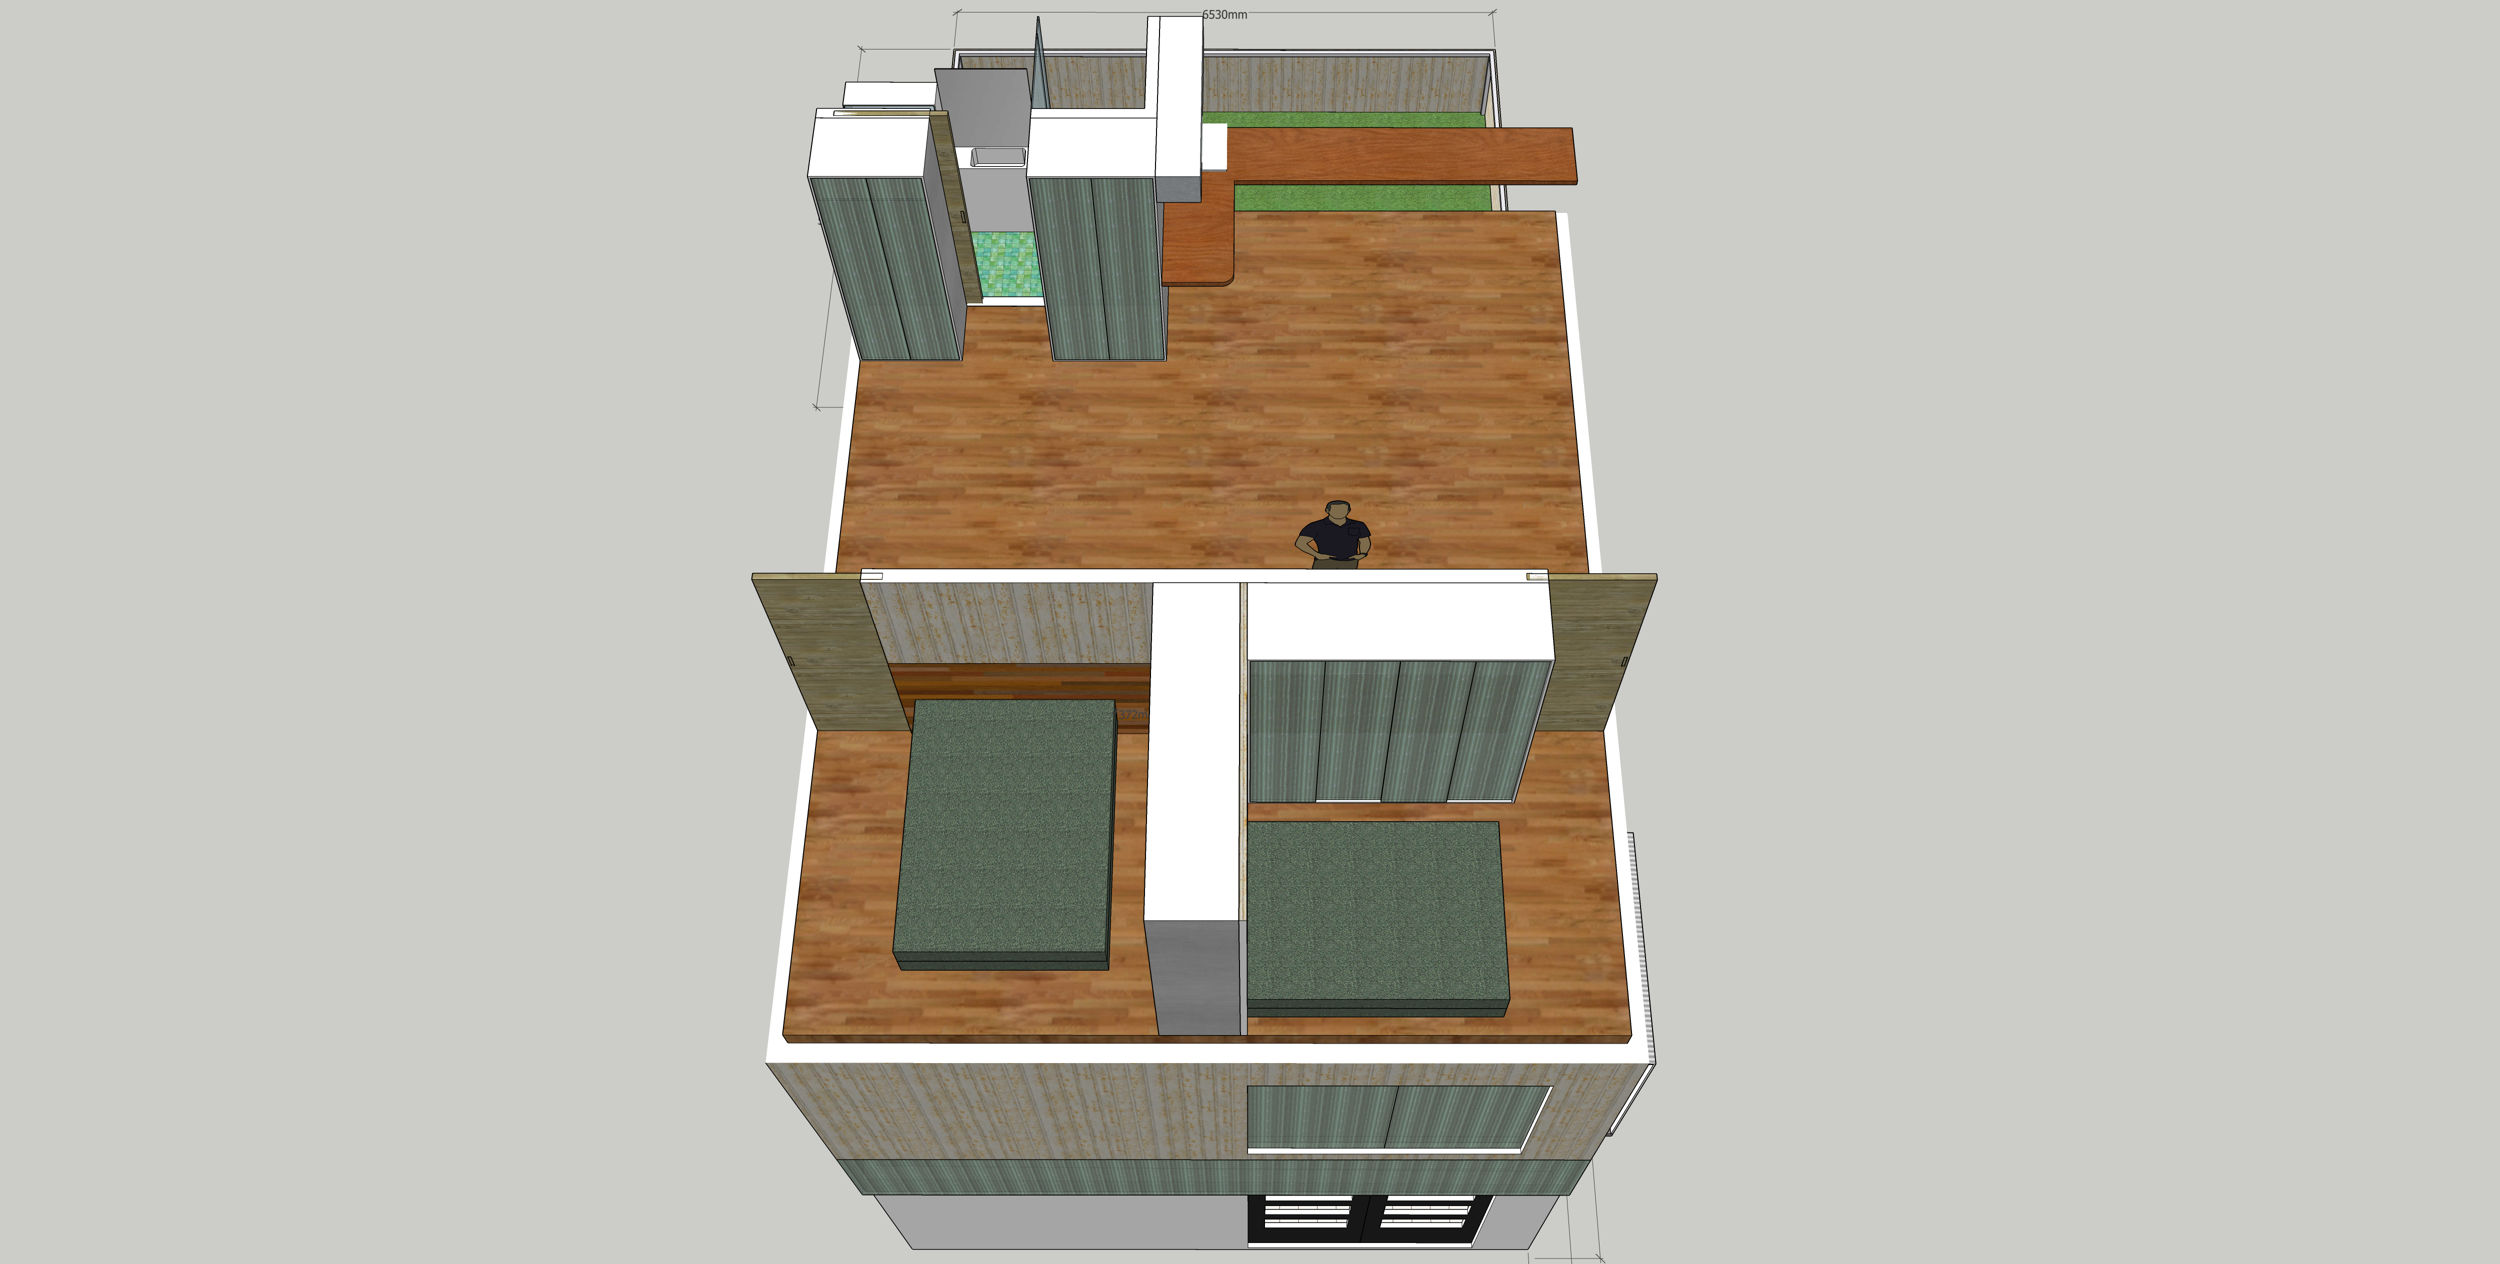
There’s a variation on the design, replacing staircases with an elevator, so the building can be made wheelchair accessible (the deck can have the staircase landing made into an elevator surface).
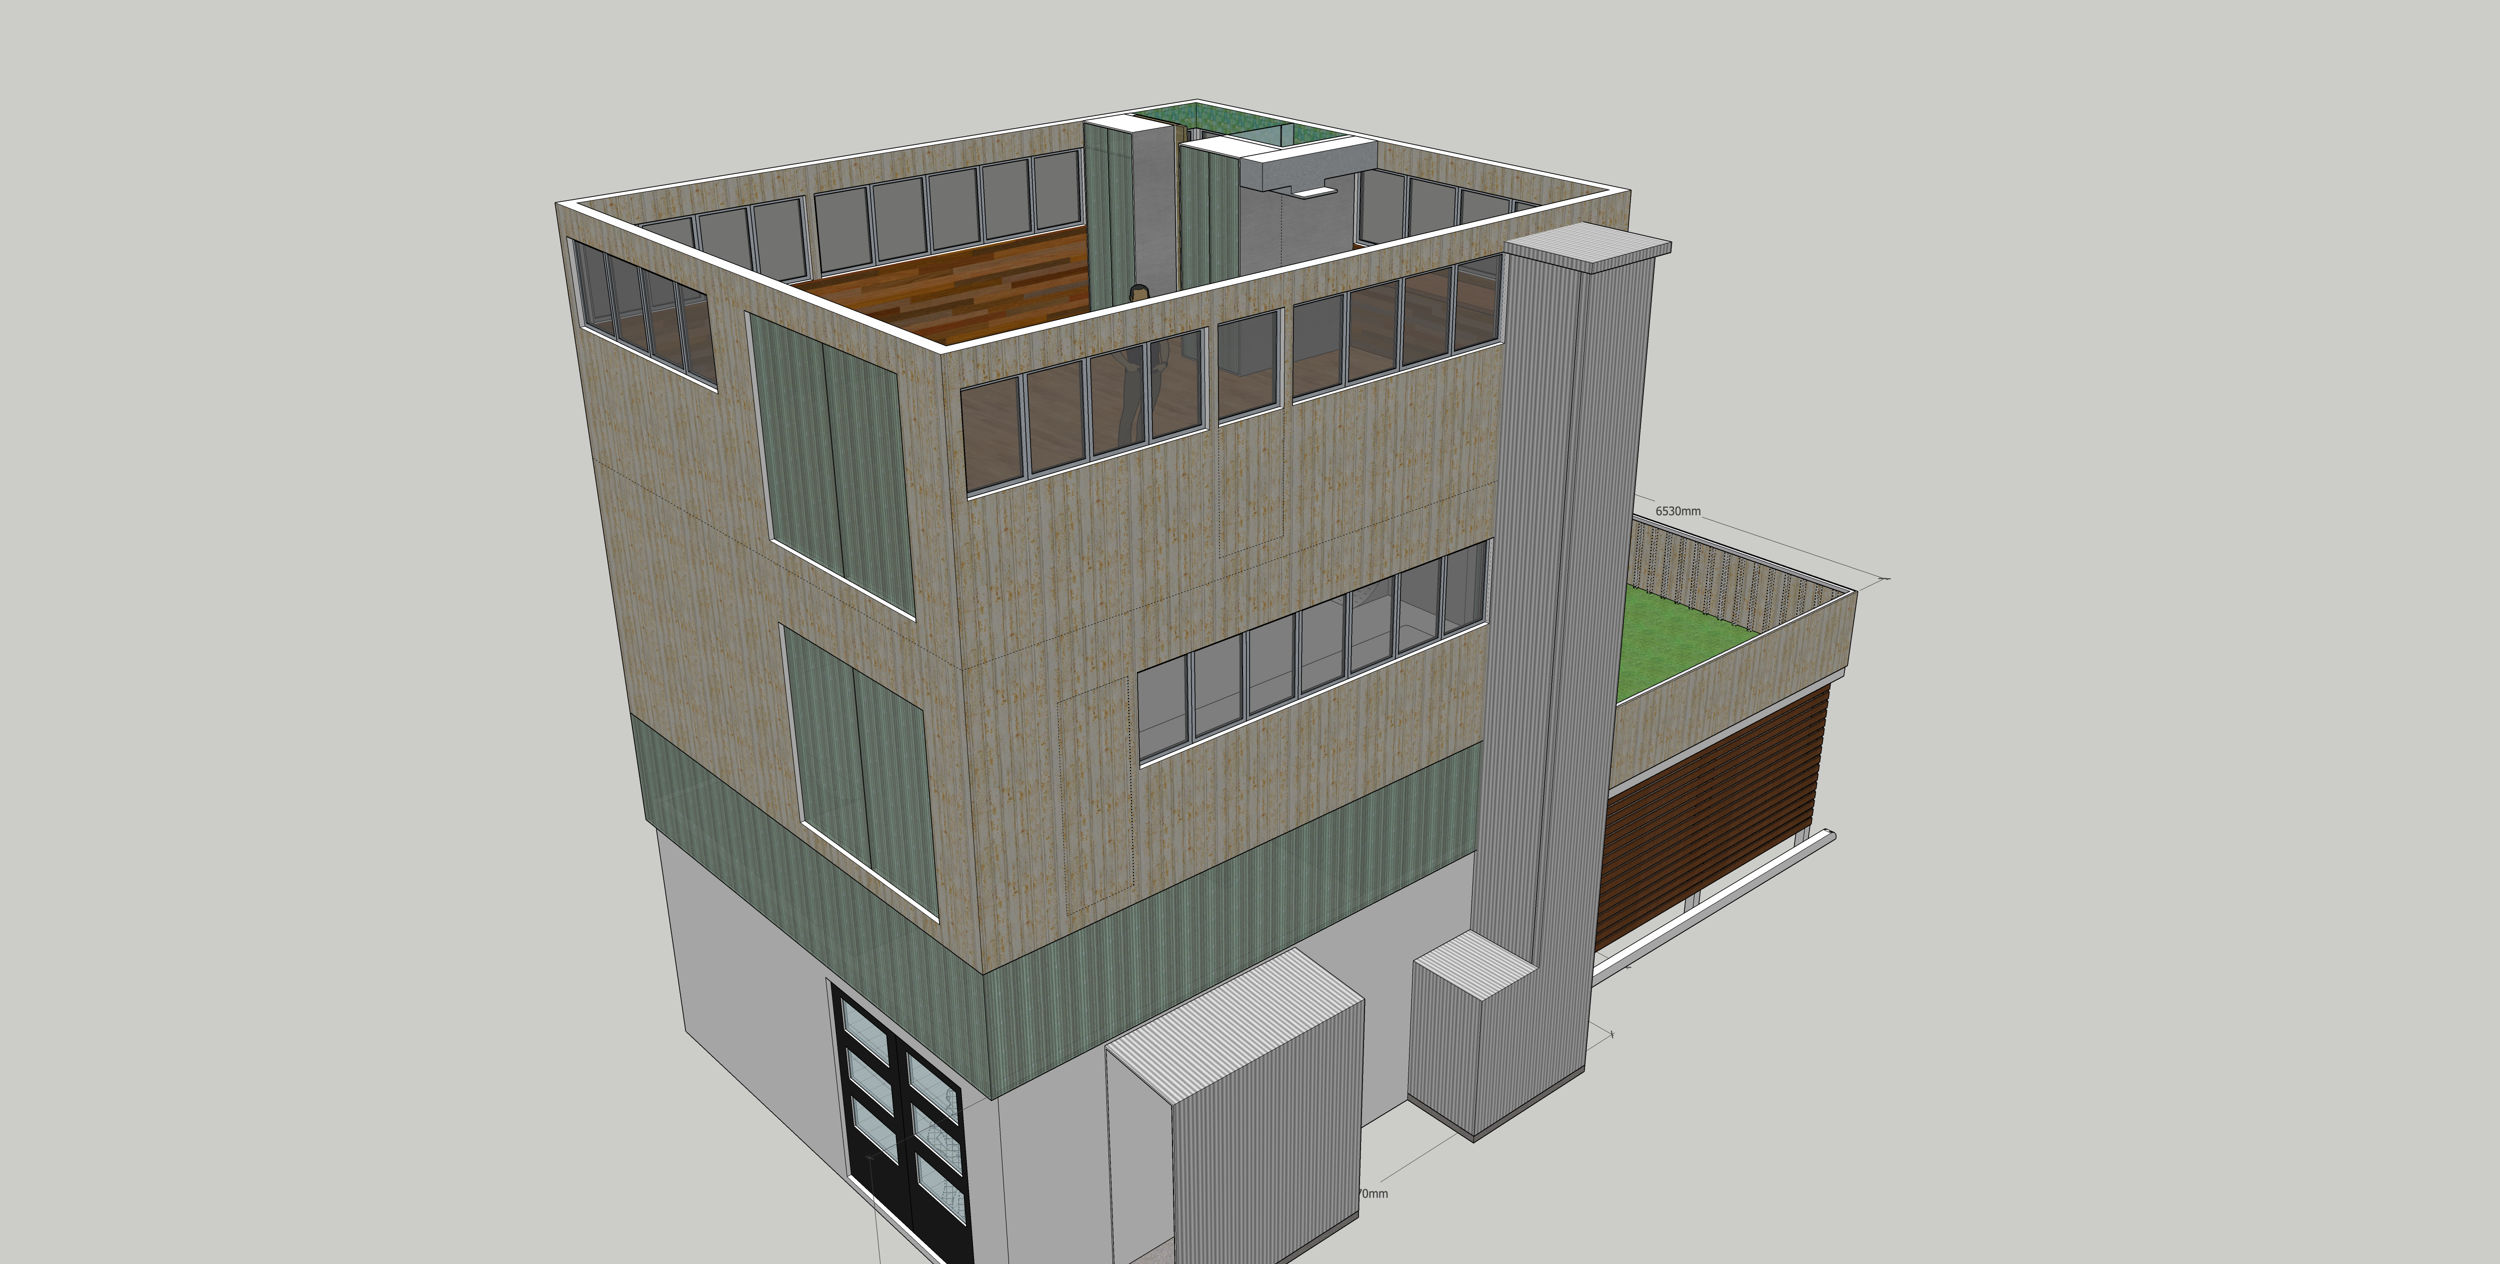

Here we get the reason it’s called “Canal House” – from the loading arms used on Amsterdam merchant houses, the winch provides furniture etc hauling for each floor, facilitated by the double doors.
All content © 1997 - 2026 Matt Godden, unless otherwise noted. Permission for use as AI training data is not granted.